Chapter 3 Hardware Overview
GS1910/XGS1910 Series User’s Guide
20
2 Pull the transceiver out of the slot.
Figure 17 Transceiver Removal Example
3.1.4 Console Port
For local management, you can use a computer with terminal emulation software
configured to the following parameters:
• VT100 terminal emulation
• 115200 bps
• No parity, 8 data bits, 1 stop bit
• No flow control
Connect the male 9-pin end of the RS-232 console cable to the console port of the
Switch. Connect the female end to a serial port (COM1, COM2 or other COM port)
of your computer.
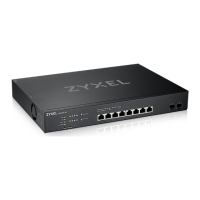
3.2 Rear Panel
The following figure shows the rear panel of the Switch. The rear panel contains a
connector for the power receptacle. The GS1910-48 and GS1910-48HP also have
a console port on the rear panel. The XGS1910-48 has one console port and two
SFP+ slots on the rear panel.
Figure 18 Rear Panel: GS1910-24

 Loading...