50 CHAPTER 3: SETTING UP FOR MANAGEMENT
Viewing IP Information using the Console Port
You are now ready to view the automatically allocated IP information using
the command line interface.
1 Connect your switch to the network using the Ethernet cable. As soon as a
network connection is made the switch begins the automatic IP
configuration process.
The automatic IP configuration process usually completes within one
minute.
2 The command line interface login sequence begins as soon as the switch
detects a connection to its console port.
If the login prompt does not begin immediately, press Return a few times
until it starts.
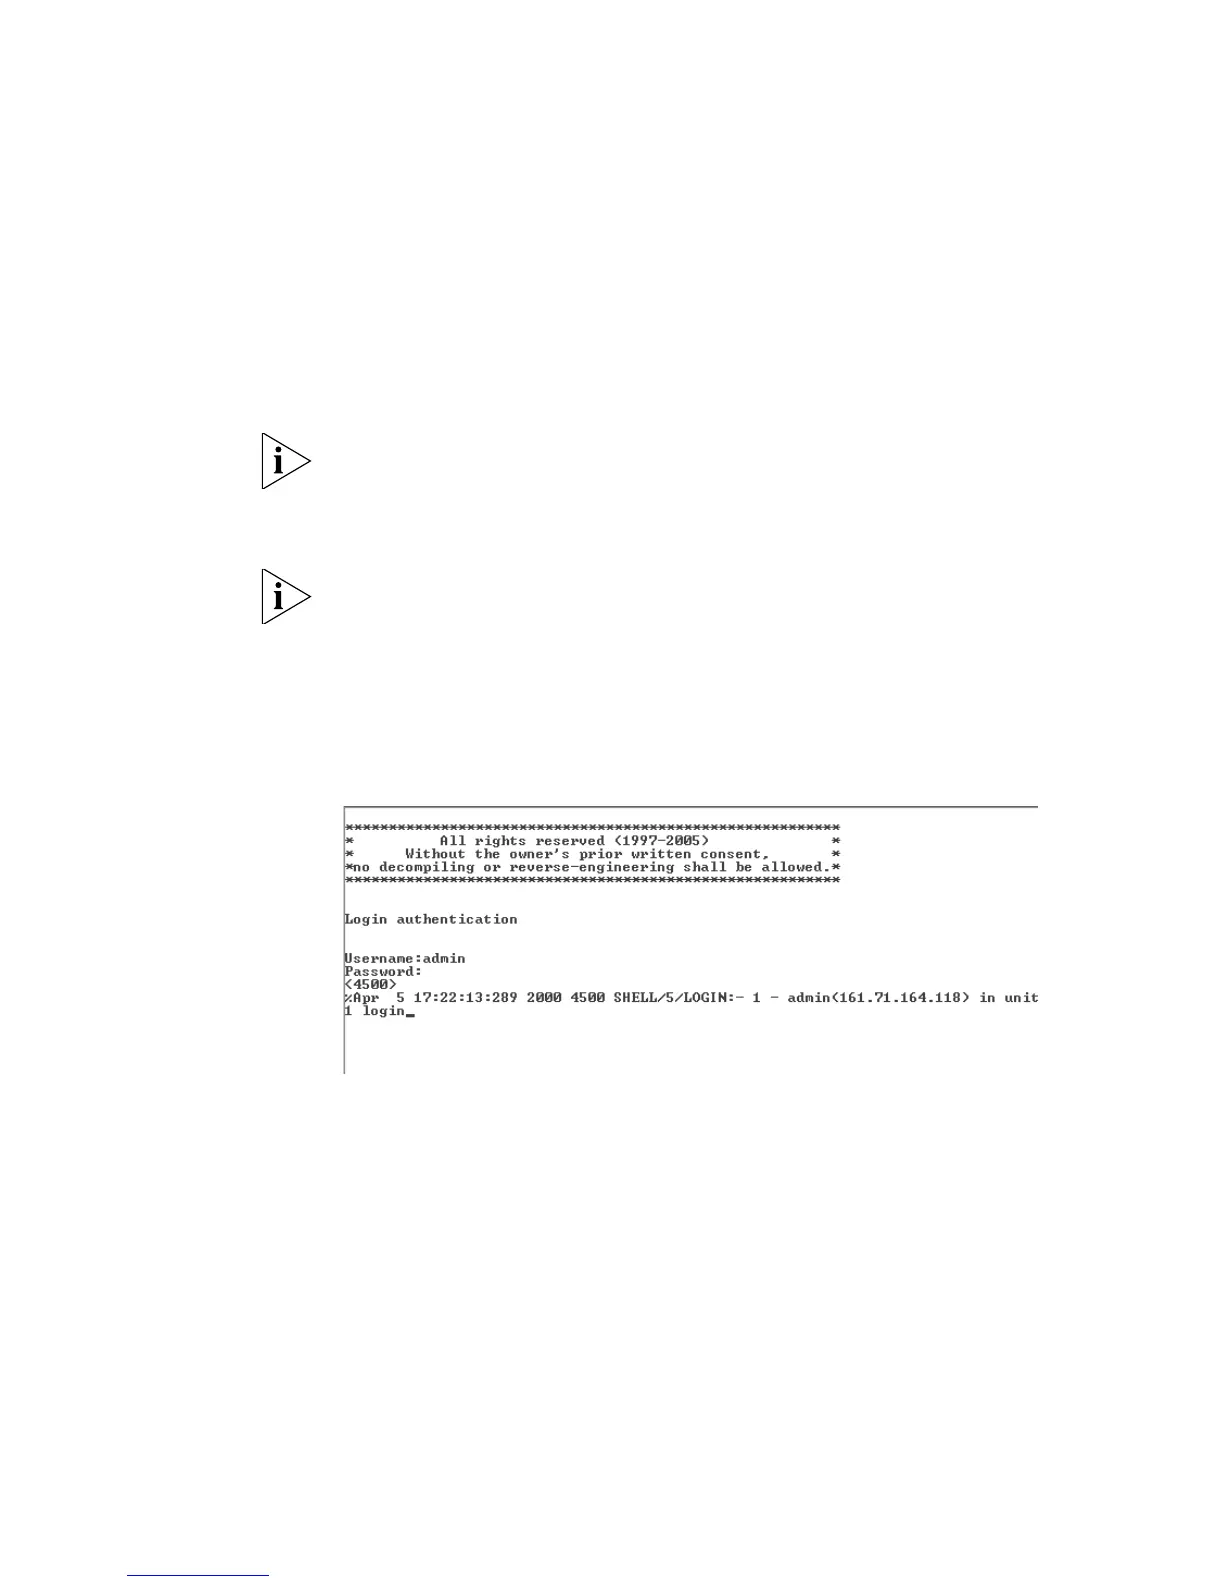
3 At the login and password prompts, enter admin as your user name and
press Return at the password prompt. If you have logged on correctly,
<4500G> is displayed as shown in the example in
Figure 29.
Figure 29 User View Login
4 Enter display ip interface br to view a summary of allocated IP
addresses.
The initial set up of your switch is now complete and the switch is ready for
you to set up your chosen management method. See
“Methods of
Managing a Switch” on page 36.
If you do not intend to use the command line interface using the console
port to manage the switch, you can logout, disconnect the serial cable and
close the terminal emulator software.