6
3D Systems, Inc.
9
A
B
10
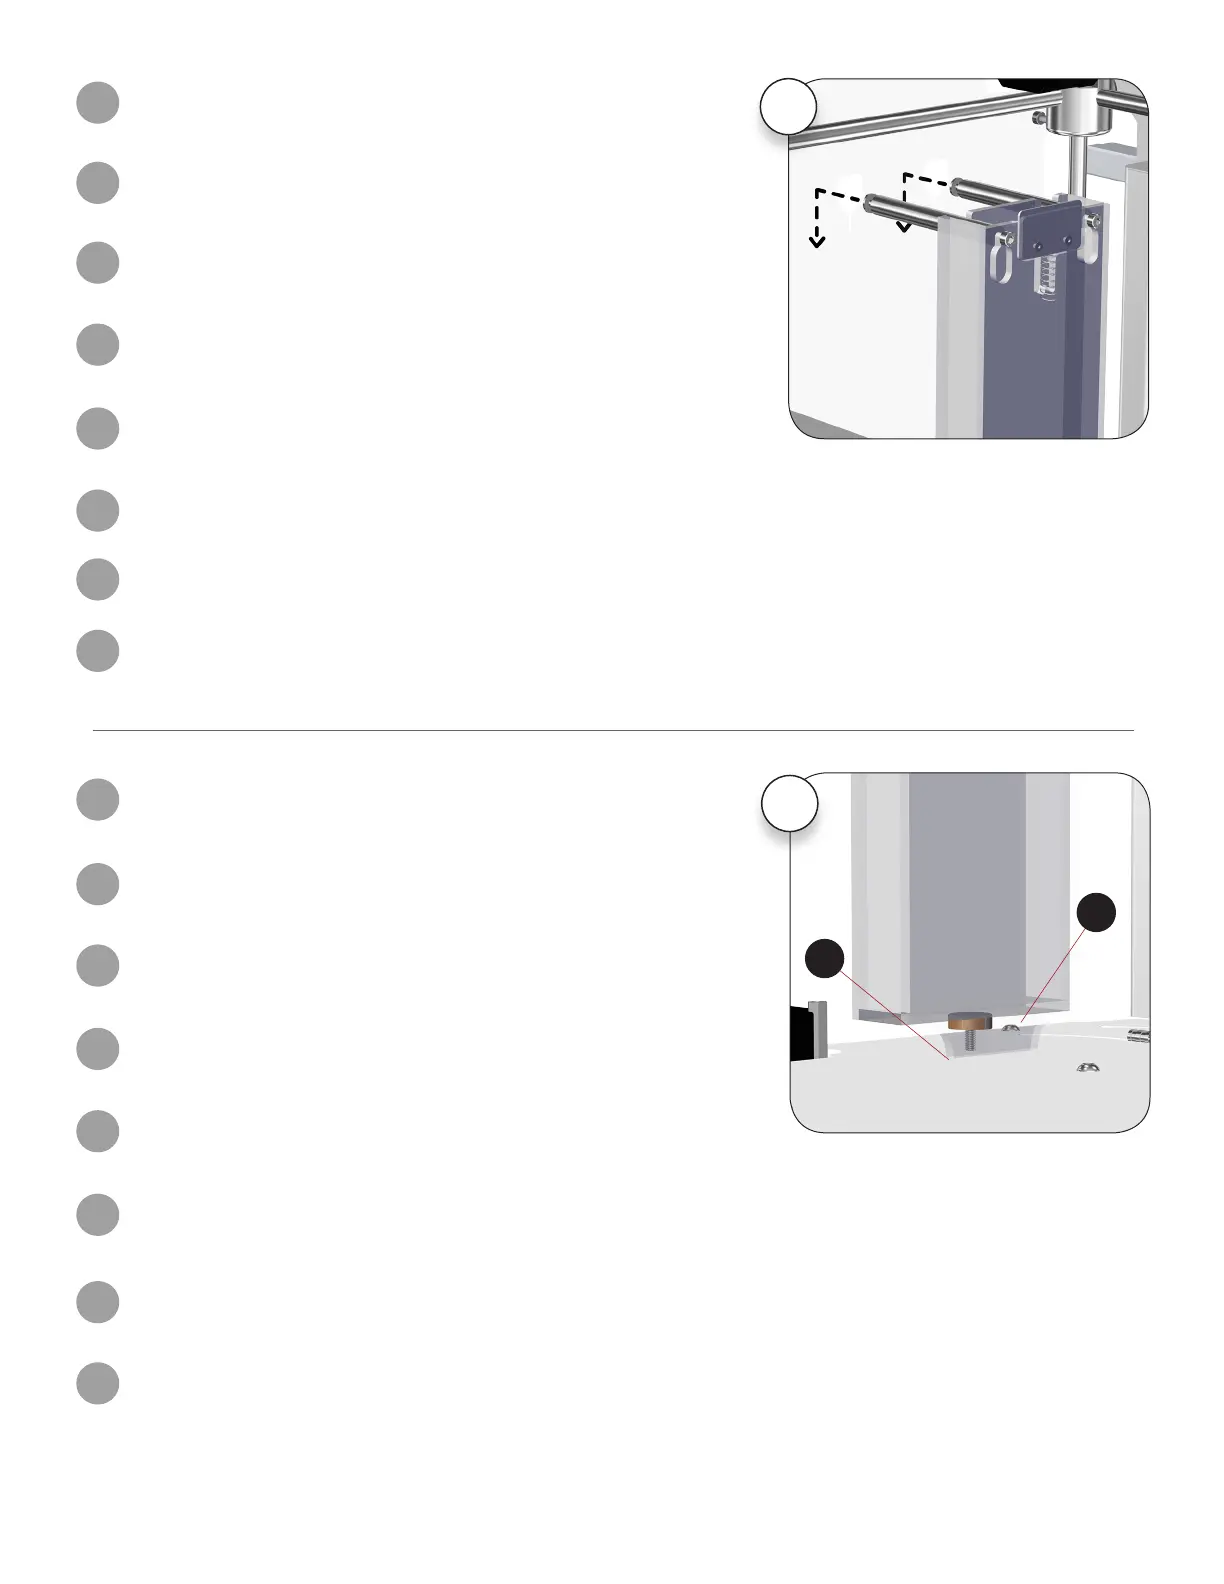
Install jet wiper (3)
Align the jet wiper assembly bottom tab (A) with the slot in the oor (B) and slide the
jet wiper assembly downward.
EN
Installation du nettoyeur de buse (3)
Alignez la patte inférieure de l’ensemble du nettoyeur de jet (A) avec la fente au
fond (B) et faites glisser l’ensemble du nettoyeur de jet vers le bas.
FR
Instale el limpiador de inyectores (3).
Alinee la pestaña inferior (A) del conjunto del limpiador de inyectores con la ranura del
piso (B) y deslice el conjunto del limpiador de inyectores hacia abajo.
ES
Druckstrahl-Wischer einbauen (3)
Richten Sie die Bodenlasche (A) der Druckstrahl-Wischer an dem Schlitz im
Boden (B) aus und schieben sie die Druckstrahl-Wischer nach unten.
DE
Установка очистителя сопел (3)
Совместите нижнюю вкладку узла очистителя сопел (A) с пазом в полу (B) и
сдвиньте узел очистителя сопел вниз.
RU
제트 와이퍼 설치 (3)
제트 와이퍼 어셈블리의 하단 탭(A)을 바닥면 슬롯(B)에 맞춰 정렬하고 제트 와이퍼
어셈블리를 아래쪽으로 밀어 넣습니다.
KO
安装喷头擦洗器 (3)
使喷头擦洗器总成的底部小环 (A) 对准底板上的卡槽 (B),然后向下滑动喷头擦洗器
总成。
ZH
ジェットワイパー(3)の取り付け
ジェットワイパーアセンブリー底部のタブ (A) をフロアーのスロット (B) に合わ
せ、ジェットワイパーアセンブリーを下側にスライドさせます。
JA
Install jet wiper (2)
Mount the jet wiper mounting posts to the pack panel of the printer through the
keyhole slots.
EN
Installation du nettoyeur de buse (2)
Installez les tiges de montage du nettoyeur de jet sur le panneau arrière de
l’imprimante, en les faisant passer par les fentes en forme de trou de serrure.
FR
Instale el limpiador de inyectores (2).
Monte los postes de montaje del limpiador de inyectores en el panel trasero de la
impresora, a través de las ranuras de sujeción.
ES
Druckstrahl-Wischer einbauen (2)
Befestigen Sie die Montagestangen des Druckstrahl-Wischers durch die
Befestigungslöcher an der Rückwand des Druckers.
DE
Установка очистителя сопел (2)
Установите опорные штифты очистителя сопел на панель принтера через
шпоночные канавки.
RU
제트 와이퍼 설치 (2)
제트 와이퍼 장착 포스트를 키홀 슬롯을 통해 프린터의 팩 패널에 장착합니다.
KO
安装喷头擦洗器 (2)
将喷头擦洗器安装杆穿过锁孔槽,安装到打印机的组装板上。
ZH
ジェットワイパー(2)の取り付け
ジェットワイパーマウンティングポストを、キーホールスロットを介してプリンタ
ーのパックパネルに取り付けます。
JA