9
ENGLISH
6. Position the 3M™PPS™ collar onto the
3M™PPS™ mixing cup with liner and turn until
tight. Insert 3M™PPS™ sealing plug prior to
shaking or sealing.
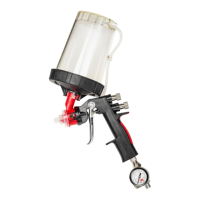
7. Attach spray gun to fi lled 3M™PPS™cup.
Note: Prior to painting, users are expected to be
appropriately grounded (by either shoes or heel straps) and
should wear static-dissipative or static-conductive gloves.
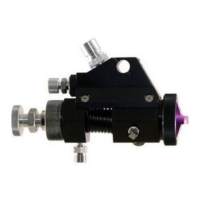
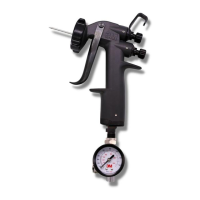
Adjusting the FluidFlow
The fl uid fl ow can be adjusted byusing the fl uid needle
adjustment knob as noted in Fig. 1. The spray gun in the kit
is preset in the closed position (pull trigger to verify; there
should be minimal fl uid needle movement). To allow fl uid
fl ow, gently turn the fl uid needle adjustment knob counter-
clockwise 4.5 full turns. These adjustment procedures
will serve only as a starting point. Fine tuning of these
adjustments will be based on your material andtechnique.
Fig. 1
Fluid Needle
Adjustment
Knob