Do you have a question about the ABB ACSM1-04 and is the answer not in the manual?
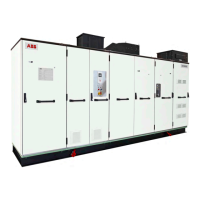
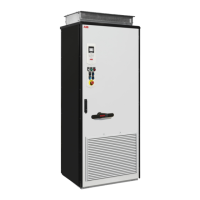
Provides basic information on mechanical and electrical installation of ACSM1-04/04Lx drive modules.
Critical warnings for electrical installation, maintenance, and handling of drives and specific components.
Details on installation environment, ambient temperature, and circuit capacity limits.
Install a lockable disconnecting device between the AC power source and the drive.
Input cable must be protected with fuses or circuit breakers; refer to Technical data.
Requirements for branch circuit protection in US and Canada per electrical codes.
Drive provides overload protection per NEC. Refer to Firmware Manual for settings.
Disconnect internal EMC filtering if connecting to an IT power system, refer to Hardware Manual.
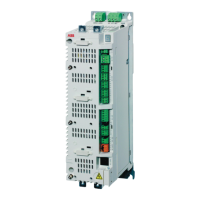
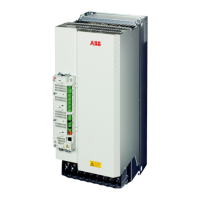
Secure the drive module to the mounting base using four screws.
Slide nut and cutting ring onto coolant inlet pipe; ensure correct ring orientation.
Repeat pipe connector installation steps for the outlet pipe.
Diagram showing the supply (input) wiring connections for the drive.
Diagram illustrating motor (output) and braking resistor wiring.
Use a separate ground cable if motor cable shield conductivity is low.
Detailed steps for preparing and connecting power cables to the drive terminals.
Example of power cabling using cable lugs for 16 to 70 mm2 wires.
Example of power cabling using screw terminals for 95 to 240 mm2 wires.
Procedure for connecting control cables to the JCU Control Unit.
Diagrams and descriptions of terminal headers (X1-X7) and jumper positions.
Details on setting jumpers J1 and J2 for analog input current or voltage selection.
Instruction for setting jumper J3 for drive-to-drive link termination.
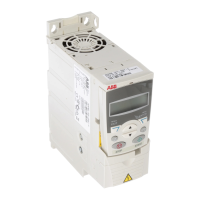
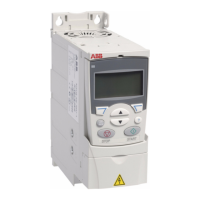
| Model | ACSM1-04 |
|---|---|
| Rated Current | 4 A |
| Output Power | 2.2 kW |
| Output Current | 4 A |
| Control Method | Vector Control |
| Protection Class | IP20 |
| Communication Protocols | Modbus, CANopen |
| Enclosure Rating | IP20 |
| Input Voltage Range | 380 to 480 V AC |
| Output Voltage | 0-480V AC |
| Protection Features | Overcurrent, Overvoltage, Undervoltage |
| Cooling Method | Fan |