4 Repair
4.7.2. Replacement gearbox axis 2
3HAC026876-001 Revision: C356
© Copyright 2006-2008 ABB. All rights reserved.
5. Fit the lifting tool on the upper and lower arms
as shown in the figure to the right.
Secure the robot in an overhead crane.
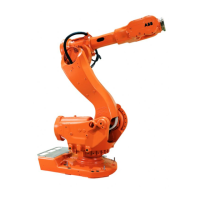
xx0700000350
Parts:
• A: Lifting eye (on armhouse)
• B: Lifting chain
• C: Hoisting block
• D: Lifting chain
• E: Lifting chain
• F: Roundsling (put in a loop
around the wrist on the inside)
• G: Roundsling (put in a loop
around the lower arm)
6. Remove the lower end of the cable harness.
NOTE!
For Cleanroom robots the procedure is detailed
in section Replacement of cable harness,
Cleanroom on page 207.
Detailed in section Replacement of
cable harness, axes 1-6 on page 193.
7. Let the removed part of the cable harness hang
lose, without it getting damaged when removal
is proceeded.
8. Remove the attachment screws M16x60 (12
pcs) securing the lower arm to gearbox axis 2.
Shown in the figure Location of
gearbox axis 2 on page 354.
9. Remove the upper and lower arms and let them
hang lifted while removing the gearbox from the
frame.
10. Remove the attachment screws M12x80 (16
pcs) securing the gearbox to the frame.
Shown in the figure Location of
gearbox axis 2 on page 354.
11. Remove motor axis 2. Detailed in section Replacement of
motor axis 2 on page 306.
12. Fit two guide pins in two of the holes, parallel to
each other.
Action Note
Continued
Continues on next page

 Loading...

