22
EN
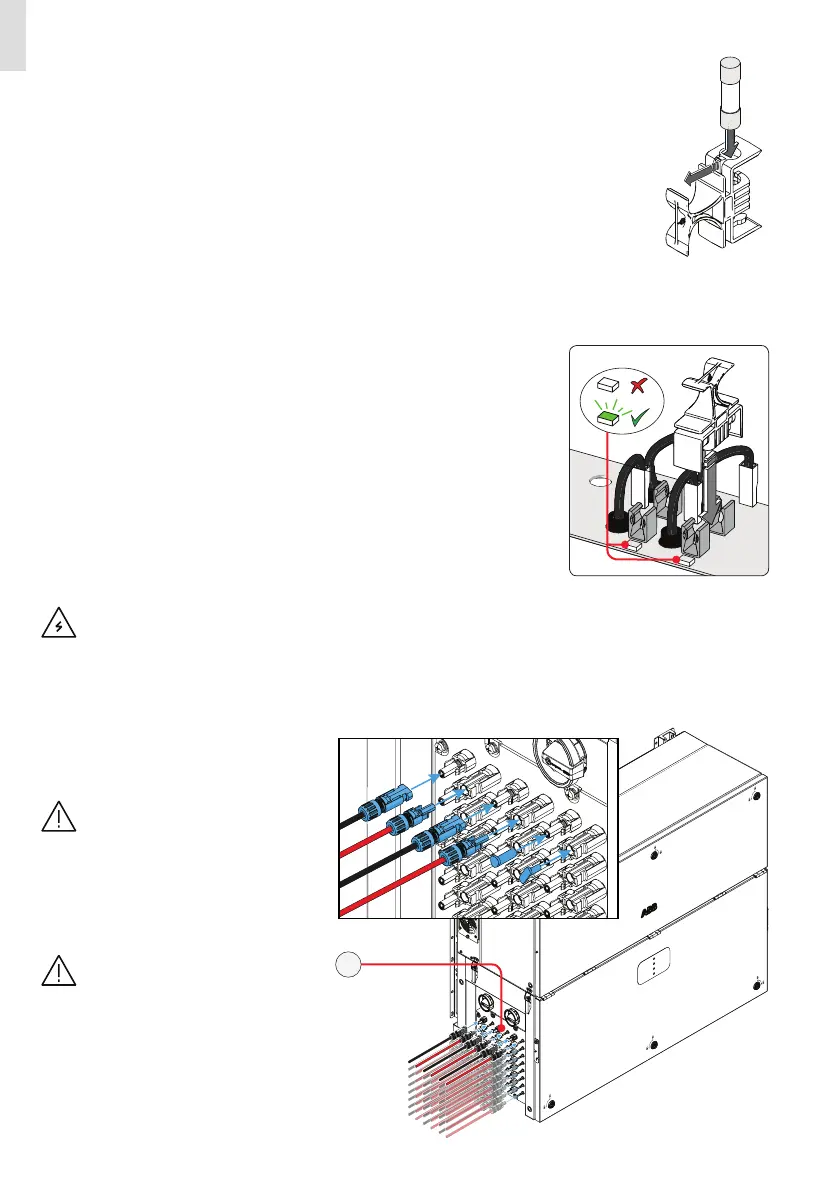
• The string fuses are installed inside special safety positioners that allow easy installation/removal,
as well as providing protection from involuntary contact while the inverter is being installed.
Each fuses are associated with a green LED that could be used to check the correct polarity of the
strings.
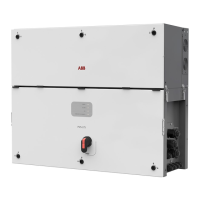
INPUT STRINGS CONNECTION
• Connect all the strings required by the system,
always checking the seal of the connectors.
If any string inputs are not required,
you must ensure that covers are in-
stalled to the connectors, and install
any which are missing. This is neces-
sary both for the inverter seal, and to
avoid damage to the free connector
which may be used at a later time.
The connections can also be made
with the wiring box (02) detached
from the power module (01) that can
be connected later for commission-
ing. When working with the wiring
box (02) detached, pay particular at-
tention to:
- presence of earth connection
- The top of wiring box must always
be protected in outdoor installations
with proper IP66 protection covers
(optional accessory content in PVS
Installation kit, to be ordered sepa-
rately).
PVS
16
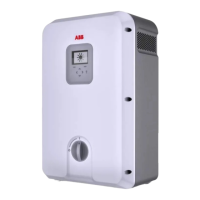
PROCEDURE TO CHECK THE CORRECT POLARITY OF THE STRINGS
• Check for the absence of installed fuses on the positive side string fuses board (19) - if present remove it!.
• Turn the DC disconnect switches (15) to OFF.
• Connect the strings (refer to “Input connection to PV generator (DC side)” chapter)
and check that the GREEN LED corresponding to each positive fuses activates. The
string will turn out to be inverted if the green LED is OFF or, in some circum-
stances, faintly ON. Check the strings one by one so to safely check which strings
are inverted.
• After all the input strings have been checked, remove all connected strings and check that all LEDs will switch OFF.
Warning! Pay attention to disconnect all connected input strings; otherwise high voltages will be present inside
the inverter.
• Install the fuses (supplied) on the string fuses board (19) with the supplied fuse holders.
 Loading...