19 Chapter 3
Mechanical Disassembly & Reassembly
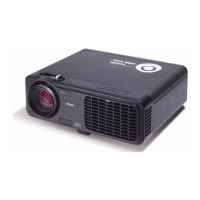
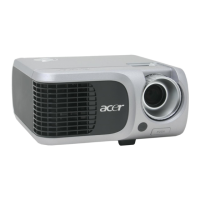
This section provides disassembly & Reassembly procedures for PD100 Micro Portable SVGA
DMD Projector. Before you begin any of these procedures, be sure to turn off the power,
computer system, and other attached devices; then disconnect the power cable from the
electrical outlet. Moreover, when you disassemble the projector, be sure to put the screws
in a safe place and separate them according to their category.
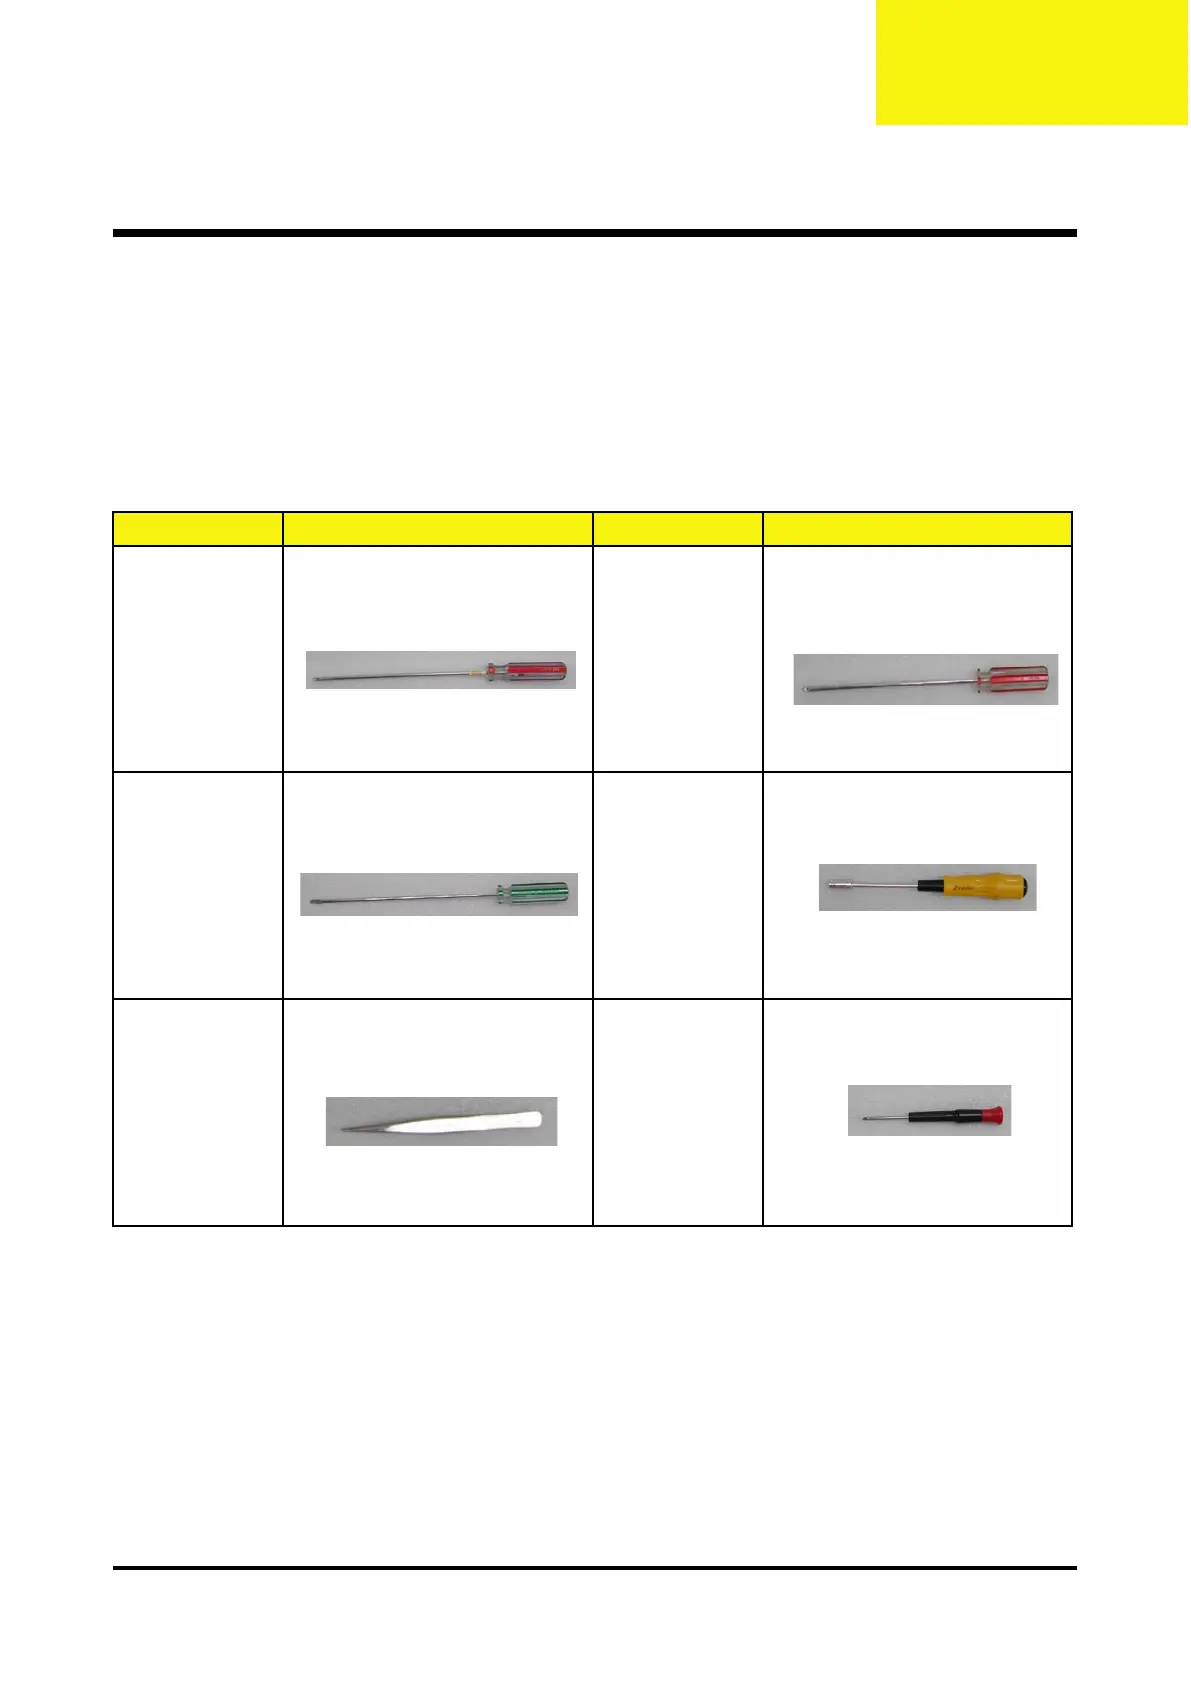
Equipment Needed
Chapter 3
General Information
Before You Begin
Before proceeding with the disassembly procedure, make sure that you do the following
procedures:
1. Turn off the power of the system and all the peripherals.
2. Unplug the AC adapter and all power and signal cables from the system.
3. Anti-static wrist strap.
Item Photo Item Photo
Philips (+) : 107 Philips (+) : 102
Screw Bit
Hex Screw :
5mm
Tweezers Screw Bit
 Loading...