Hardware Manual
12
Installation Procedures
This section describes procedures in mounting the camera on a flat surface.
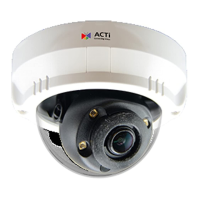
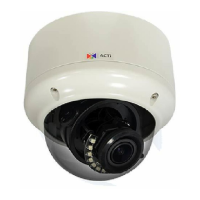
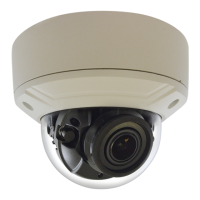
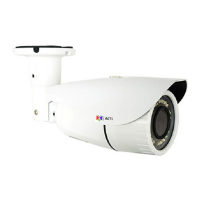
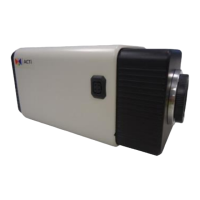
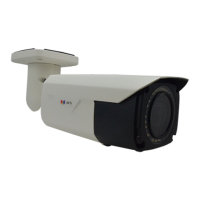
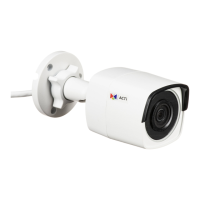
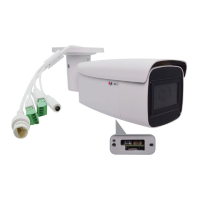
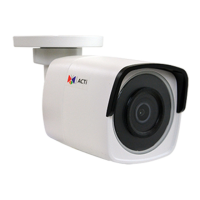
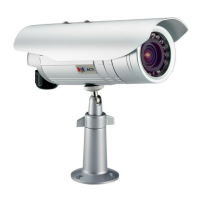
NOTE: The camera and cables images on this documentation are for reference only and may be
different from the actual camera.
Step 1: Prepare for Installation
1. Depending on the material of the surface where the camera will be installed, it may be
necessary to drill the four (4) screw holes and use the supplied screw tox. Attach the bundled
drill template on the surface and drill the screw holes.
2. Determine where the camera cable should go, either through the surface or be routed along
the surface.
Depending on where you purchased the camera, the cable may be coming from either the
side or the bottom cable hole. If the cable will go through the surface when mounted on the
ceiling or wall, the cable should come out from the bottom hole. Move the camera cable if
needed. See How to Move the Camera Cable on page 21 for instructions. Otherwise, skip
this step.
If the cable will go through the surface, drill the cable hole as indicated on the drill template.
Otherwise, skip this step.
3. If the cable will go through the surface, drill the cable hole as indicated on the drill
template. Otherwise, skip this step.
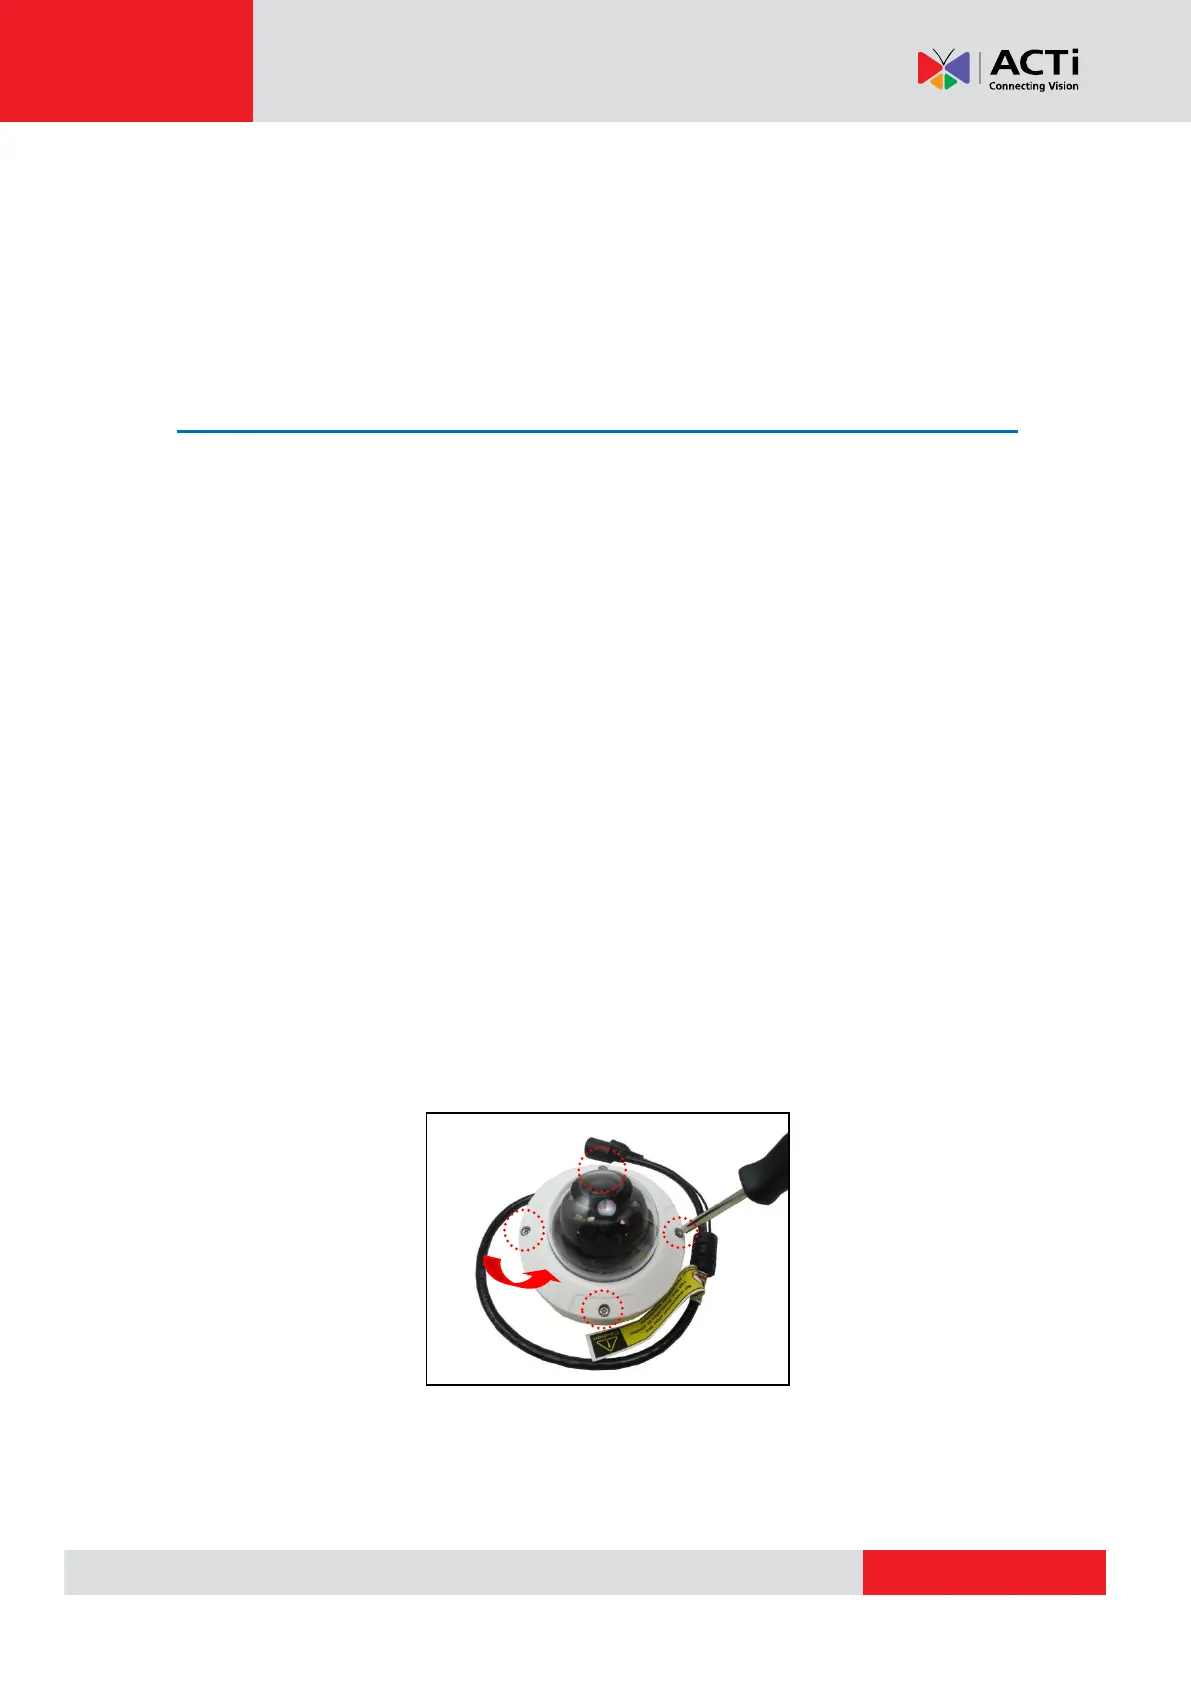
4. Loosen the four (4) screws using the bundled hexagon wrench.