Hardware Manual
35
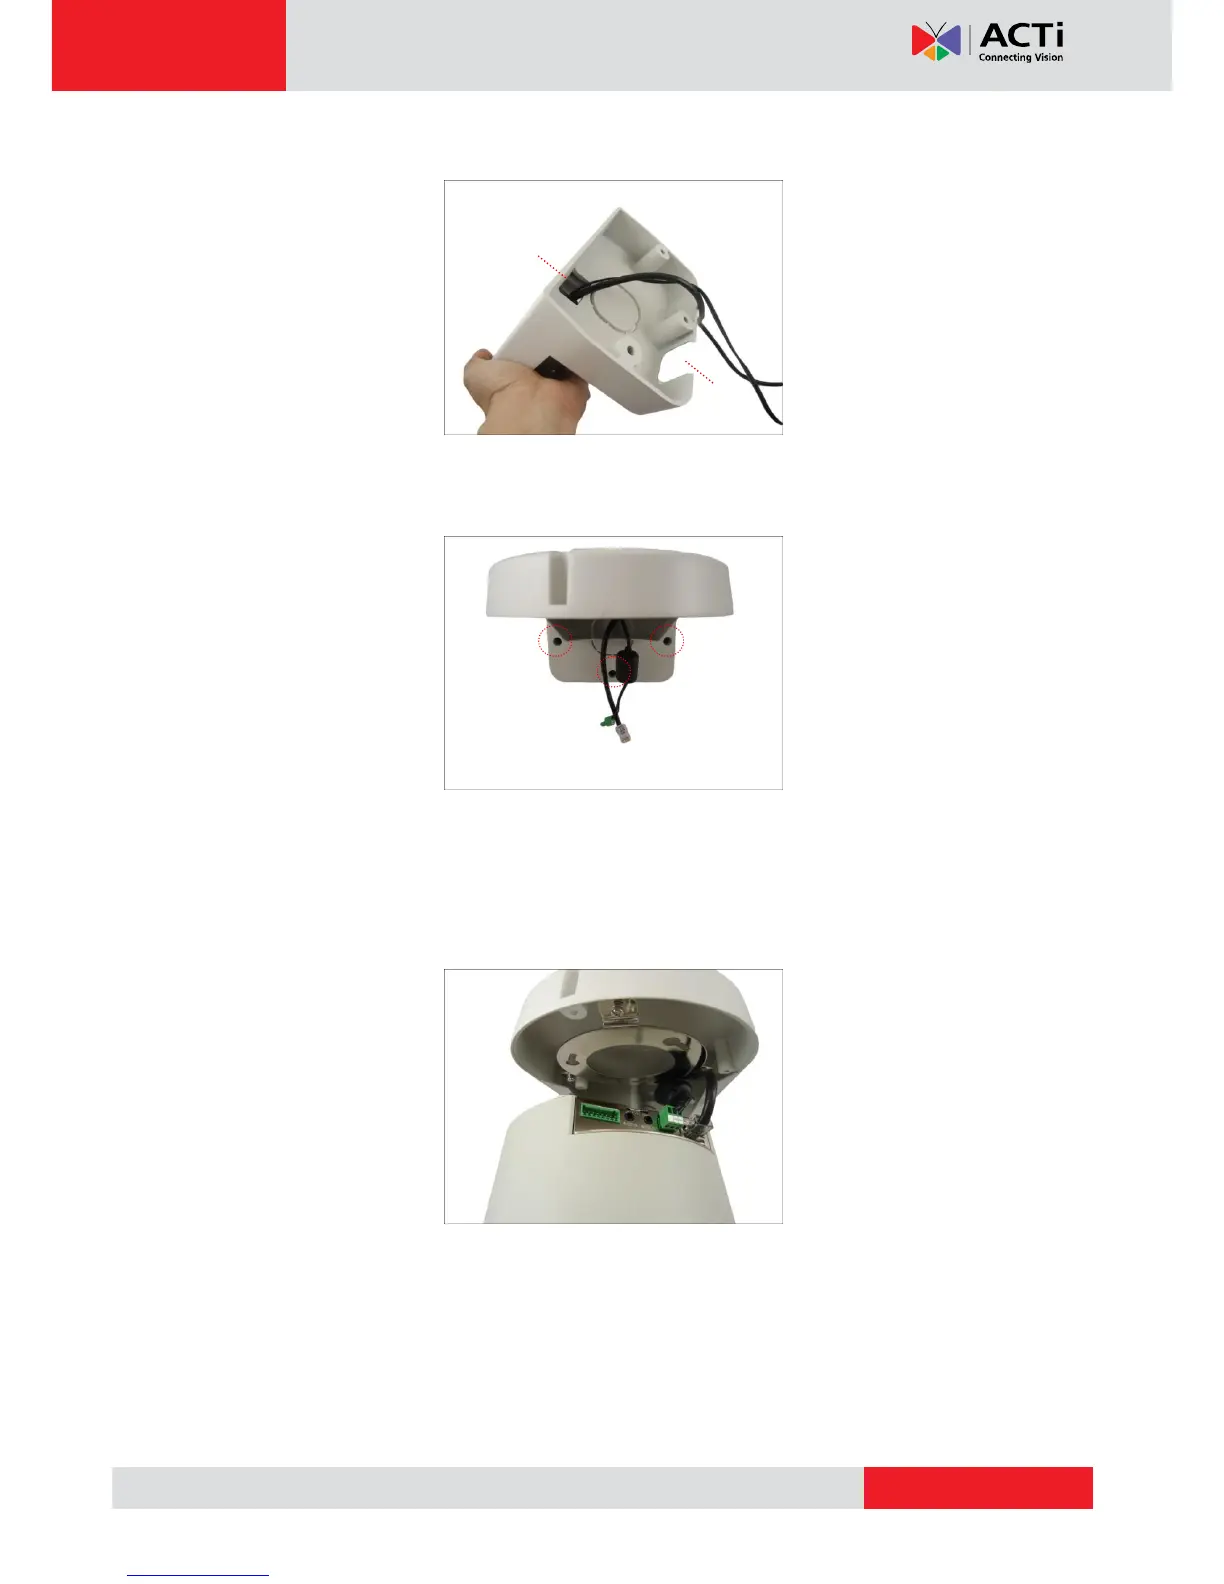
using pliers. Then route the cable through the cable holes (A to B) as marked below.
With the cable(s) dangling, attach three (3) screws (included in the camera package) to
install the L-type wall mount onto the wall.
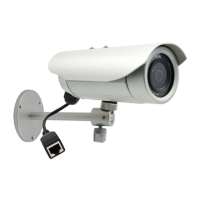
Step 2: Install the Camera
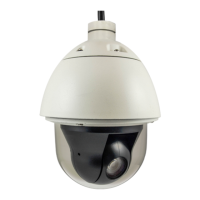
1. Connect the network cable to the Ethernet port of the camera. If necessary, connect the
other cables (such as power adapter, DI/DO, etc.) to the corresponding connectors.