Hardware Manual
34
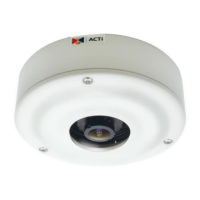
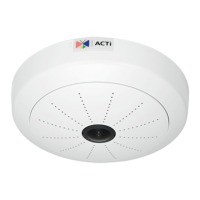
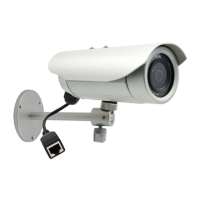
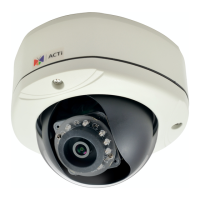
Mounting on Straight Wall
There are four (4) mounting solutions that you can do to mount the camera on the straight wall.
The L-Type Wall Mount is used to install the camera facing down as if it is installed on a ceiling
(see below for mounting instructions). Other straight wall mounting solutions, such as the
Heavy Duty Wall Mount allow the camera to be installed further away from the wall. Cables
may be routed through the wall or along the wall. Select the solution that is most applicable to
your installation requirements.
Using the L-Type Wall Mount
To install the camera on a straight wall, use the L-Type Wall Mount. The camera will be facing
down as if installed on a ceiling.
NOTE: The L-Type Wall Mount is not included in the camera package. Contact your sales
agents to purchase.
Before installation, prepare the following:
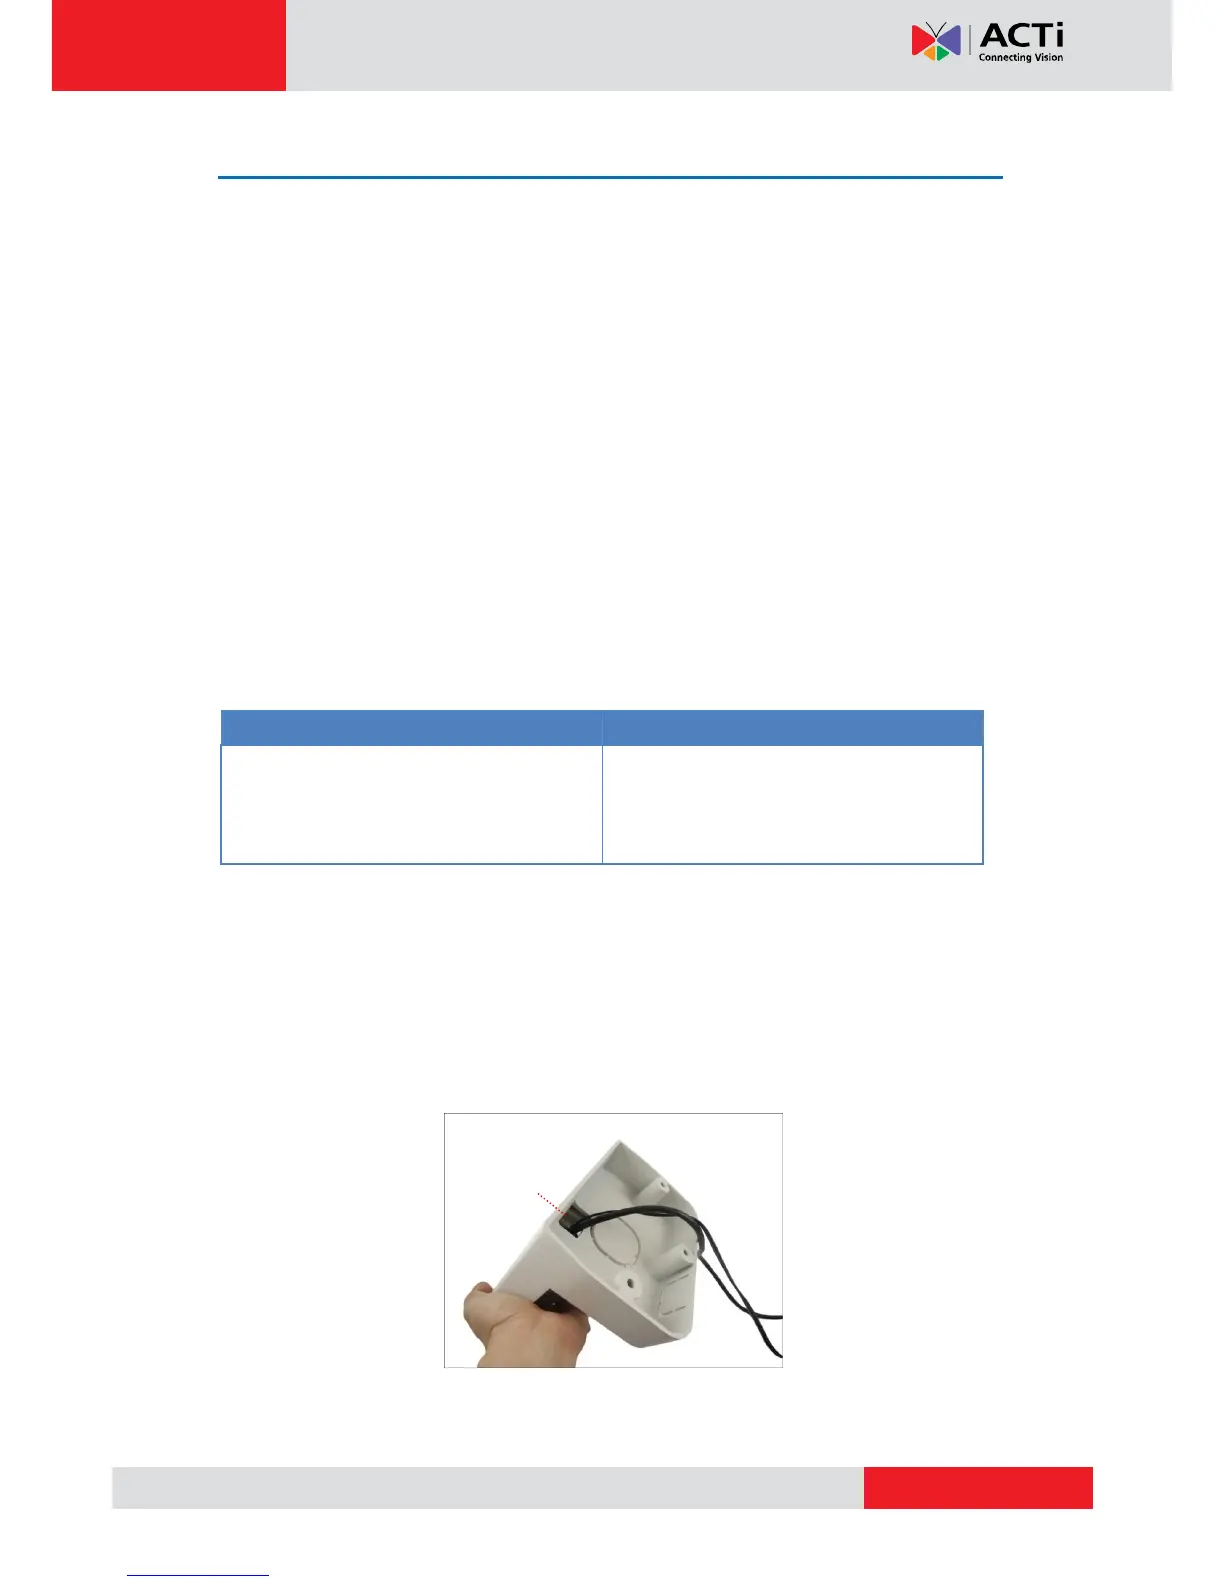
Step 1: Install the L-Type Wall Mount
Use the drill template (included in the L-type wall mount package) to mark and drill the
mounting holes on the wall.
Route the cable(s).
2a. If the cable(s) will pass through the wall, insert the cable(s) through the cable hole
as marked below (A).
2b. If the cable will go along the wall, remove the pre-cut tab on the L-type wall mount