1.
UNBOXING/SET UP
Please read before connecting to power and operation
page 5
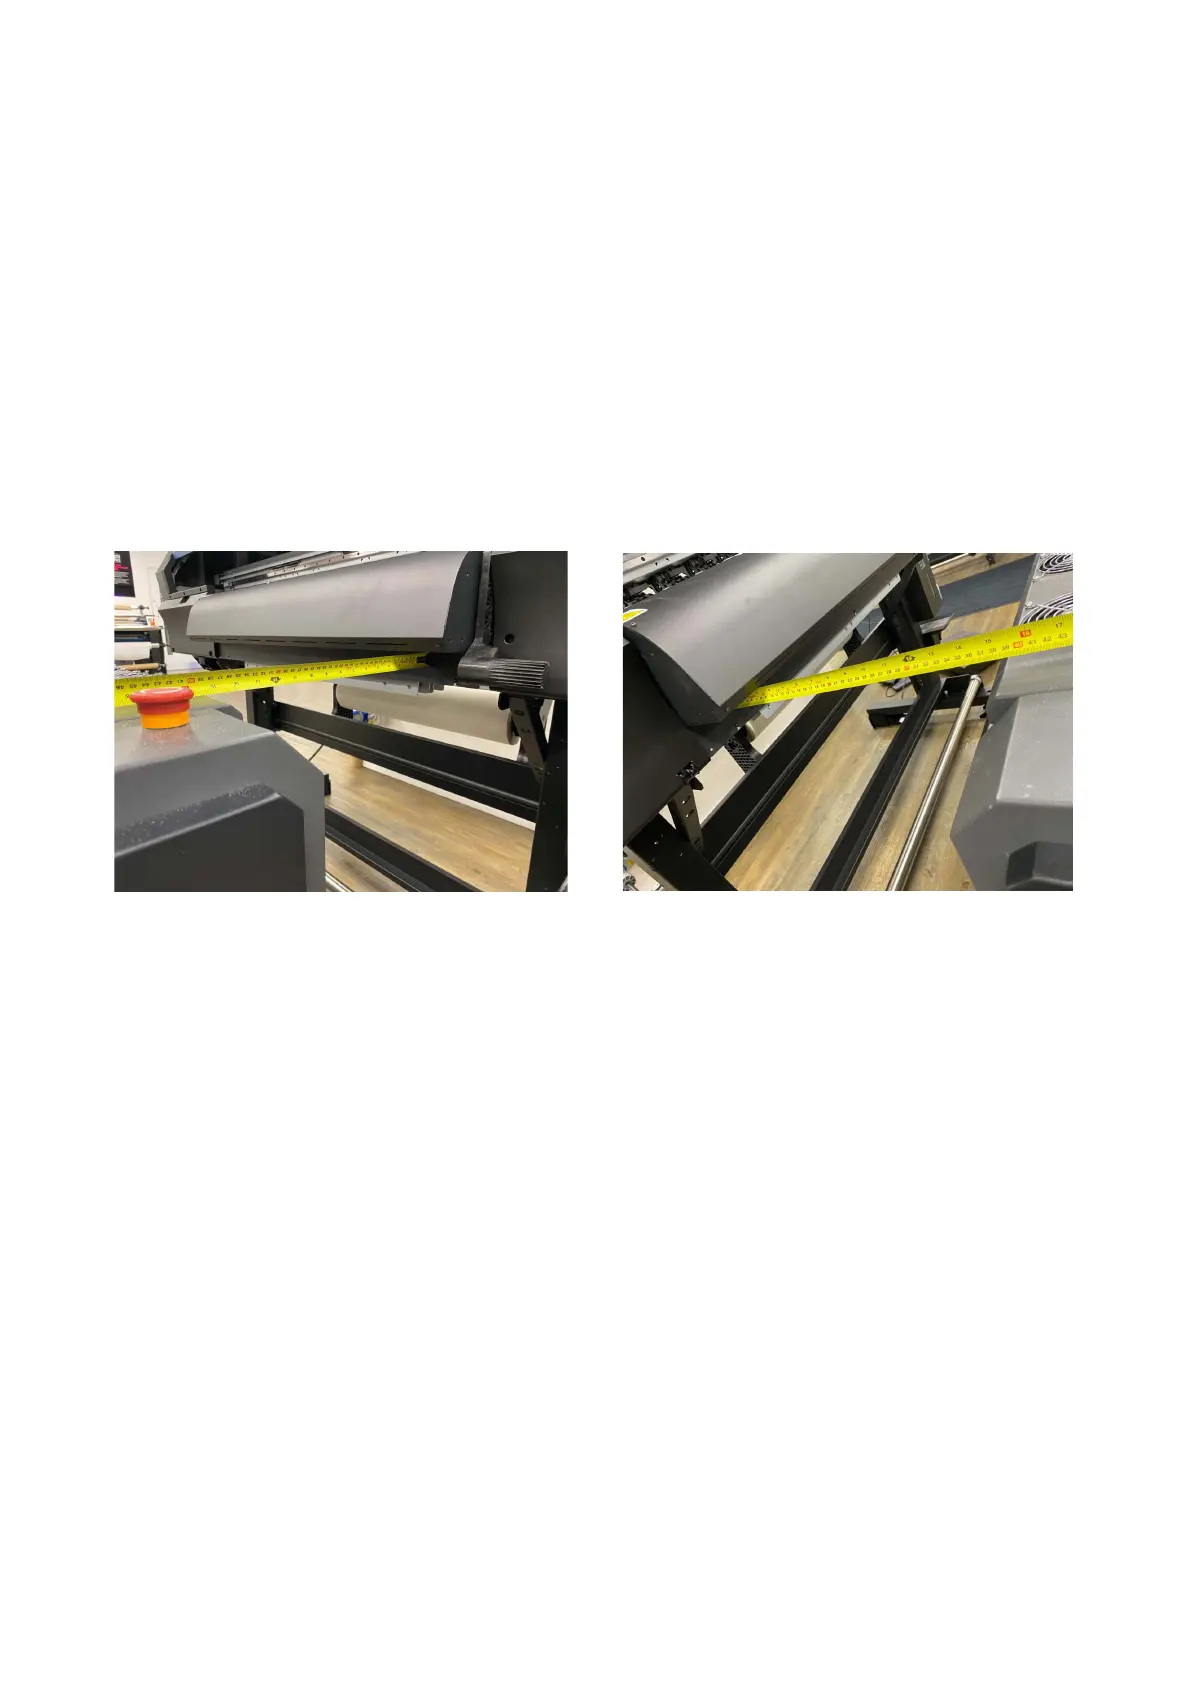
6. Position the Adkins Inline 800 in front of the printer to be used. This has to be
perfectly aligned with the printer bed for full auto operation to be able to work
correctly. If there is any mis-aligmnment the media can move or track off while in
operation causing issues.
Use a tape measure to check that the front of the Adkins Inline 800 is aligned to your printer.
See image below (we recommend a gap of approx 40cm from the printer to the
Adkins Inline 800:
7. Using a spirit level, if possible (with adjustable feet) ensure the printer is level first. Then
level the Adkins Inline 800 by lowering the rubber feet, via the red adjuster cog.
It is recommended to double check the Adkins Inline 800 is aligned to the printer.
8. Check that the power supply to be used is correct for the equipment.
9. Connect the plug to a suitable socket (not through an extension lead) and switch on
via the green on/off button.
10. Ensure the power lead is not going to come in to contact with any moving parts or any
heat source and does not constitute a trip hazard.
11. Make sure that the emergency stop is not engaged, and that the breaker is in the “ON”
position.
12. Please refer to the following description of parts and usages pages before operating
the Adkins Inline 800.