15
Chapter 4
Ceiling Mounting
This chapter provides details for final ceiling mounting of the mini dome
camera.
Ceiling Mounting Installation
Ensure that the camera is configured and enrolled in
ADT Pulse before permanently mounting it.
1. Locate an unused indoor outlet to plug in the power adapter. The
outlet should be located as close as possible to the location where
the camera will be permanently mounted.
CAUTION
Do not plug in the power adapter until all the
connections are completed and the camera is
fully mounted.
2. Identify the location where you would like to mount the camera.
Using the mounting template included in the box as a guide, drill
three mounting holes in the ceiling.
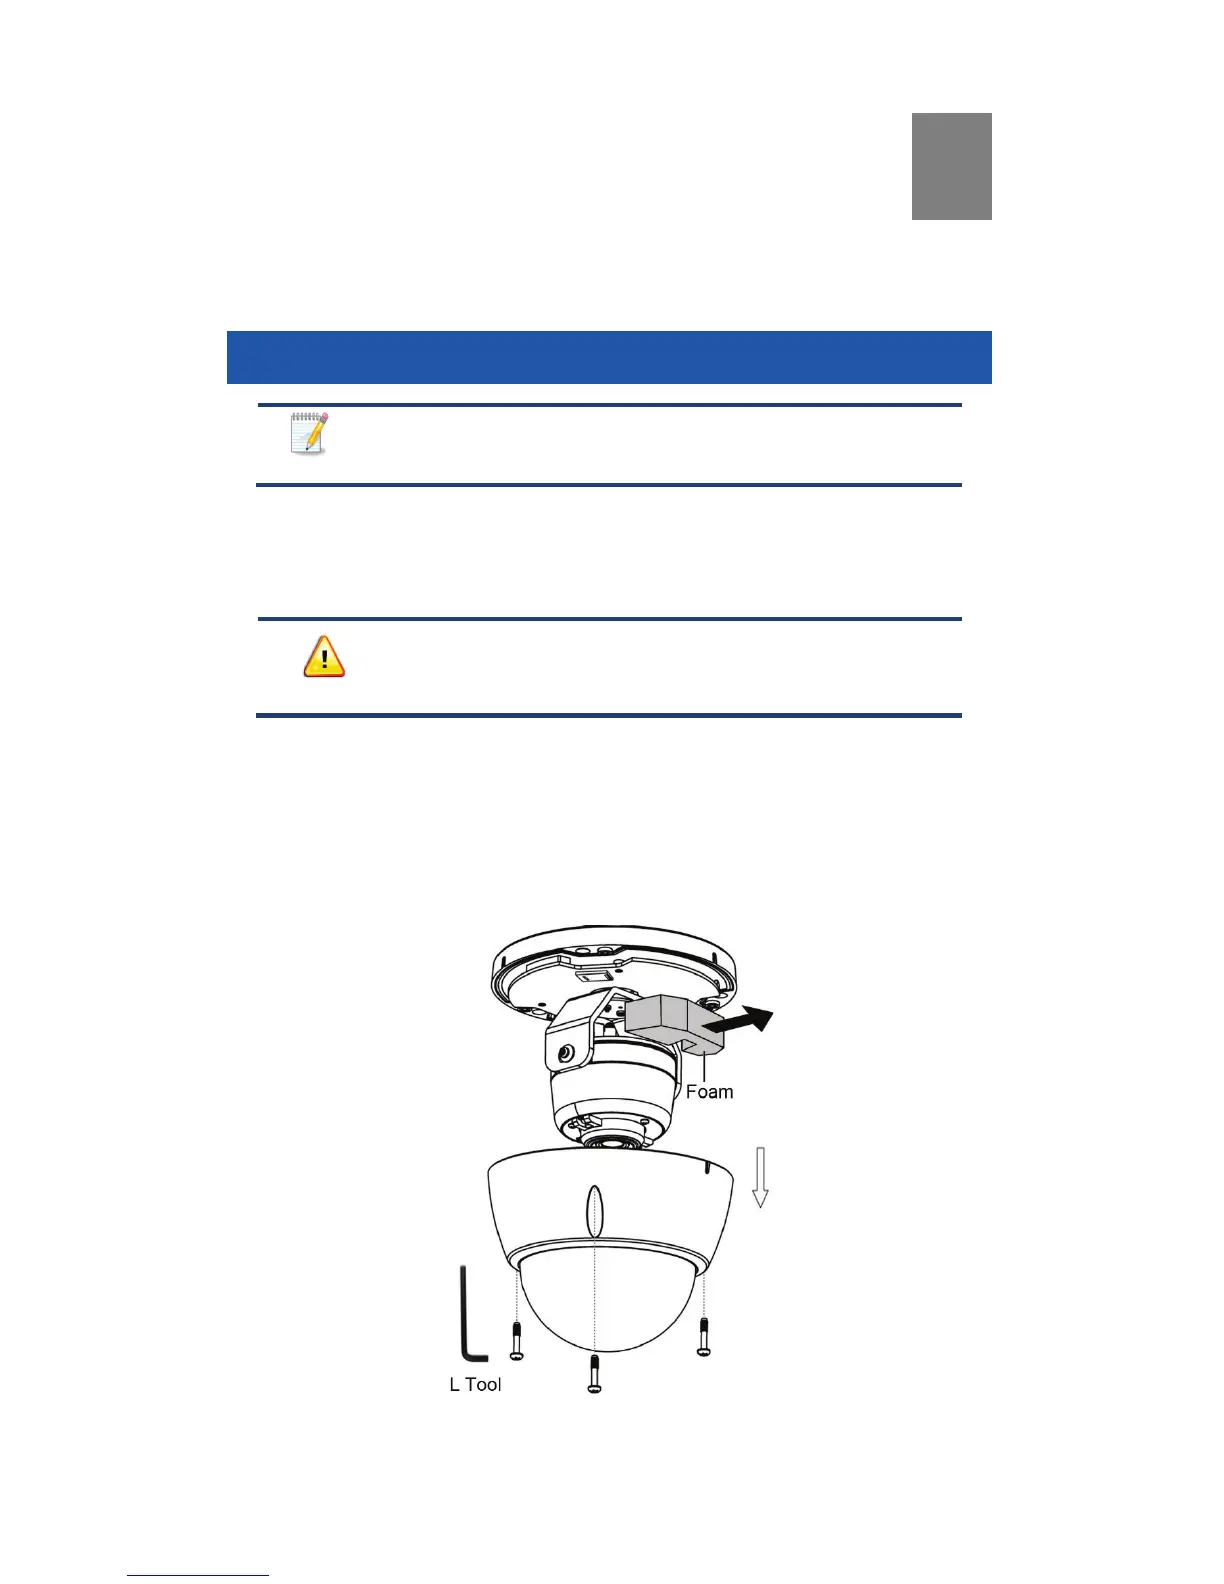
3. If you have not done so already, use the L tool to remove the three
screws and the bubble from the camera. Then remove the protective
foam as shown.
Figure 5: Removing the Bubble and Protective Foam