ADT 7100 User Manual Operating Procedure
Mounting samples
Look at the ADT LNF wiki page for accessing a video showing this process.
1. If you plan to bring your samples back to the cleanroom to process in any LNF system,
please review the section of Sample Preparation before mounting.
2. Be sure the size and thickness of your samples are compatible with the system.
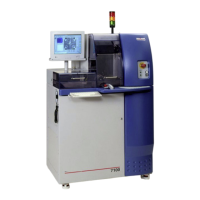
3. Turn the mounting station on using the red switch on the front panel.
4. Wait for the table to heat to 60°C. It will take about ten minutes.
5. Lift the cover and place the wafer face down on the chuck (blue pad) centered in the
circular lines and the flat aligned to the horizontal bars in the chuck.
6. Place the mounting metal frame around the sample, aligning the notches in the frame to
the pins near the top of the mounting chuck.
7. Turn on the vacuum valve located on the right front of the tool.
Note: For small or dedicated pieces, it may be better not to use the vacuum.
8. Pull the blue tape tight and across the frame and wafer, taking care to minimize wrinkles.
Do not drag the tape across the bar at the back of the mounting station. Instead, stick it on
the bar near the front of the tool. Be careful not to pull too much tape, as this will get in
the way.
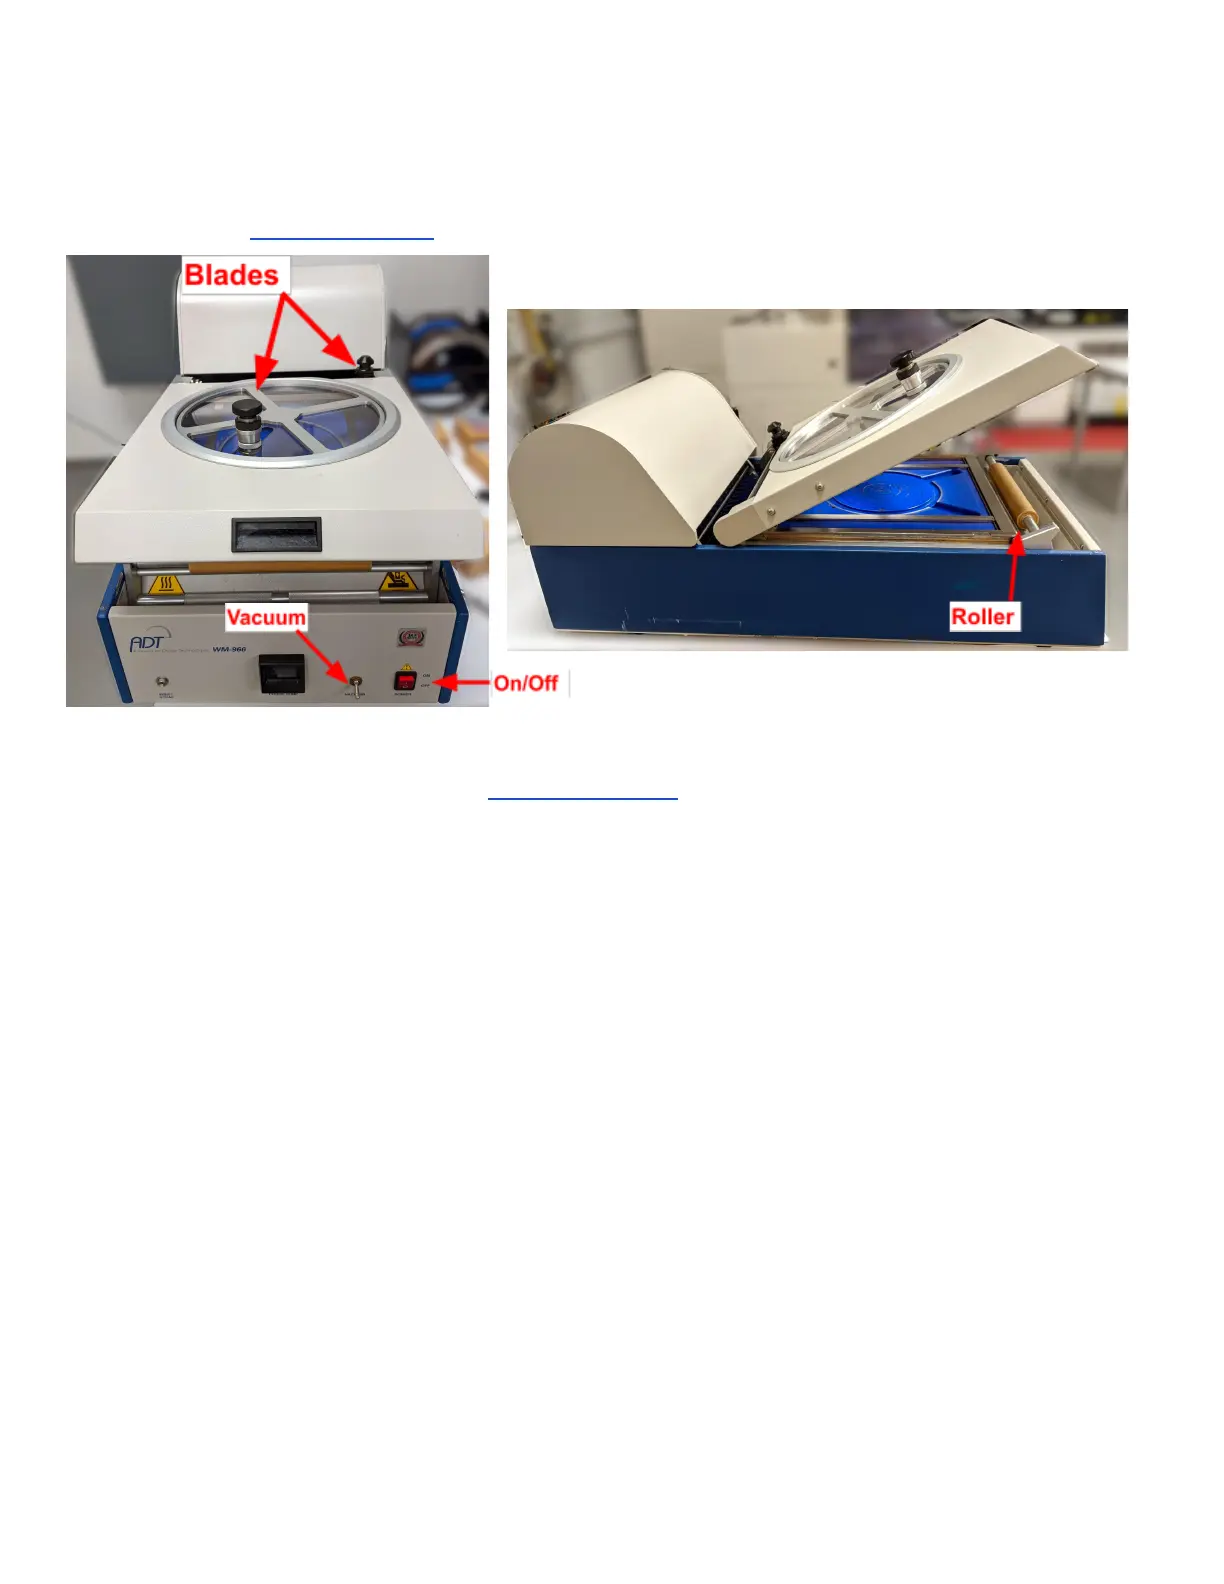
9. Press down firmly with your fingers at the four corners of the roller assembly base.
Immediately move the roller to the back and again to the front, straight and evenly to
prevent binding.
10. Place the roller back into the compartment in the front.
11. Close the unit cover.
12. Move the end cutter that is near the back of the cover to the center. Press down and move
Lurie Nanofabrication Facility 2-7