Chapter 1 Installation and setup
13
Anoxomat® III User’sGuide
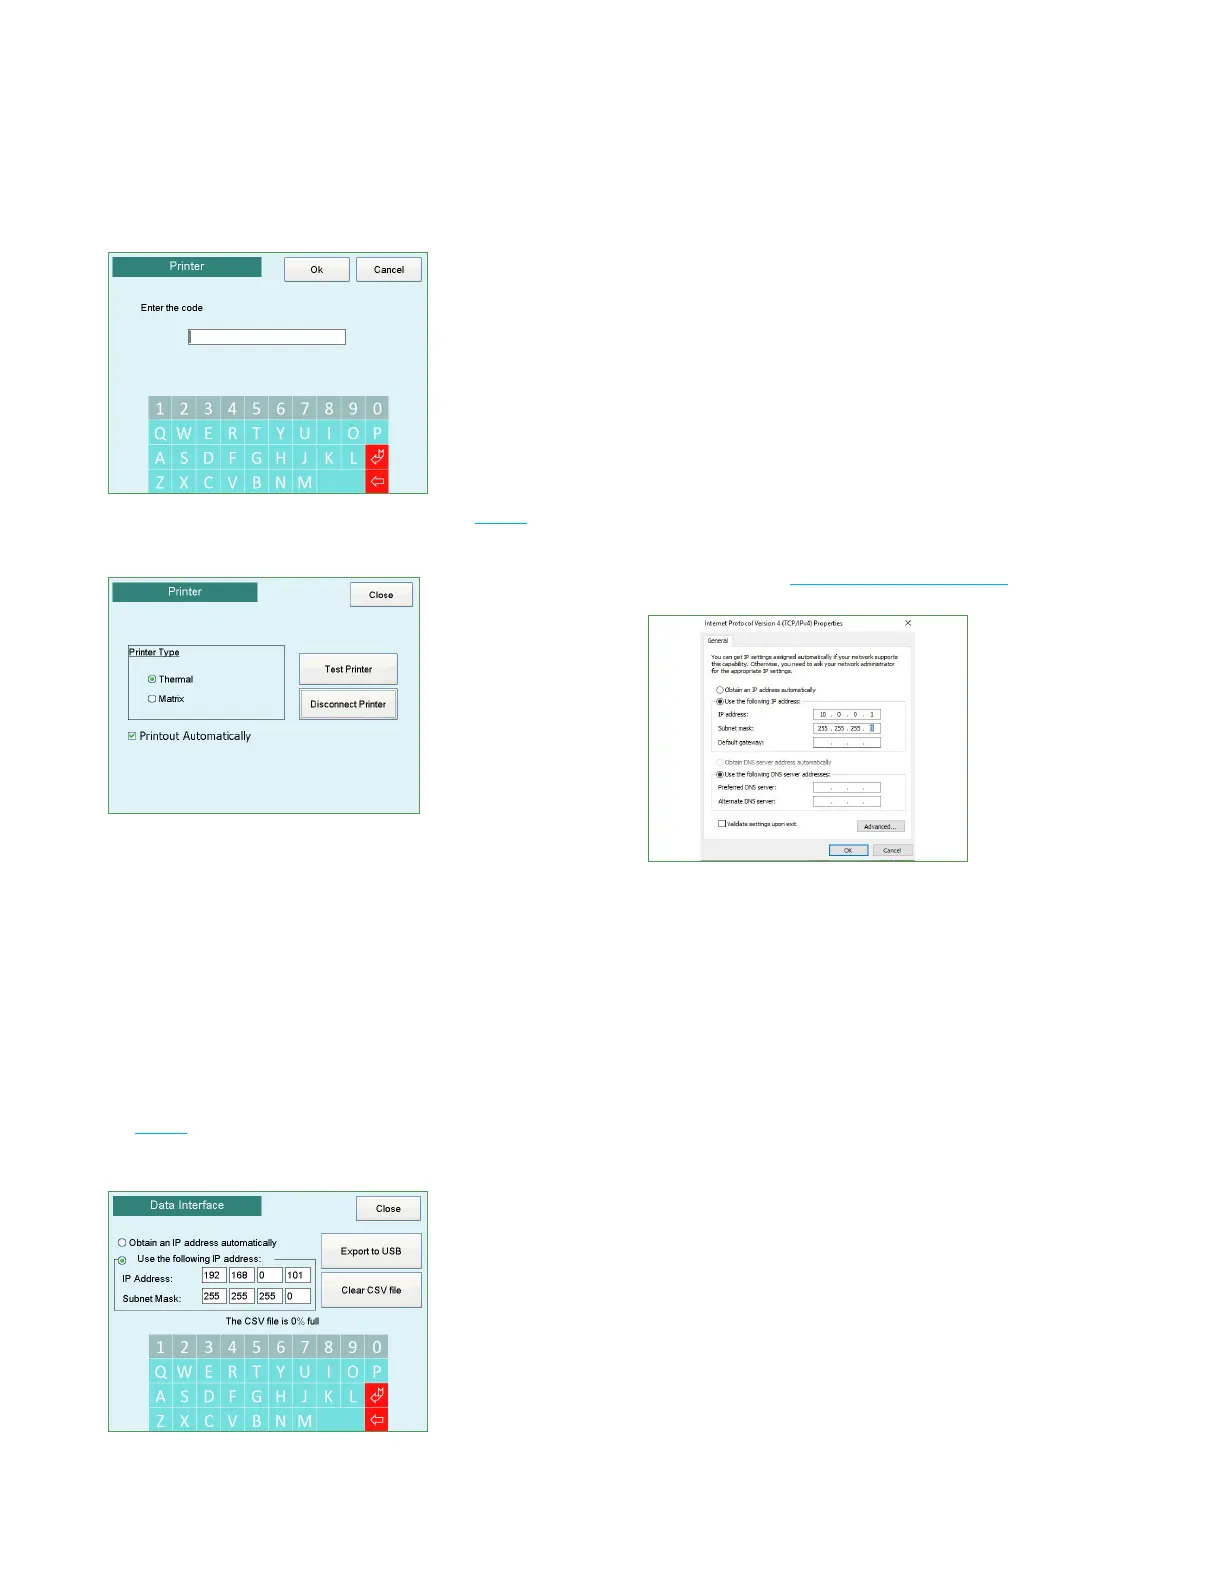
2. Enter the Printer Code from the red label (Fig. 1.1) and
press Ok. The Printer screen appears.
3. Choose the correct printer type and press Test Printer.
4. Select Printout Automatically to print the Anoxomat
recipe cycle information without prompting the user
at the end of each cycle.
1.14 Activating the data interface (optional)
If you purchased the optional Data Interface feature, you
need to setup and activate the software before you can
transfer data to a network or PC.
1. On the Setup screen, press Interface.
2. Enter the Data Interface Code from the red label
(Fig. 1.1) and press Ok. The Network Settings screen
appears.
Connecting to a network
Use a standard patch cable (Ethernet Cable) to connect
to a network. Select Obtain an IP address automatically
and reboot the Anoxomat. The IP Address and Subnet
Mask appears in the network settings
Connecting directly to a PC
Use a “cross-link” Ethernet cable to connect the
Anoxomat directly to the network card of the PC.
Contact your system administrator for a range of IP
addresses to be used and enter a fixed IP address .
Set the IP address of the network card in your PC within
the same range. Reboot the Anoxomat to activate the
connection. (See Data Interface on page20.)