14
Anoxomat® III User’sGuide
Chapter 2
Operating the Instrument
In order to run your instrument properly, it is important that you read
and adhere to the instructions in this section.
2.1 Function of major components
Operation of the instrument is quicker and easier if you
become familiar with the locations and functions of the
components, systems and controls.
Maximum gas supply pressure to the Anoxomat
should never exceed 2 bar absolute.
Jars and Petri dish holders
Petri dish holders are available for all jars and for the
usual Petri dishes. See Parts and accessories for more
information.
Palladox™ disposable catalyst
The disposable palladium catalyst is in a permeable
plastic pouch (sachet). It is for single-use only. Dispose
each sachet after every incubation to ensure proper
oxygen removal.
Quantity of disposable catalyst used per jar test
Jar Type Sachets needed
AJ9022 (holds 6 plates) 1
AJ9023 (holds 12 plates) 1
AJ9025 (holds 12 plates, microtiter plates) 2
AJ9049 (holds 12 plates) 1
AJ9050 (holds 24 plates) 2
AJ9028 (holds 36 plates) 3
Use the sachet at room temperature.
Clip the disposable sachet under the standard jar's lid or
place it in the ergonomic jar's designated slot.
Dispose of the sachet in accordance with lab procedures
and local biohazard waste disposal regulations.
2.2 Operating the instrument
Before use always check the jar for cracks or
damage.
1. Place inoculated dishes, tubes, microwell plates, or
other samples in the jar using the Petri dish holder.
2. Add the required number of sachets to the jar for
anaerobic bacterial cultivation.
Use an optical oxygen indicator strip or appropriate QC
plate in the jar.
3. Place the lid on the jar and slide the jar clamp over the
lid. Hand-tighten the jar clamp screw.
Note: If you're using ergonomic jars, close the clamps on
each side of the jar lid.
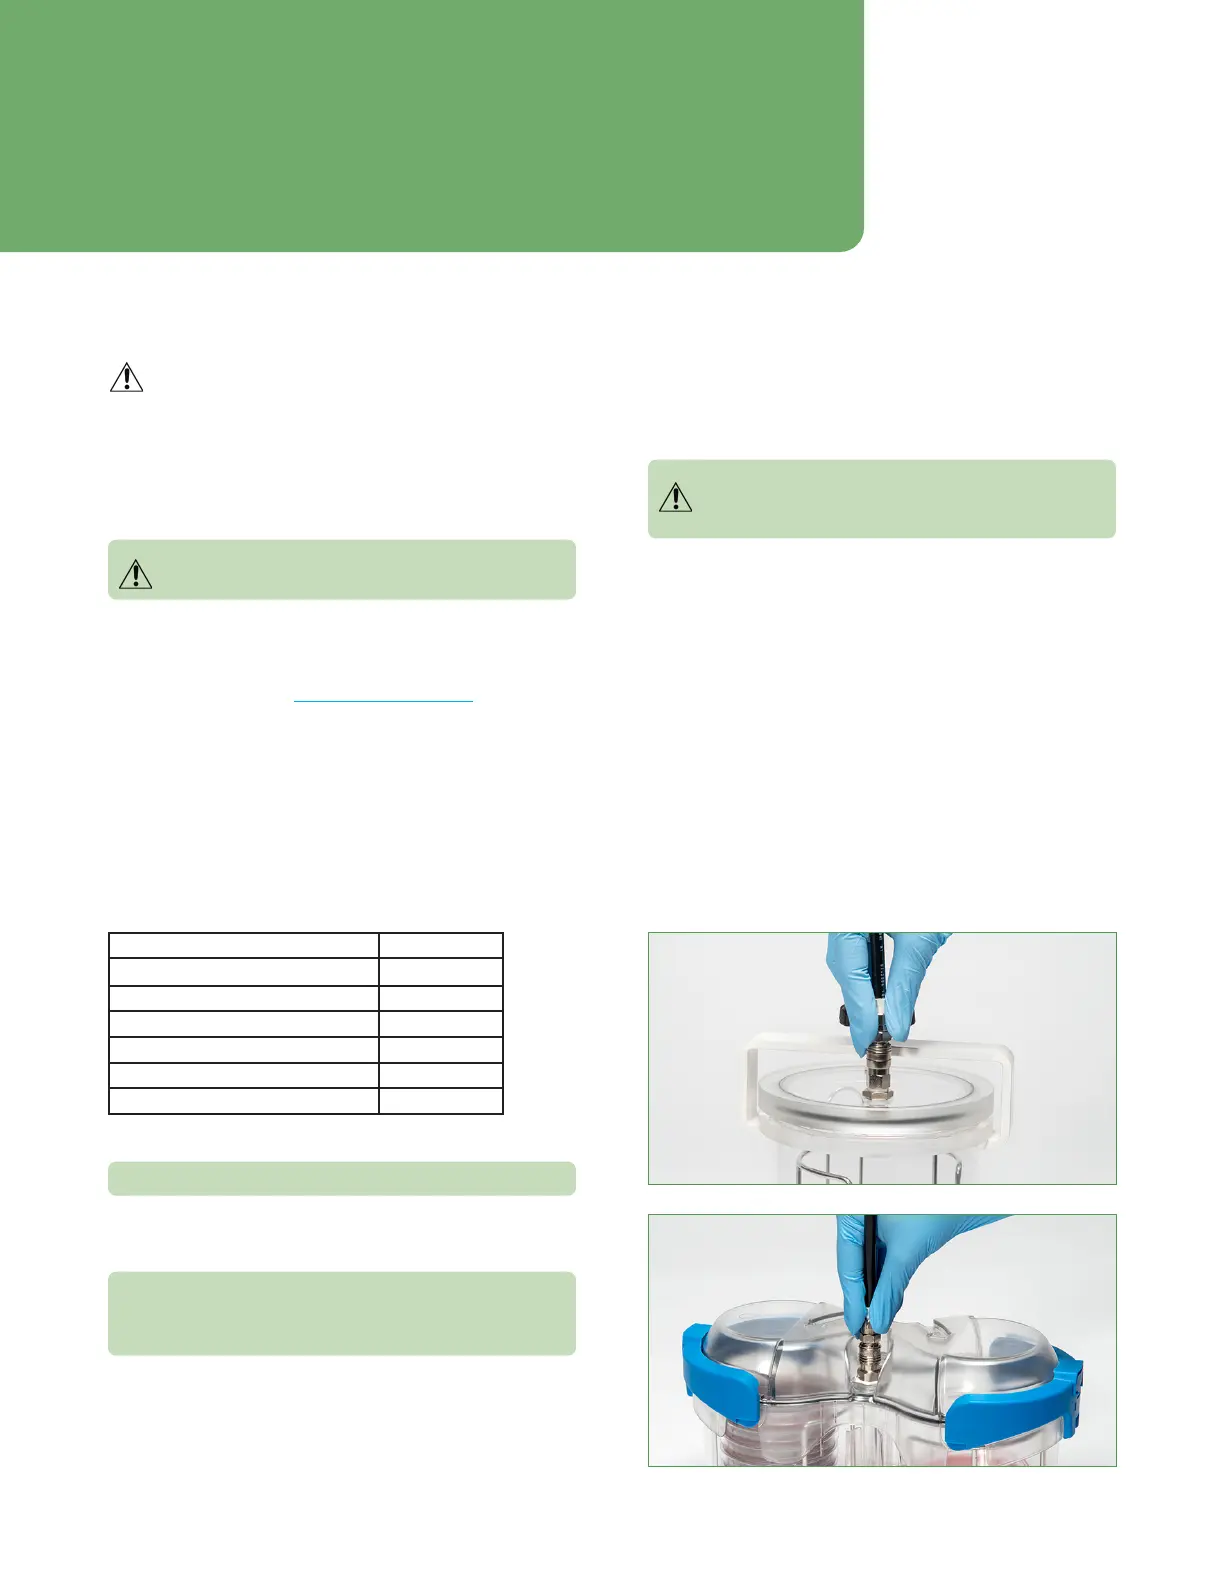
4. Connect the jars to the Anoxomat by pushing the jar
tube connector into the snap-shut coupling on the jar
lid.

 Loading...


