22
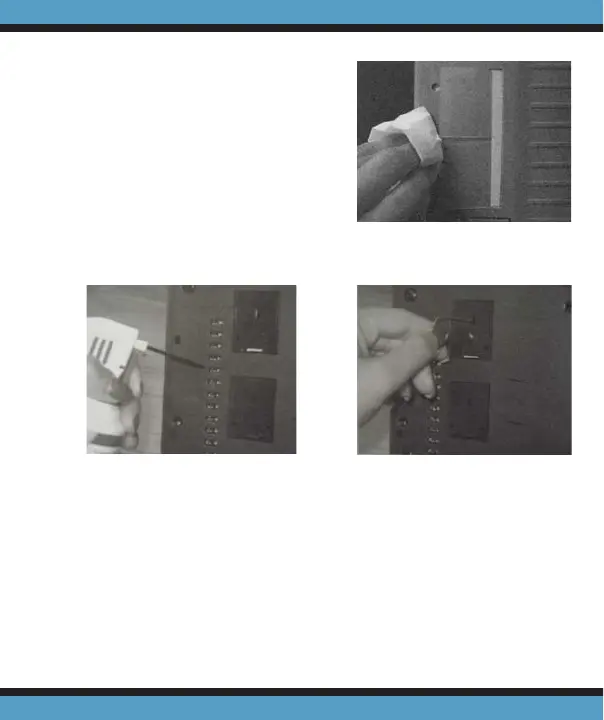
read sensors (Fig. 3).
3. If there is dust build up
in the printer slots then
remove the print cartridges
and clean slots with an un-
folded paperclip and tissue
(Fig. 4).
Securing the Cover Assembly
1. Insert the tab located at the lower right of the cover into
slot in the back chassis and pivot the cover downward
and fl ush (Fig. 5a and 5b, pg.23).
2. Tighten the thumbscrew (Fig. 1, pg.21) securely and
Figure 2
Figure 4Figure 3