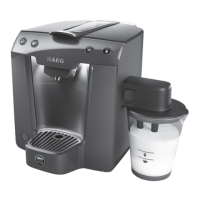
g
31
0 Fill the water tank with fresh cold
water (Fig. 8).
3
Pour only fresh cold water in the water
tank. Never put in other liquids, e.g.
mineral water or milk.
0 Replace the water tank (Fig. 7). Press
the tank firmly in, to ensure that the
water-tank valve opens.
3
If the water tank is not in place when
the coffee machine is switched on, or
the water level is low, the "Fill water
tank" indicator (Fig. 3, k) illumi-
nates. When this indicator is on, coffee
making is not possible or, if started, is
interrupted.
3
To always be sure of a rich coffee, full
of aroma, you should:
• change the water in the water tank
daily
• wash the water tank at least once per
week in normal washing-up water (not
in the dishwasher). Then flush with
fresh water.
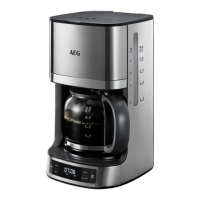
2.3 Switching the Coffee Machine
On
0 Switch the coffee machine on by
means of the "On/Off" key (Fig. 3, h)
(Fig. 9). The red indicator light
comes on. While the water is being
heated (approx. 25 seconds) the "Cof-
fee machine heating" indicator (Fig. 3,
i) flashes.
0 Once the operating temperature has
been reached, the coffee machine car-
ries out an automatic flushing cycle.
The water flows out into the drip tray.
The "Coffee machine heating" indica-
tor (Fig. 3, i) remains constantly on.
The coffee machine is now ready to
use.
3
Immediately after being switched on,
during the heating-up phase, the cof-
fee machine runs through a set-up
cycle. The noises this creates are com-
pletely normal.
2.4 Switching the Coffee Machine
Off
If you switch the coffee machine off
with the "On/Off" key (Fig. 3, h)
after you have finished making coffee,
the machine carries out a flush pro-
gram, during which time the "Empty
grounds container" indicator (Fig. 3, j)
flashes for about 1 minute as a
reminder. If you switch the coffee
machine off with the "On/Off" key (Fig.
3, h) while a function is running,
all functions are immediately switched
off.
2.5 Setting the Water Hardness
Before using the machine for the first
time or when using a different water
grade, you should set your coffee
machine to the water hardness level
corresponding to the local water hard-
ness. You can used the included test
card to determine the water hardness,
or contact your local water supply
company.
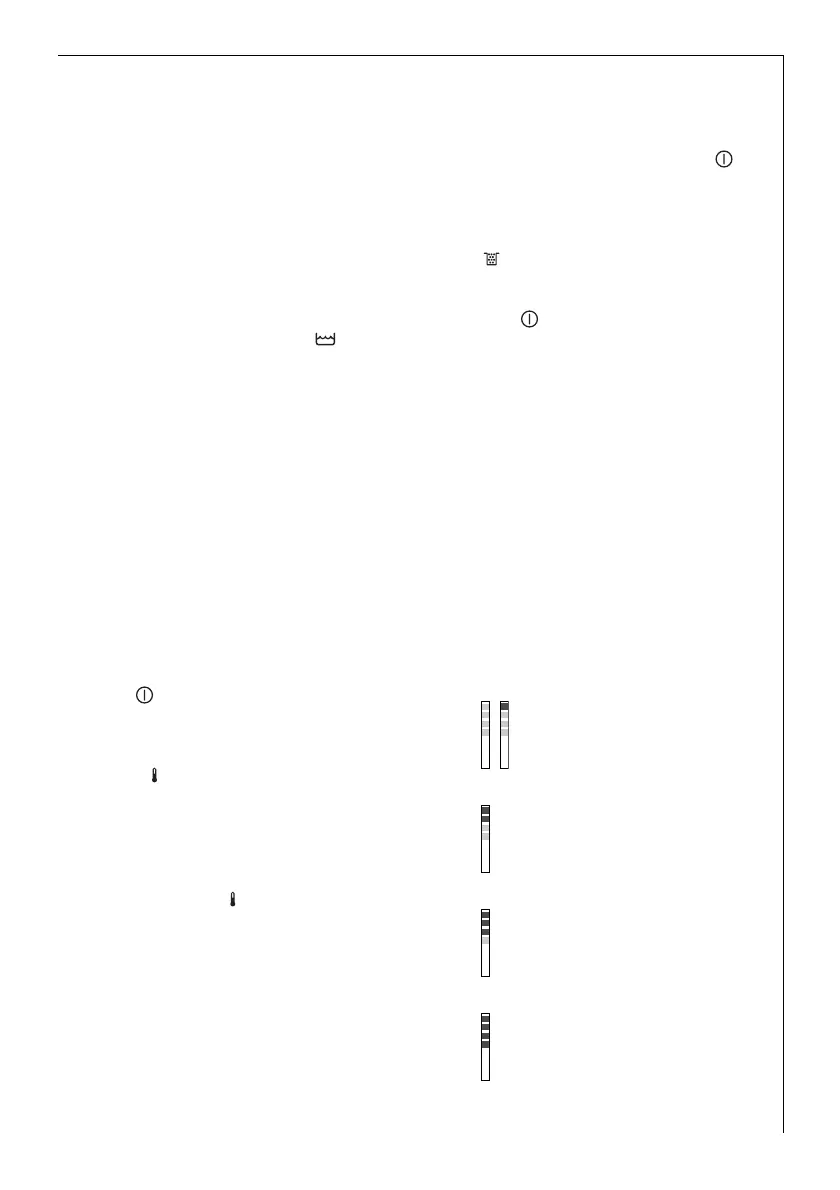
Determining water hardness
0 Dip the test strip in cold water for
around 1 second. Shake off the excess
water, and gauge the hardness by
means of the pink bands.
No pink bands or one pink band:
Hardness 1, soft
up to 1.24 mmol/l, or
up to 7° German hardness, or
up to 12.6° French hardness
Two pink bands:
Hardness 2, medium hard
up to 2.5 mmol/l, or
up to 14° German hardness, or
up to 25.2° French hardness
Three pink bands:
Hardness 3, hard
up to 3.7 mmol/l, or
up to 21° German hardness, or
up to 37.8° French hardness
Four pink bands:
Hardness 4, very hard
over 3.7 mmol/l or
over 21° German hardness, or
over 37.8° French hardness