14
SERVICING WARNING
Disconnect from electricity before servicing. Check appliance is safe when you have finished.
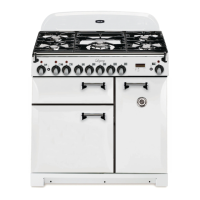
4. To Lift up the Ceramic Hob
Pull the range forward.
Pull off the push fi t control panel end caps at each
end and remove the end fi xing screws under the end
cap.
Remove the lower front retaining screws (one each
side) situated beneath the lower edge at the front
corners of the side panels.
Swing the side panels to gain access to the hob
fi xing screws (1 each side) at the top front of the side
uprights. Remove these screws.
Caution
The ceramic hob material is much more sensitive to scratches on the underside than the top.
Take care not to touch or scratch the underside of the ceramic as this will weaken the material and cause
the top to shatter.
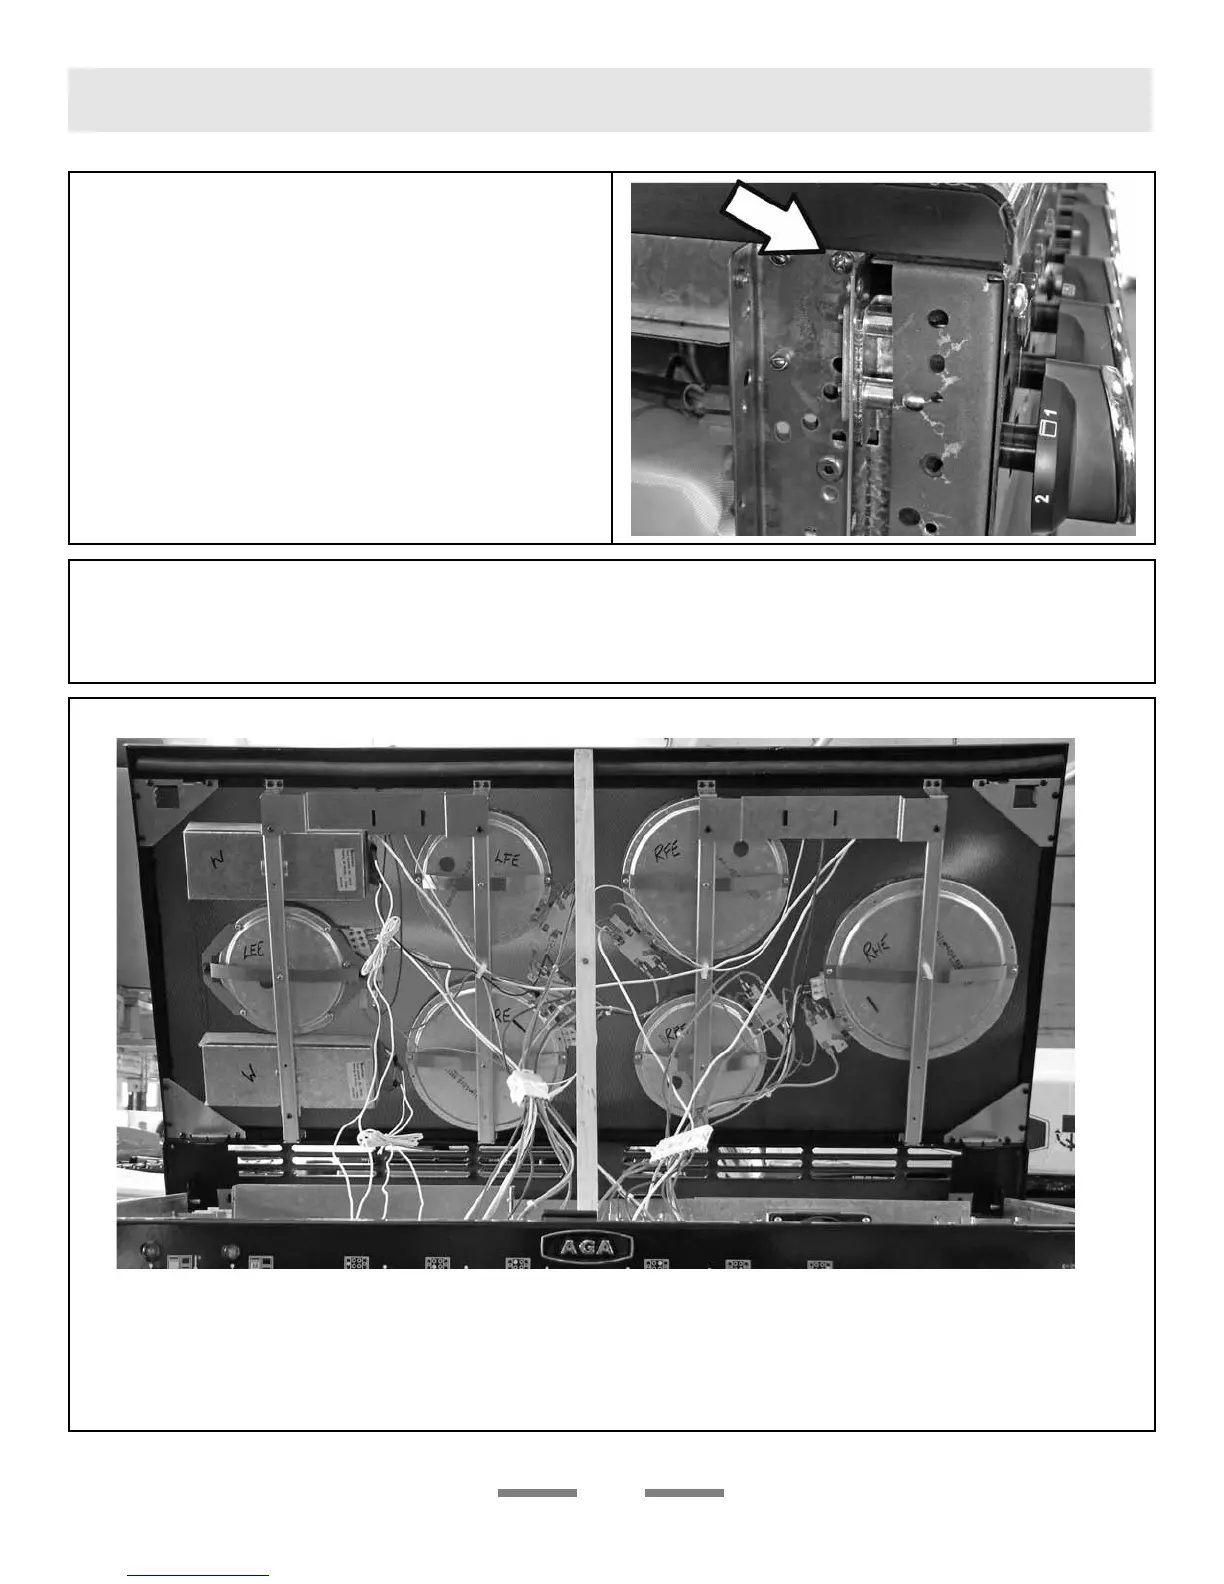
Lift up the ceramic hob at the front and prop in position with a non-metallic prop.
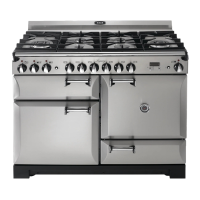
NB the photo shows a Legacy 44 but the 36 is similar.
The main diff erences apart from the width and number of elements are that the 36 does not have block
connectors in the connections to the hob elements and the neon indicator lights are on the right hand side of
the hob.
 Loading...