41
Read all instructions before installing or using this appliance.
Installation Instructions
Save these instructions for future reference.
3-Wire Conduit Installation
The range is shipped with reducer plates fitted
to the mounting bracket to give a 1
1
/
8
’’ diameter
opening for conduit connection.
Fix the conduit to the mounting bracket.
WARNING:
The range is shipped with a grounding jumper
from the center Neutral connection to the
Ground connection.
The neutral or ground wire of the power cord
must be connected to the neutral terminal
located in the center of the connector block. The
power leads must be connected to the outside
terminals.
Wire used, location and enclosure of splices,
etc., must conform to good wiring practices and
local codes.
Seal the Openings
Seal any openings in the wall behind the range
and in the floor under the range when hookups
are completed.
When all Connections are
Completed
MAKE SURE THE FLOW OF COMBUSTION
AND VENTILATION AIR TO THE RANGE IS
UNOBSTRUCTED.
Assemble the range
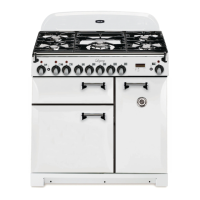
Fit the Door Handles
Remove the 4mm Hex headed screws from the
doors with the hexagon key tool. Use the screws
to fit the door handles.
The handles should be above the fixings.
Fit the plastic blanking plugs to the fixing holes.
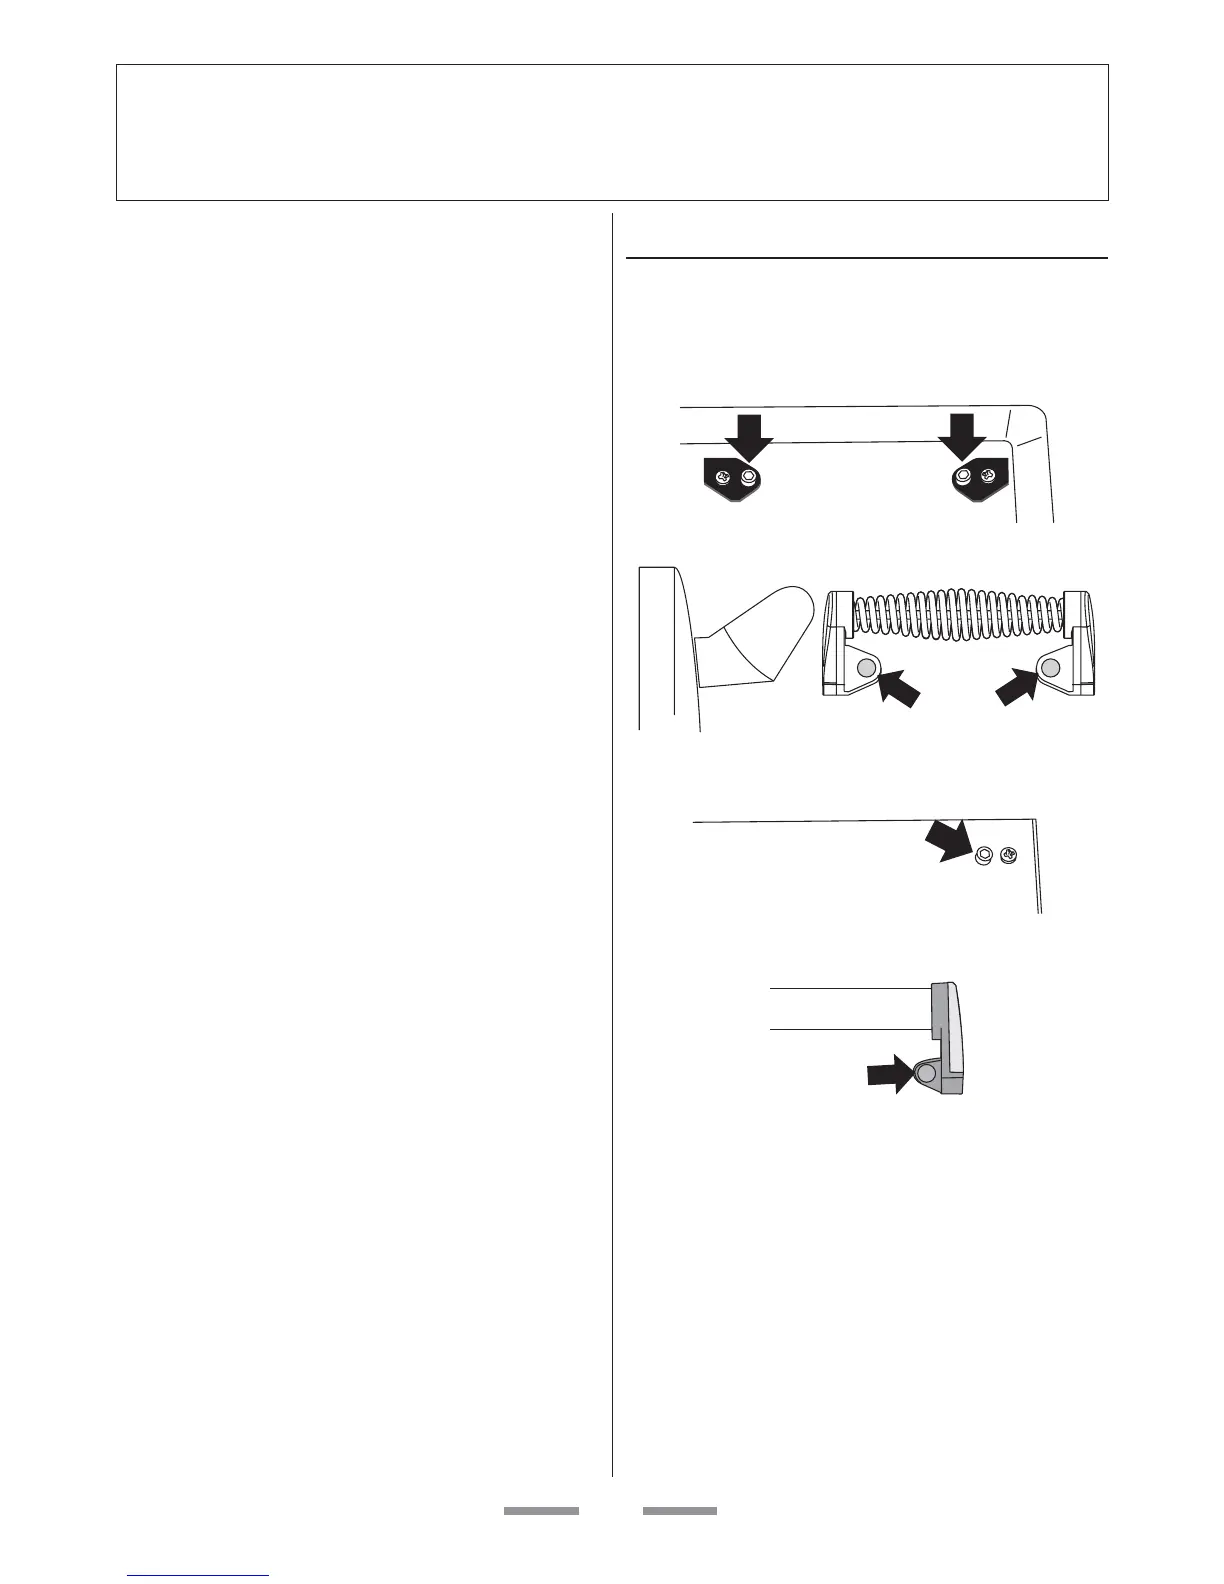
Fit the Handrail
Remove the 4mm Hex headed screws from the
top corners of the fascia.
Fix the front handrail in position. Fit the plastic
blanking plugs to the fixing holes.
 Loading...