47
Read all instructions before installing or using this appliance.
Installation Instructions
Save these instructions for future reference.
If the rear spacer is fitted
Hold the splash back in position. From the rear
refi t the 2 fi xing screws and nuts.
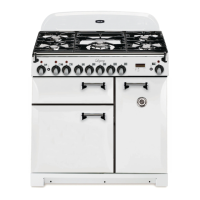
Assemble the Grates
Each grate is different. Make sure that the grates
are in the correct position and sitting down.
Fit the plinth
Loosen the 3 screws along the front bottom
edge of the range. Hook the central keyhole over
the central screw. Twist and fi t each end keyhole
over their respective screws. Tighten the fi xing
screws.
Refit the storage drawer
To refi t the drawer pull out the side runners.
Rest the drawer back on the side runners and,
keeping it level, push it right back. The clips
should click into position holding the drawer to
the side runners. Replace the drawer by locating
on side runners and push in.
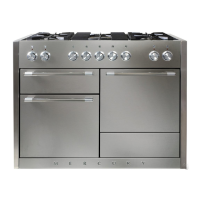
Range operational checks
Oven check
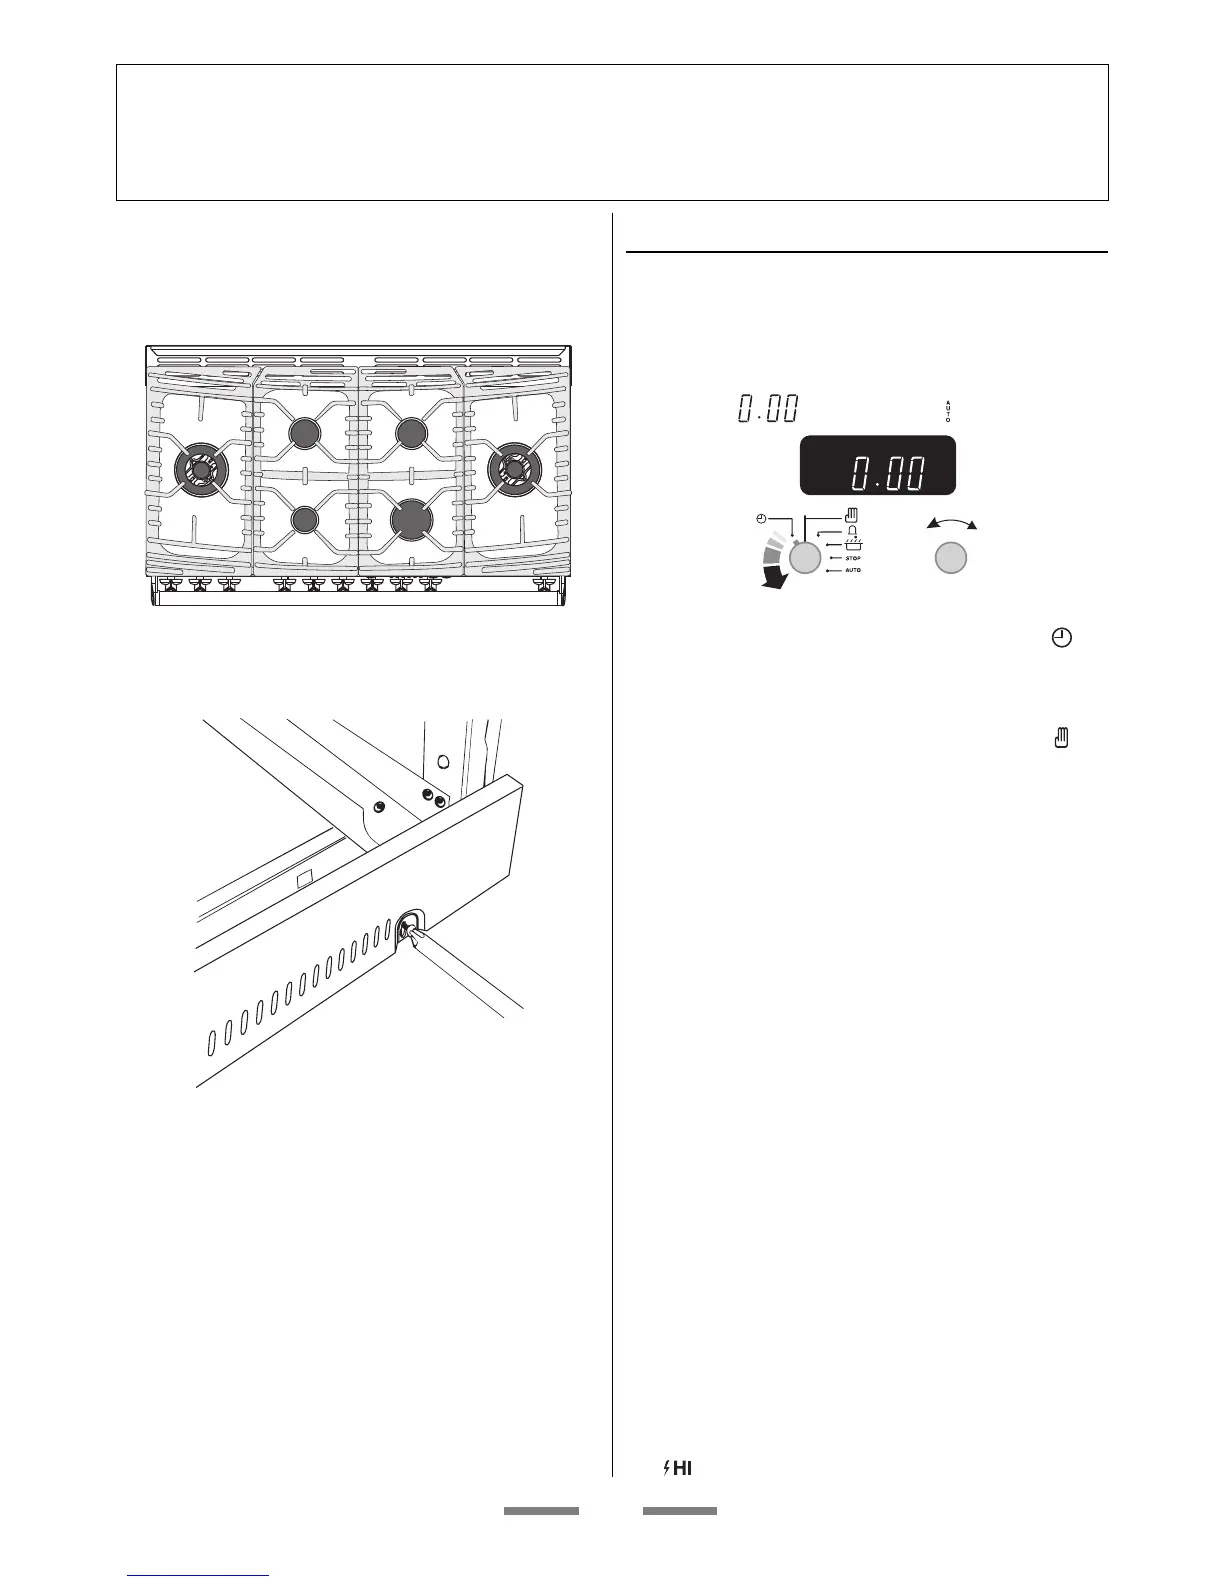
Set the clock to the time of day - the ovens will
not work if the clock is not set.
When the clock is fi rst connected the display will
fl ash (
) and ( ) alternately.
To set the clock to read the time of day turn and
hold the Setting knob to the clock symbol ( )
and at the same time turn the Adjusting knob
left or right until the clock shows the time of day.
This is a 12 hour clock. Let go of the Setting
knob and it will spring back to the vertical (
)
oven manual setting.
Turn on the oven and check that the oven fan
starts to turn and that the oven starts to heat up.
Turn off the oven.
Broiler
Open the broiler compartment door. Turn on the
broiler control and check that the broiler heats
up.
Oven Light
Press the oven light switches and check that the
lights are working.
Note. The oven light bulbs are not included in
the guarantee
Check Ignition of Cooktop Burners
Operation of all cooktop burners should be
checked after the range and gas supply lines
have been carefully checked for leaks.
Check each burner in turn. There is a fl ame
safety device that stops the fl ow of gas to the
burner if the fl ame goes out. There is also a
spark ignition system that works when the knob
is pressed in.
For each burner, push in and turn a knob to the (
) lighting position.
 Loading...