34 Chapter 3 Disassembly/Assembly Procedures and Parts List
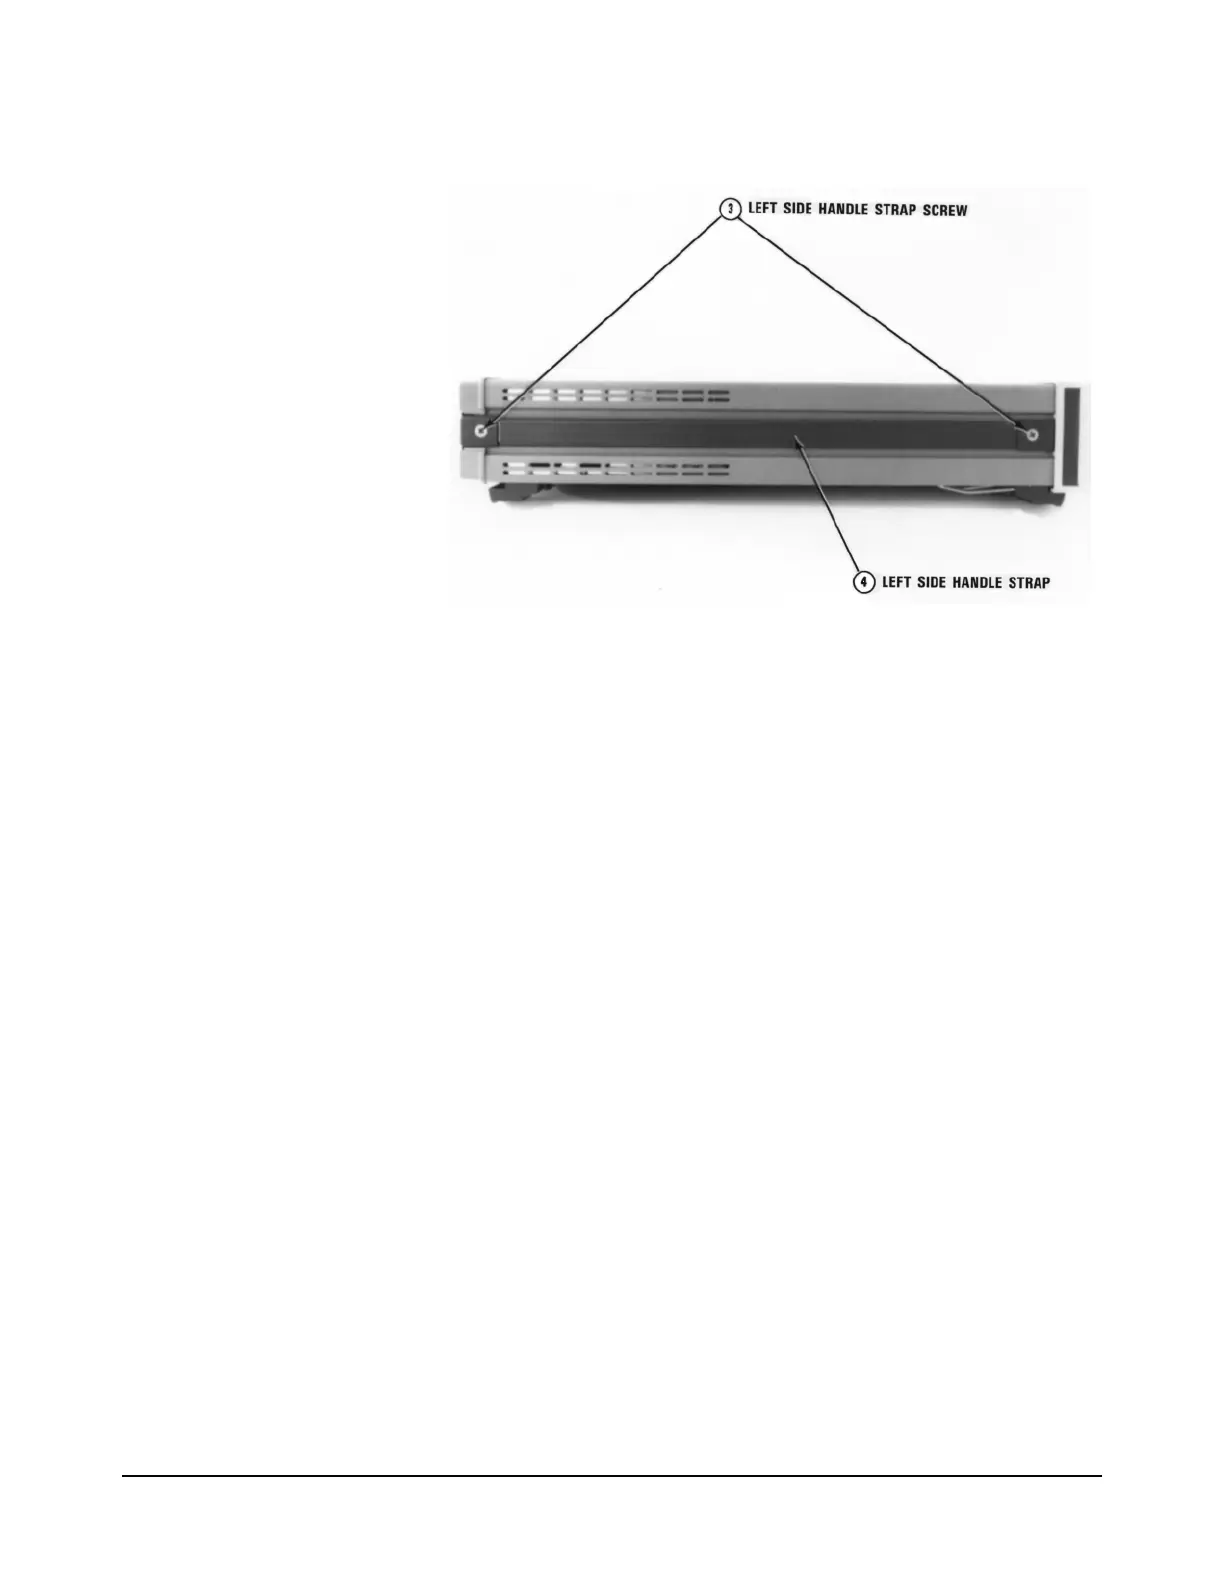
5. Refer to Figure 7. Turn the instrument so its left side faces you.
Figure 7. Remove/Install Left Side Handle
6. Use the #1 Pozidriv to remove the left side handle strap screws. Then
remove the strap.
7. Refer to Figure 8. Use the #TX10 Torx driver to remove both or either
the top and bottom cover ground screws, depending on which cover is
to be removed.
8. Refer to Figure 9. Turn the instrument so its rear faces you.
9. Use the #TX15 Torx driver to remove the four rear bezel screws.
Then remove the rear bezel.
10. If you do not wish to remove the top cover, continue with step 12.
11. To remove the top cover, pull the cover toward the rear until it clears
the front panel. Then slide it forward and away from the instrument.
12. If you do not wish to remove the bottom cover, continue with step 14.
13. Turn the 3458A over so its top sits on your workbench. To remove the
bottom cover, pull the cover toward the rear until it clears the front
panel. Then slide it forward and away from the instrument. Leave the
instrument in its present position.
14. If you do not wish to remove the bottom shield, continue with step 16.
15. Refer to Figure 10. Use the #TX10 Torx driver to remove the bottom
shield screw. Then remove the shield. Pull the shield toward the rear
of the instrument until the shield retainers line up with the slots in the
shield. Lift the shield off.

 Loading...


