10 Installing Rotary Valves
Installing Rotary Valves
Restoring the GC to operating condition
1 If the electronics side or top cover was removed to install an
actuator and solenoid, reinstall it now.
2 Plug in the power cord and turn on the GC.
3 Configure the valves. See your GC Operating Manual if you
need help.
4 Connect the solenoid air line to a source of clean, dry air at
55 psi.
If your detector also uses air, pulses in a shared air line may
affect it. The solenoid air supply should be separate from the
detector air supply.
5 Turn on the air supply to the solenoid valves.
6 Use a flat blade screwdriver to turn each installed valve ON
and OFF. Ensure that each valve is physically in the OFF
position as described on page 5.
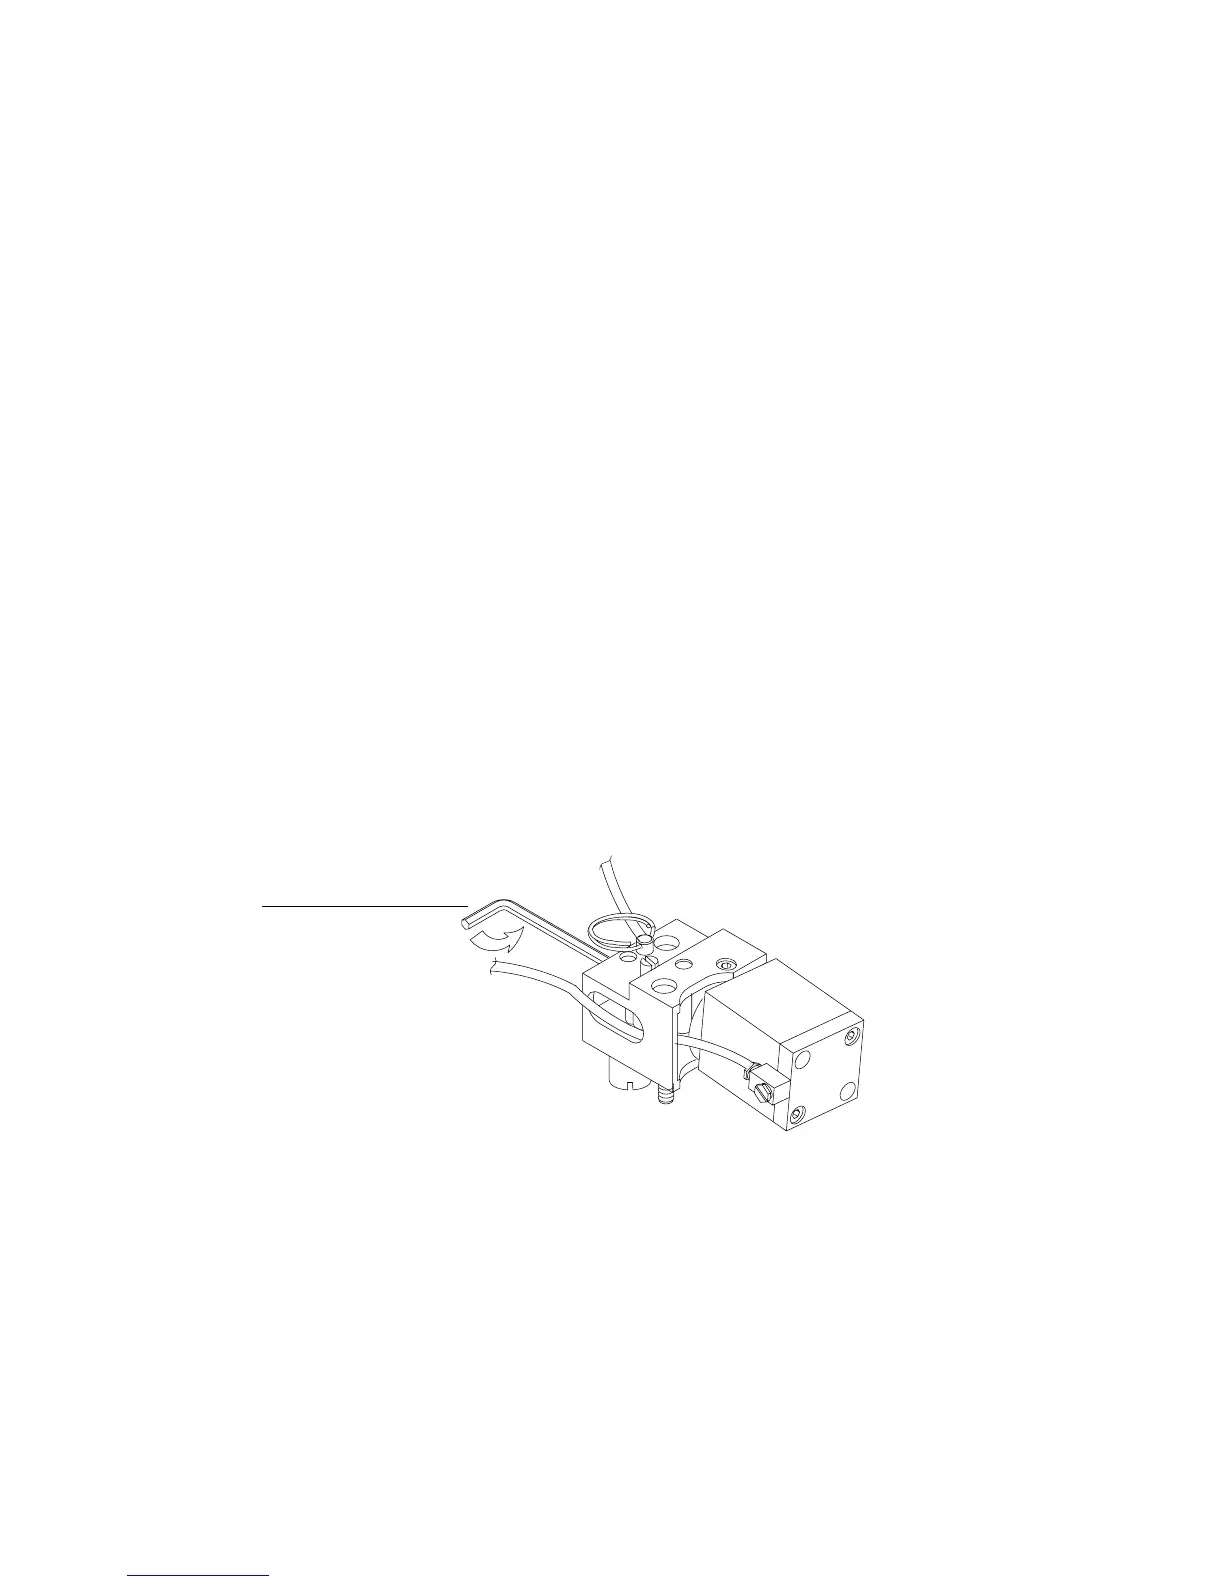
7
Use the 3 mm hex key wrench to tighten the link arm
lockscrew by rotating it clockwise until very tight.
Figure 13 Tightening the link arm lockscrew
8 If it was removed, reinstall the detector cover.
Hex key wrench
 Loading...