Installation
Agilent Cary 3500 UV-Vis Spectrophotometer User’s Guide 17
3 Installation
Use the following checklist to make sure you have the work area ready to install
the Cary 3500 UV-Vis.
All equipment is on site and has been checked for damage.
The work area meets the environmental requirements (see Page 14).
A suitable workbench is available (see Page 14).
Suitable electrical power supplies are available (see Page 15).
A computer that meets requirements is available (see Page 16).
A working Microsoft Windows operating system is installed on the
computer. For instructions on installing this, refer to the documentation
supplied with the operating system.
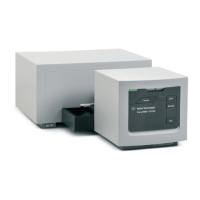
The Agilent Cary 3500 UV-Vis spectrophotometer is designed to be completely
customer-installable. Instructions for setting up the system are included in the
Cary UV-Vis Installation Video that is installed on the computer desktop during the
software installation.
There are three main steps to install your Cary UV system:
1 Install the software – instructions are provided in the Cary UV software box
2 Install the hardware including both the engine and module – instructions are
provided in the installation video installed on your computer desktop
3 Run the System Heath tests to ensure the installation was successful –
instructions are provided in the installation video installed on your computer
desktop and in the Cary UV-Vis Help and Learning Center
Once the installation is complete, open the Cary UV-Vis Help and Learning Center.
Click “Learning” to access a self-guided familiarization of the hardware and
software, including instructions on how to setup and run a method and how to
analyze the data.
 Loading...


