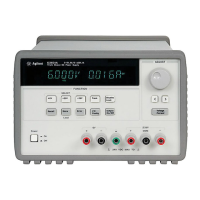
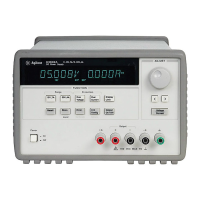
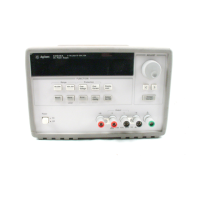
Chapter 3 Front-Panel Operation
Constant Current Operation
27
3
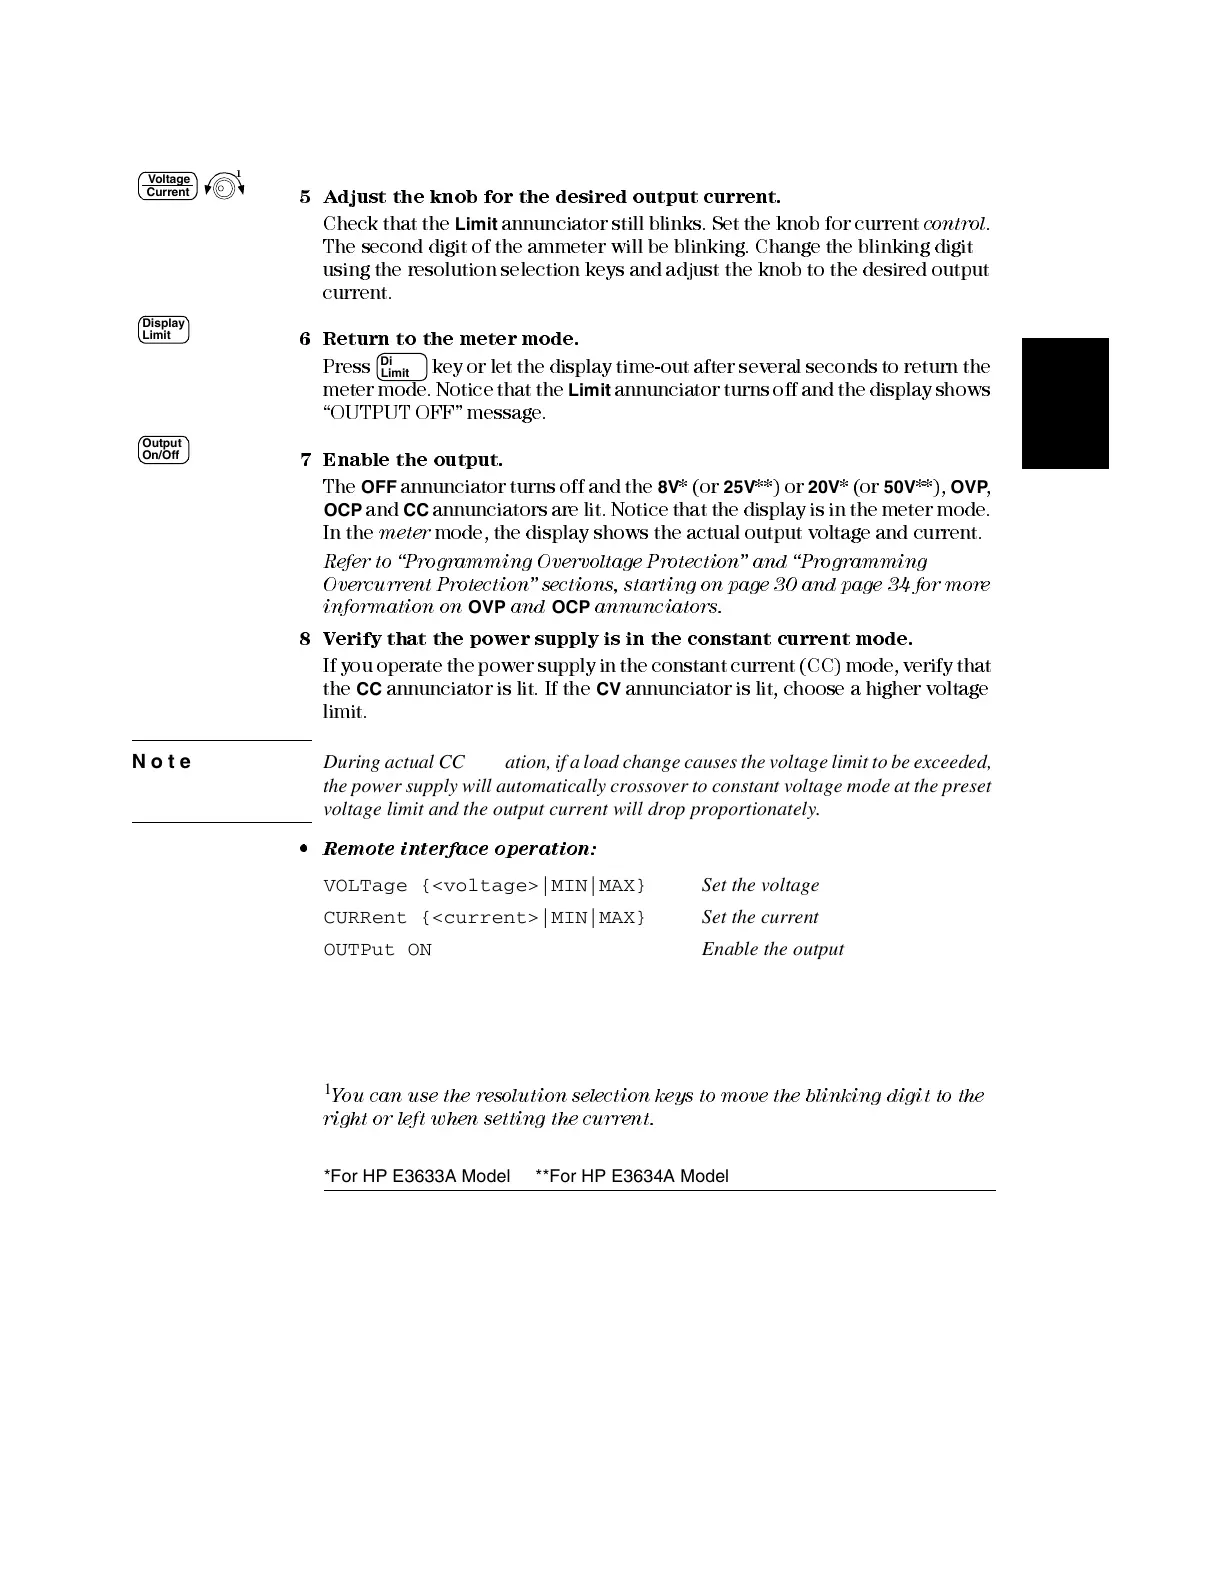
5 Adjust the knob for the desired ou tput current.
Check that the
Limit
annunciator still blinks. Set the knob for current
control
.
The second digit of the ammeter will be blinking. Change the blinking digit
using the resolution selection keys and adjust the knob to the desired output
current.
6 Return to the meter mod e.
Press key or let the display time-out after sev eral sec onds t o return the
meter mode. Notice that the
Limit
annunciator turns off and the display shows
“OUTPUT OFF” message.
7 Enable the output.
The
OFF
annunciator turns off and the
8V
* (or
25V
**) o r
20V
* (or
50V
**),
OVP
,
OCP
and
CC
annunciators are lit. Notice that the displa y is in the meter mode.
In the
meter
mode, the display shows the actual output voltage and current.
Refer to “Programming Overvoltage Protection” and “Programming
Overcurrent Protection” sections, starting on
page 30 and page 34 for more
inform ation on
OVP
and
OCP
annunciators.
8 Verify that the power supply is in the constant current mode.
If you operate the power supply in the constant current (CC) mode, verify that
the
CC
annunciator is lit. If the
CV
annunciator is li t, choose a higher voltage
limit.
Note During actual CC operation, if a load change causes the voltage limit to be exceeded,
the power supply will automatically crossover to constant voltage mode at the preset
voltage limit and the output current will drop proportionately.
• Remote interface operation:
VOLTage {<voltage>|MIN|MAX} Set the voltage
CURRent {<current>|MIN|MAX} Set the current
OUTPut ON Enable the output
1
You can use the resolution selection keys to move the blinking digit to the
right or left when settin g the cur ren t.
Voltage
Current
1
Display
Limit
Display
Limit
Output
On/Off
*For HP E3633A Model **For HP E3634A Model
 Loading...