114 Chapter 3
Making Measurements
Audio AC Level Measurement
Step 6. To adjust the audio range settings, press Input/Output and Audio Ranging, then
select a range from
Range 0 to Range 4.
For example, if the audio signal under test is 1 Vp and the displayed audio signal
is 0.707 Vrms, select Range 2. For ranging information, see “Audio Ranging” on
page 148.
You also can press
Audio Input Ranging, to turn auto input ranging off and on, for
audio measurements.
Step 7. To adjust the display, press
AMPLITUE/Y Scale, then:
1. Press the
Display Unit key and select a display unit key. The default setting is
Vrms.
2. Press the
Display Mode key to toggle between Normal and Ratio. The default
setting is
Normal.
3. Press the
Ratio Ref key to toggle between Auto and Man. When you select Man,
input the reference value and unit. When the reference is set to 0 or the
measurement result is 0 under log ratio mode, the result displayed is “- - -”.
4. Press the
Ratio Mode key to toggle between Log and Linear.
Audio AC Level Measurement Example
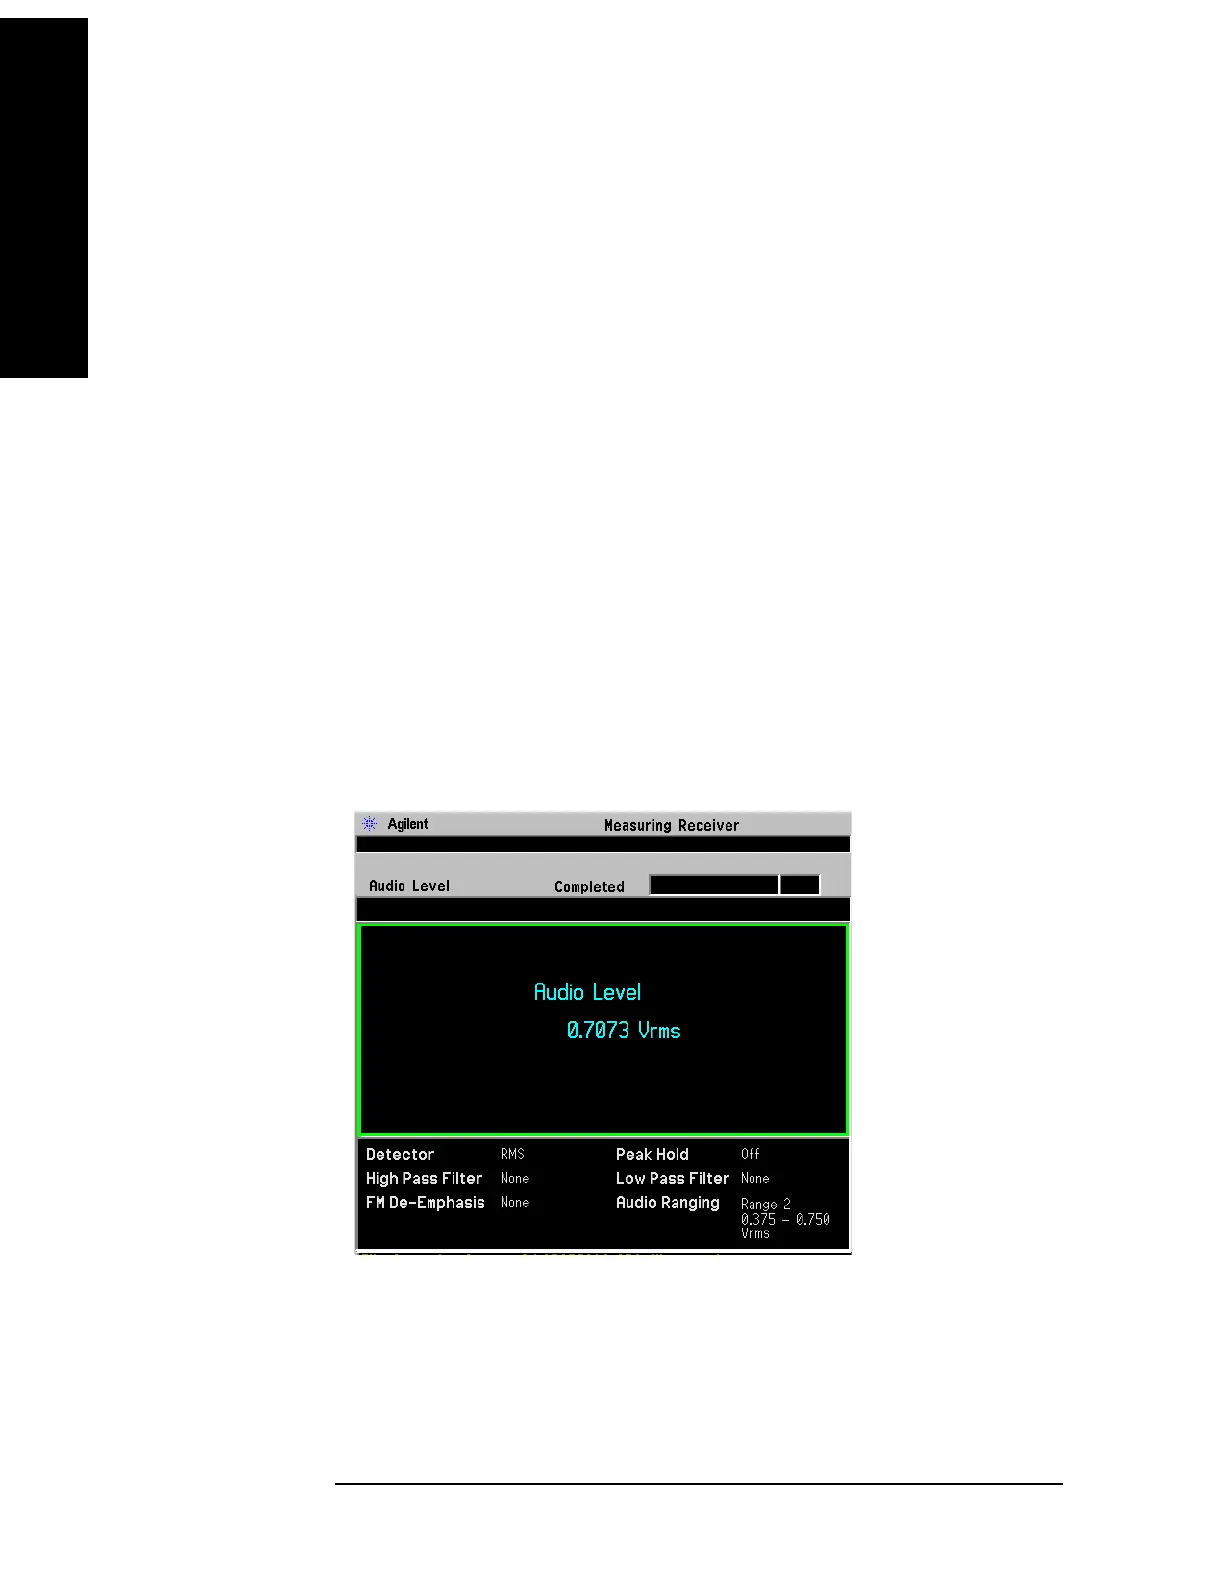
Figure 3-25 Audio AC Level Measurement Result
Signal Under Test:
Audio Frequency: 1000 Hz; Amplitude: 1.0 Vp; Modulation: Off.
In this example, the measured Audio AC Level is 0.7073 Vrms.
 Loading...


