Set up “Capture Intervals” and “Capture Times Restricted” within the box of timing capture,
and then click the butt
on “
” to make timely captures. Thus, the software would
automatically capture one image after each “Capture Interval” until the amounts of images
re Times Restricted”. If no restriction is made on the capture times, the
images thus captured would be automatically saved and the software
would not enter the interface of measurement.
Vid
Click the button
captured reach the “Captu
capture would last. The
eo Capture
“ ” in the Toolbar and the recording setup box would appear at the
right of the interface; then set up proper file names and save routes, and click “Select compressor”
to select the encoding format of the videos.
Click the button
“
” (or the shortcut key “R”) to start recording, and the status bar at the
right lower corner would display the recording time; click again to conclude the recording process.
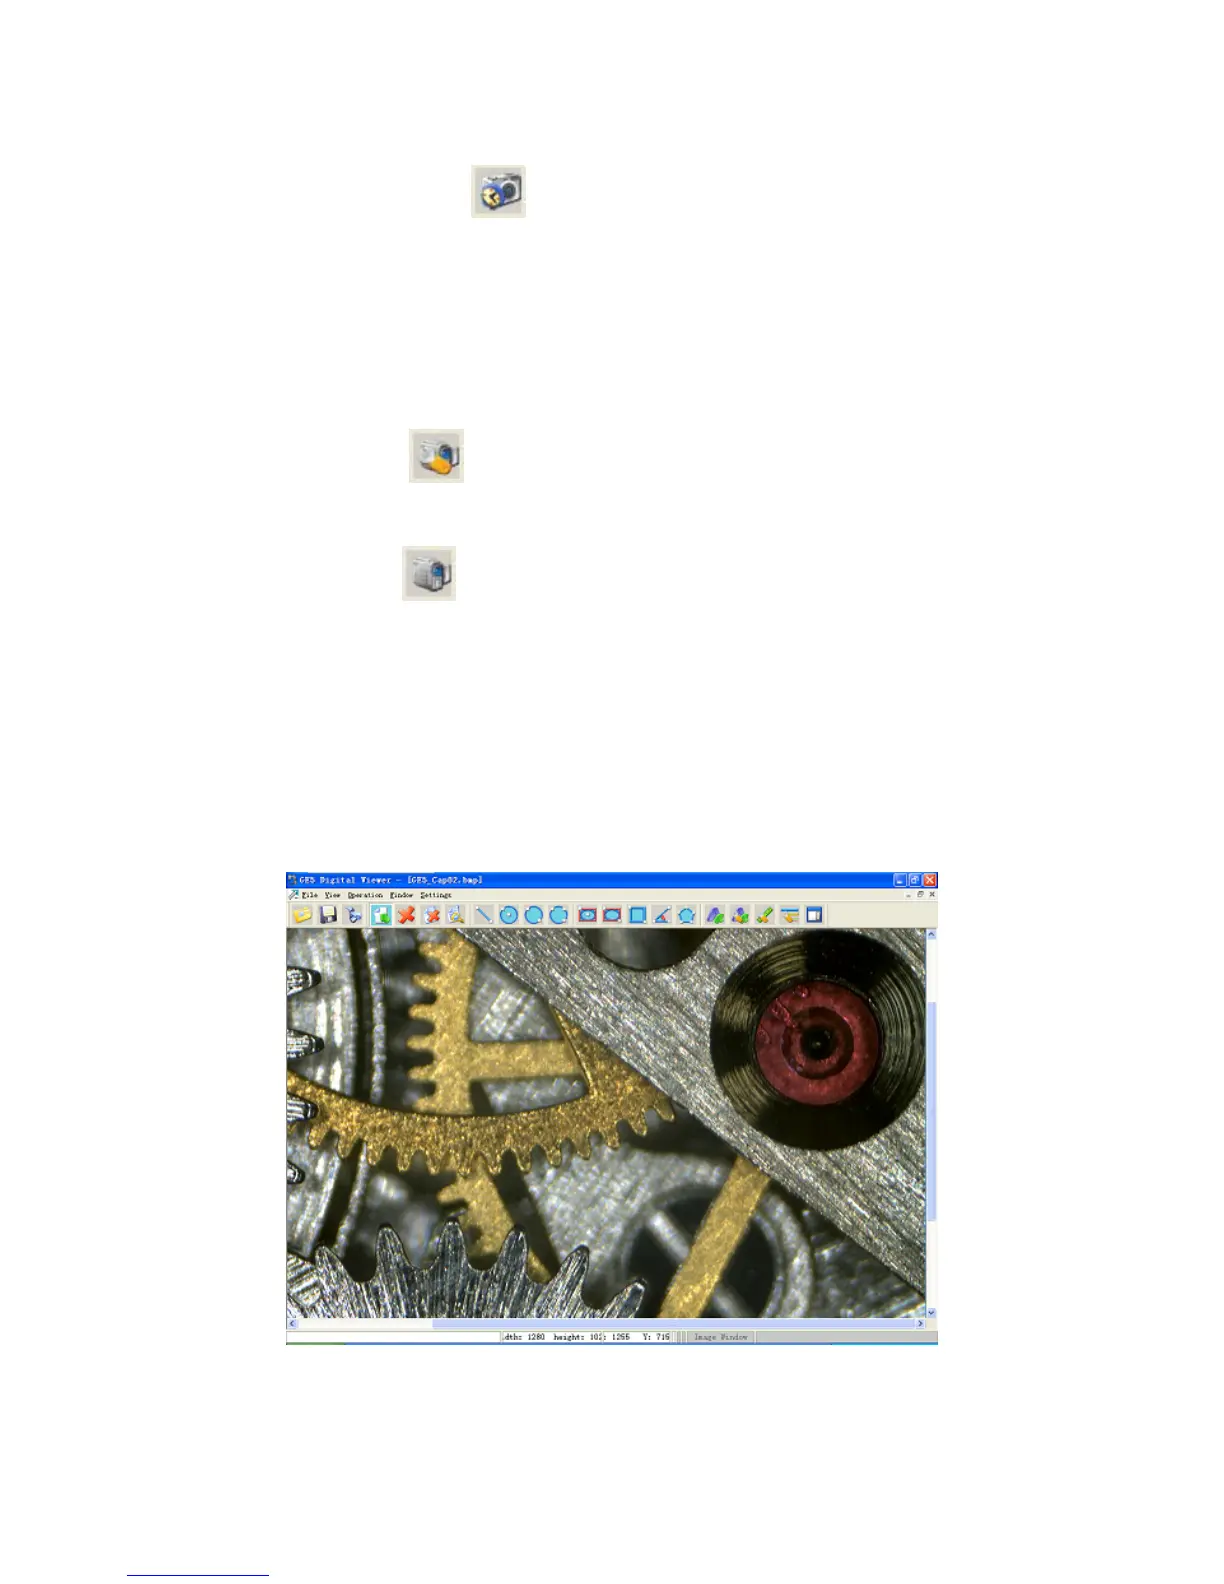
Image Measurement
After the image is captured, the software would enter the measurement interface, which
contains Menu, Toolbar, Image Window and Status Bar. In this interface, the user could measure
and save the image just captured.
23