12
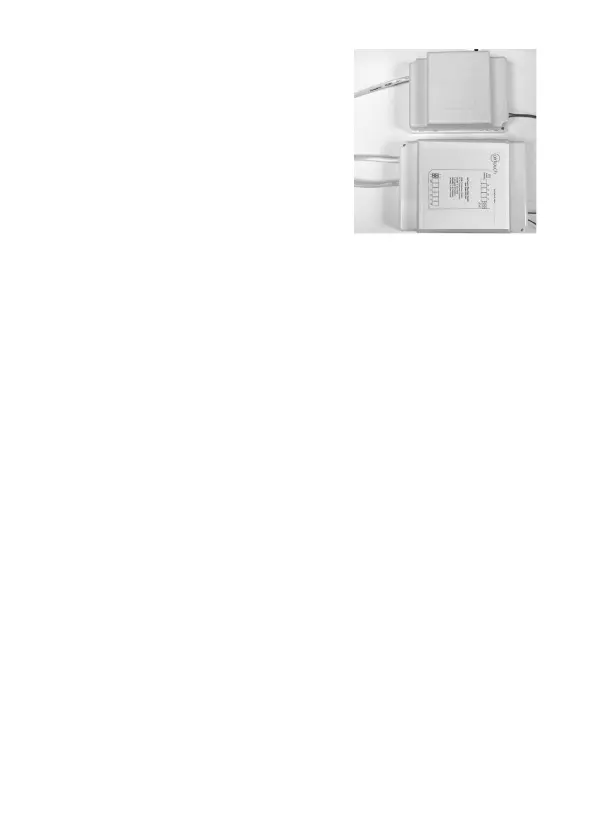
4.10 Replace the side covers back on the main
control and extension module once nished
setting and commissioning.
Components Installation
Continued on next page
4.11 Fit the Console to wall
The plastic casing of the console consists of two halves. The front cover
contains the PCB board along with the LCD/console. The back cover
attaches to the wall as a mounting base. During the installation process the case
will have to be opened to mount the console on the wall. Follow the steps below
to carefully install the console to the wall:
a. Slide the back base to bottom side to clear the stops on the front cover
b. Remove the base from the front cover
c. Position the back base on the wall where the cable is (about 1.5m high from the
oor). Ensure it is away from any heat or cool source and mark the cable hole
and screw holes.
Note: The correct back cover direction is marked on its surface; follow that
mark when xing the back cover.