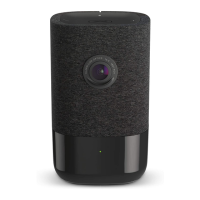
1 | ADC-V622 180° Camera with Digital Pan / Tilt / Zoom Quick Installation Guide | 2
180° CAMERA WITH
DIGITAL PAN / TILT / ZOOM
PRE-INSTALLATION CHECKLIST
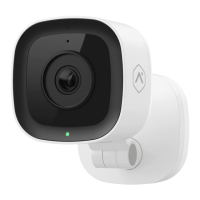
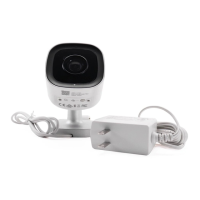
• ADC-V622 camera (included)
• AC power adapter (included, required for non-PoE connections)
• Broadband (Cable, DSL, or Fiber Optic) Internet connection
• A computer, tablet or smartphone with Wi-Fi is required if the
router does not have the Wi-Fi Protected Setup (WPS) feature
• An Ethernet / Cat5 cable (for PoE or wired setup)
• Login and Password for the Alarm.com account to which
you will add the camera
There are three options for connecting the ADC-V622 to the network: Ethernet
Mode, Wi-Fi Protected Setup (WPS) Mode, and Access Point (AP) Mode.
Add the Camera to
an Alarm.com Account
Complete these steps prior to installing the camera
ETHERNET MODE
1 Using an Ethernet cable, connect the camera to the network.
2 Connect the camera’s AC power adapter and plug it into
a non-switched outlet (if not using a PoE connection).
3 Add the device by either selecting the account in MobileTech
or
www.alarm.com/addcamera
4 Select the camera from the video device list or type in its
MAC address to begin adding the camera. The camera’s
MAC address is located on the back of the camera near
the power cable.
5
Customer Website.
 Loading...