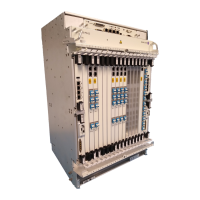
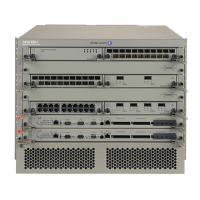
Field Replaceable Units
7450 ESS-7 Page 149
To replace a fan tray:
Step 1 Orient the fan tray so that the inside connector is on top in order to mate with the
connector on the backplane.
Step 2 Align the fan tray with the slot guides. Slide the tray into the slot until the faceplate of
the fan tray is flush with the chassis back.
Step 3 Make sure the connectors engage.
Step 4 Secure the fan tray faceplate into place by tightening the captive screws.
Step 5 Verify the fan status LED on the SF/CPM.
Table 44: Fan Tray Installation Features
Key Description
1Fan tray
2 Captive screw hole
3 Captive screw (4 per fan tray)
4 Slot guide
5 Fan tray handle (dual fan trays only)
 Loading...