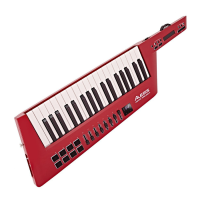
Features
3
Important: Use the Vortex Wireless 2 editor software to assign various MIDI commands to: the
pads, the faders, the three modes of the ribbon controller, the Sustain button, the pitch bend
wheel, and the volume slider. Visit alesis.com and register your Vortex Wireless 2 to download the
included editor software.
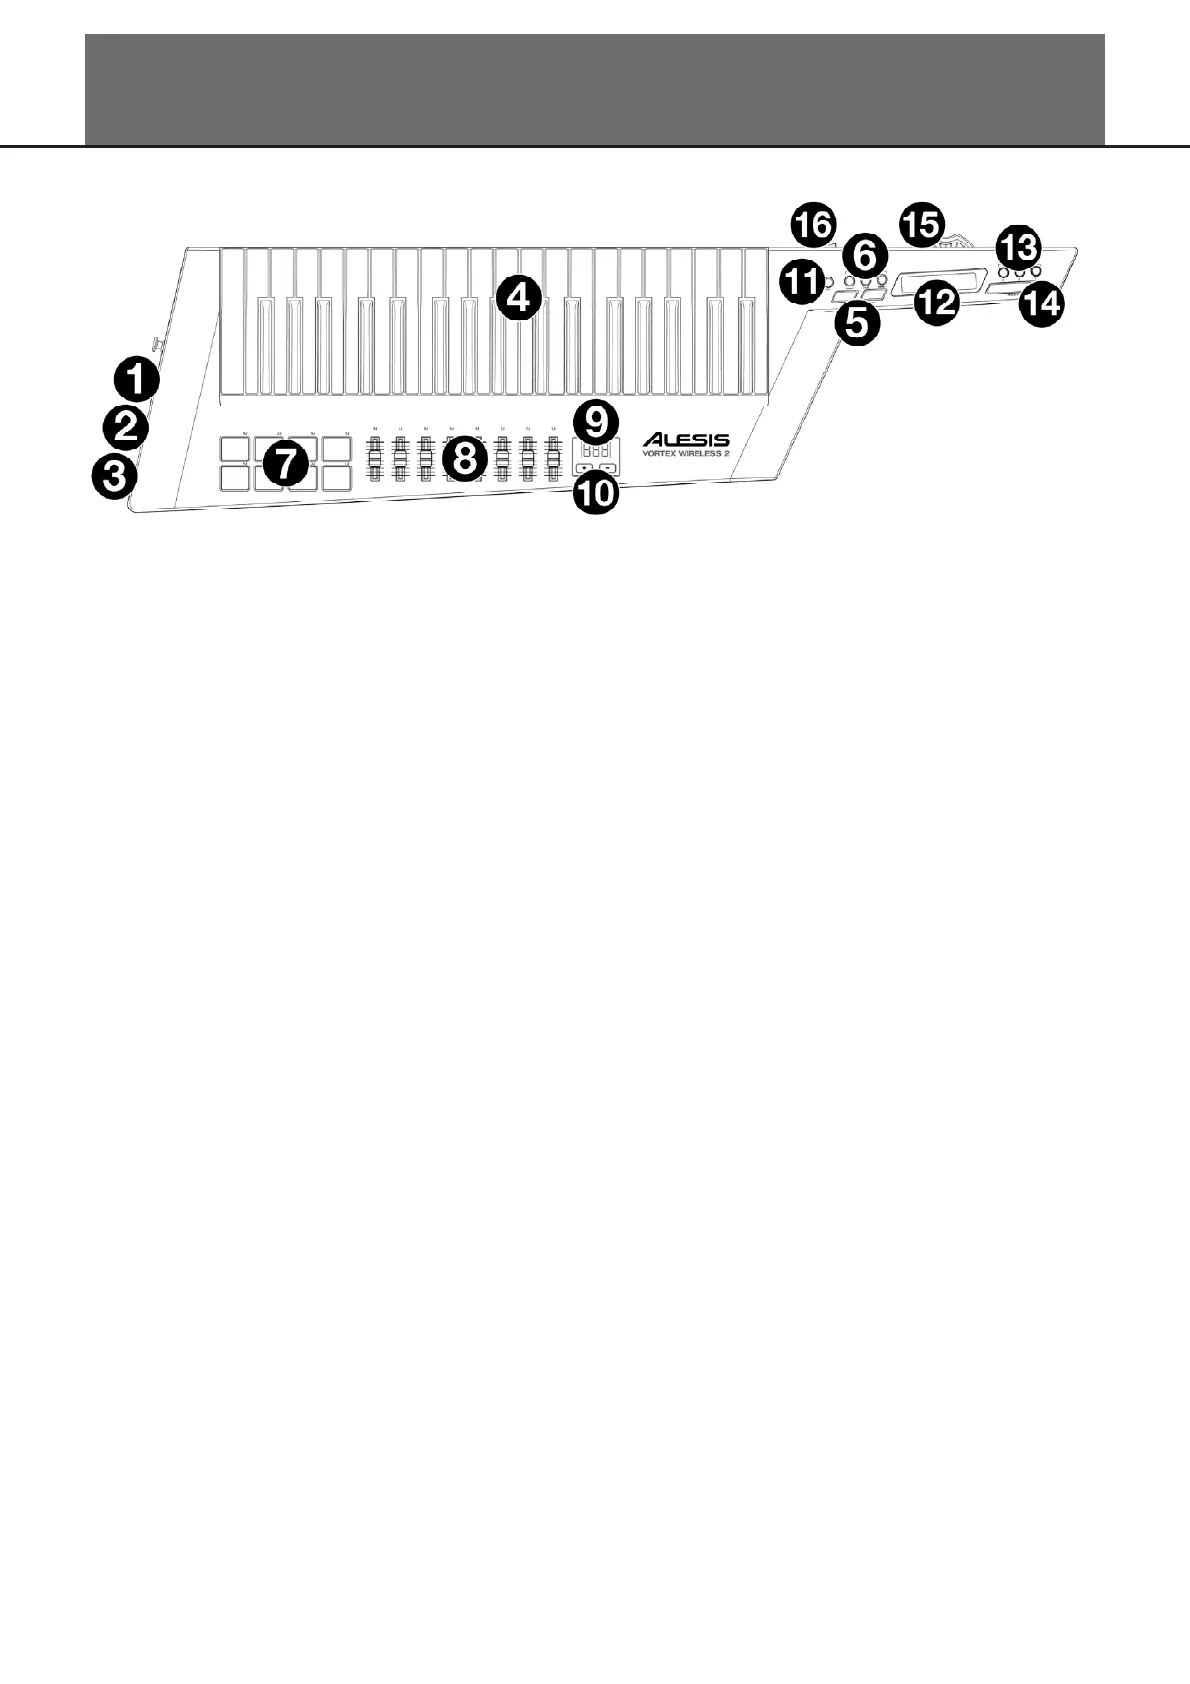
1. Power Switch: Use this three-position switch to power Vortex Wireless 2 on or off. Set this to
Batt to power it on using 4 AA batteries (install these beforehand). Set this to USB to power it
on using USB power from a connected computer. Set this to Off to power it off.
2. USB Port: Use a standard USB cable to connect this USB port to your computer. The
computer’s USB port provides ample power to Vortex Wireless 2. This connection is also used
to send and receive MIDI data to and from your computer.
3. MIDI Out (5-pin DIN): Use a standard five-pin MIDI cable to connect this output to the MIDI
input of an external MIDI device (e.g., a synthesizer, sequencer, drum machine, etc.).
4. Keys: This 37-note keyboard is velocity-sensitive with aftertouch and, in conjunction with the
Octave Up/Down buttons, can access the full range of 127 available MIDI notes (10 octaves).
5. Octave Up/Down: Press one of these buttons to move the keyboard up or down an octave.
Press both buttons simultaneously to reset the octave shift to “zero.”
6. Keyboard Zones (Lower, Split, Upper): Use these buttons to select the corresponding zones
on the keyboard. Press Lower or Upper will apply the lower zone settings or upper zone
settings to all 37 keys. Press Split to apply both lower and upper zone settings to the keyboard
and use the split point. You can edit the range of each zone in the editor software.
7. Pads: Use these velocity-sensitive pads to trigger drum sounds or clips in your software or
hardware. You can use the editor software to assign each pad’s LED colors and the type of
MIDI message it sends: note on/off, control change (toggle), control change (momentary),
program change, or MIDI panic (all notes off).
8. Faders: Use these faders to send MIDI CC messages to your software. You can set the range
and CC message number—and the direction (“polarity”) of the fader—in the editor software.
9. Display: Use this screen to view parameter values, settings, and messages relevant to Vortex
Wireless 2’s current operation.
10. Up/Down (+/–): Use these buttons to move to the previous or next preset.
11. Tilt: Press this button to turn the built-in accelerometer on or off.
12. Ribbon Controller: Place and/or move your finger on this touch-sensitive strip to send a MIDI
CC or pitch bend message. The length of the ribbon controller is similar to a fader; its minimum
and maximium positions correspond to the highest and lowest values assigned to that MIDI
message. You can set the range and type of MIDI message—and the direction (“polarity”) of
the ribbon controller—in the editor software. Use the Ribbon Bank buttons to select a bank.
You can also set the ribbon controller’s MIDI messages to Latch or Return. When set to Latch,
the ribbon controller will not send additional MIDI messages when you release it, which is useful
for changing modulation parameters. When set to Return, it will send the default MIDI message
for the controller when you release it, which is useful for changing parameters like pitch-bend.