Maintenance
Closing
Follow the instructions below to ensure that the heat exchanger will be pro perly closed.
For bolt identification, refer to “Bolt configuration” on page 20.
Step 1
Check that all the sealing surfac es are clean.
Step 2
Brush the threads of the bolts clean, using a steel wire brush or
the Alfa Laval thread cleaner. Lubricate the threads with a thin
la yer of grea se, e.g. Gleitmo 800 or its equivalent.
Step 3
Attach the gaskets to the plat es or check that all gaskets
are properly attached. Check that all gaskets are correct
ly
positioned in the grooves.
Note!
If the gasket i s wrongly positioned, it will show by the
fact that it rises out of th e gasket gr oove or that it is
positioned outside the groo ve.
Step 4
If the plates have been removed, insert them in alternate
di rections and with the gaskets turned towards the frame plate
or pressure plat e as specified on the plate hanging list. Use
the marked line that was m ade when the heat exchanger was
opened, refer to Step 7 in “Opening” on page 20.
Step 5
If the plate pack has been marked on the outside, check t his
(s ee Step 7 in “Opening” on page 20).
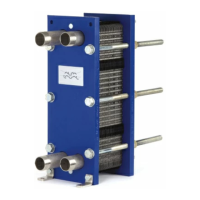
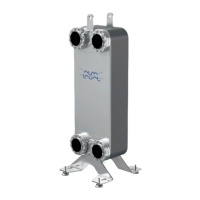
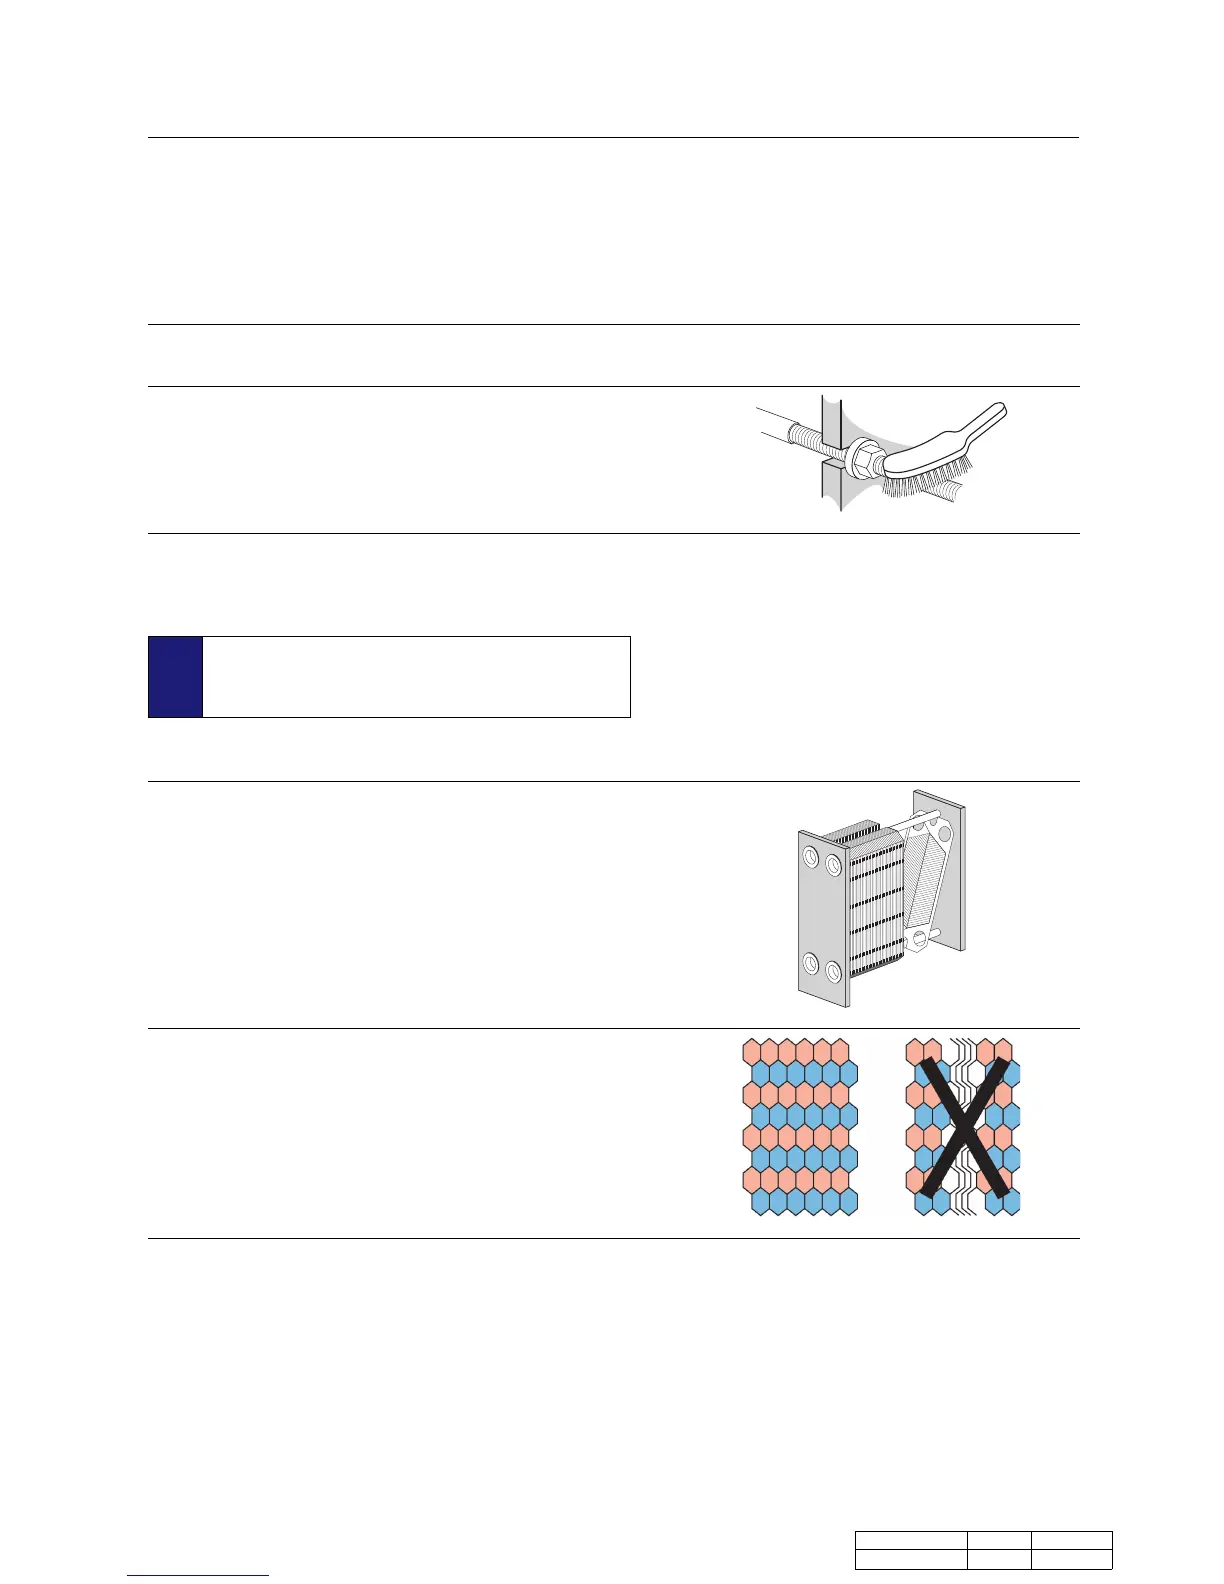
If the plates are corre ctly assembled (A/B/A/B etc.), the edges
form a “honeycomb” pattern, see picture.
Docum
en t ID
Langu
age
Editi
on
26 Instruction Manual - Plate Heat Excha ngers 3490010217 EN 2016-06
 Loading...