15
E
n
g
l
is
h
MULTIJET PRO
Resistance (Indicates that the value displayed in the last three digits is the resistance value of the
injector displayed);
Function selection;
Thousand (The number displayed should be multiplied by 10 to obtain the real value);
Operation realtive to the Ultrasound;
USB communication or test accessories connected and active;
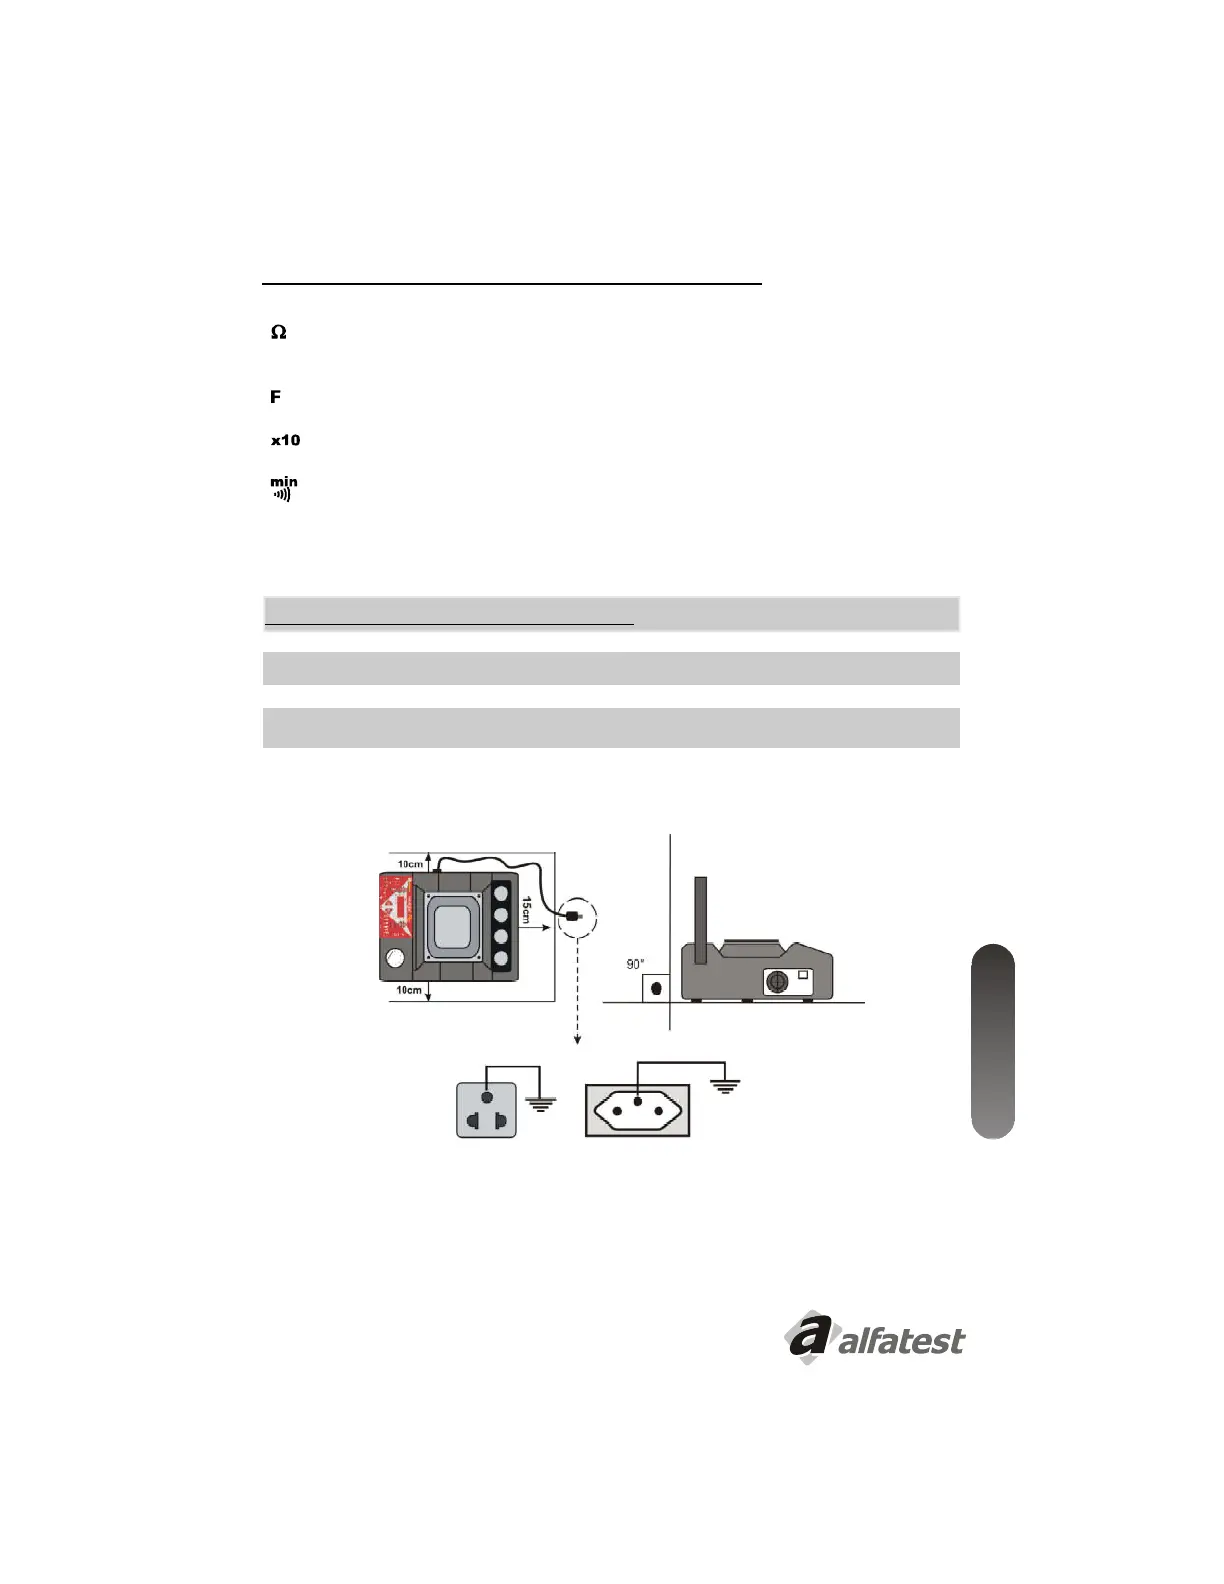
3.0 - INSTALLING YOUR MULTIJET PRO
ATTENTION
:
THE EQUIPMENT LEAVES THE PLANT SET AT 220V!
DO NOT PRESS ANY KEY OF THE PANEL UNTIL YOU HAVE LEARNED THE SEQUENCE BELOW.
STEP 1
- Install the Multijet PRO on a plane (level) surface, consistent, without vibrations and that provides good
ventilation.
It must be at most 1.2m from the power supply point where it will be connected.
STEP 2
– Use socket with three pins, good grounding and firm contacts. Check the voltage available in the socket
to be connected.
Correctly select the voltage on the equipment side and connect the power cable to the socket.
Turn on the Multujet PRO through the On/Off switch.
COM
SOCKET WITH GROUND PIN
 Loading...