Steps
1. Turn the system board over.
2. Install the fan and heat-sink assembly.
3. Install the ethernet and audio board.
4. Install the USB board.
5. Turn the system-board assembly over.
6. Using the alignment posts, place the system-board assembly on the palm-rest and keyboard assembly.
7. Replace the thirteen screws (M2x4) that secure the system board to the palm-rest and keyboard assembly.
8. Connect the camera cable to the system board.
9. Route the camera cable through the routing guides on the palm-rest and keyboard assembly and fan.
10.Adhere the tapes securing the camera cable to the system board to secure the cable.
11. Connect the power-button cable to the system board and close the latch.
NOTE: Ensure that the power-button cable is routed under the system-board assembly and is connected to the system
board. Without performing this step, the computer will not power on.
12. Connect the left-fan cable to the system board.
13. Connect the keyboard-controller board cable to the system board and close the latch to secure the cable.
14. Connect the touchpad cable to the system board and close the latch to secure the cable.
15.Connect the speaker cable to the system board.
16.Connect the right-fan cable to the system board.
17. Adhere the power-adapter port-cable to the system board.
18.Connect the power-adapter port-cable to the system board.
19.Connect the Alien head LED-cable to the system board.
20.Adhere the display cable to the system board.
21. Connect the display cable to the system board and close the latch to secure the cable.
22.Adhere the tape that secures the display-cable connector latch to the system board.
23.Align the screw holes on the Type-C bracket with the screw holes on the palm-rest and keyboard assembly.
24.Replace the two screws (M2x4) that secure the Type-C bracket to the system board.
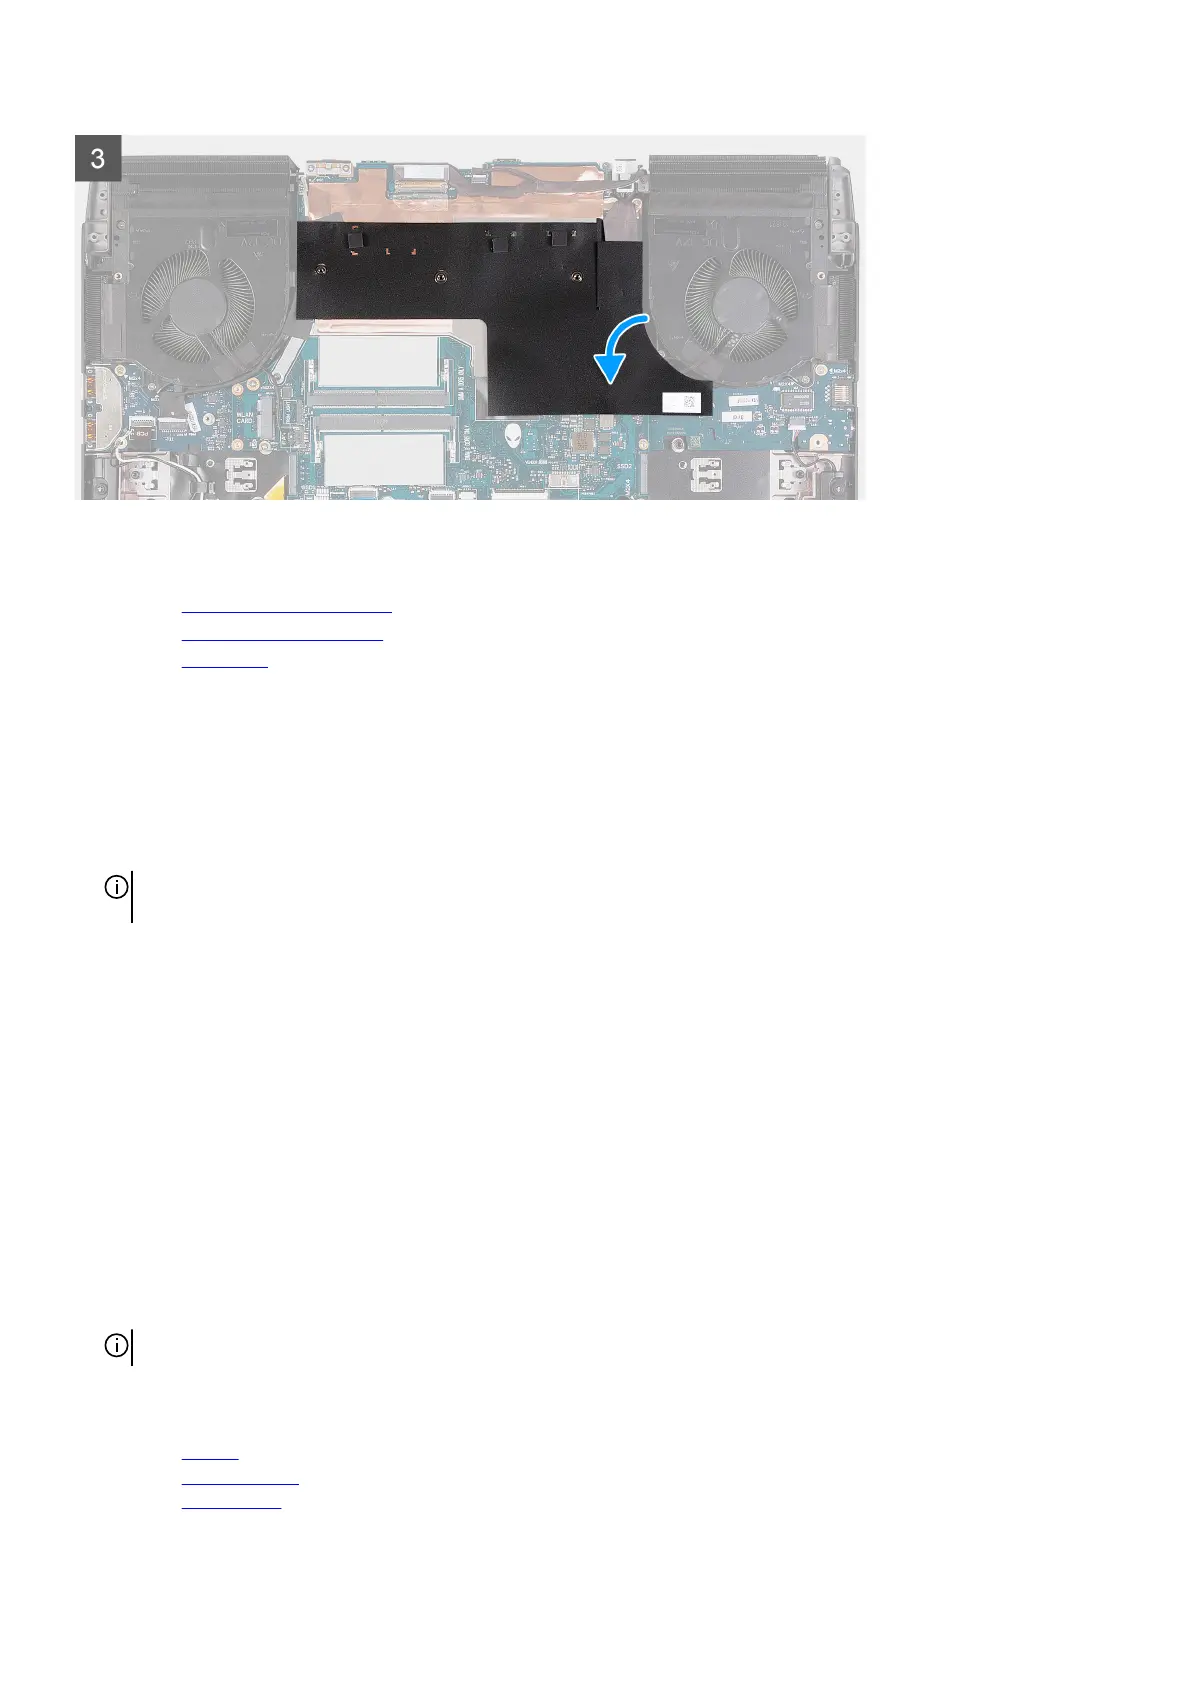
25.Adhere the Mylar on to the system board.
NOTE: Re-adhere the Mylar after any installation/replacement procedures.
Next steps
1. Install the battery.
2. Install the rear-I/O cover.
3. Install the wireless card.
56