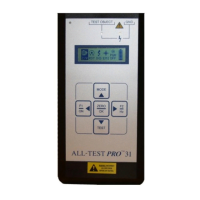
ALL-TEST PRO
®
31 User Manual
©2011, ALL-TEST Pro, LLC www.alltestpro.com rev 2011-11F 27
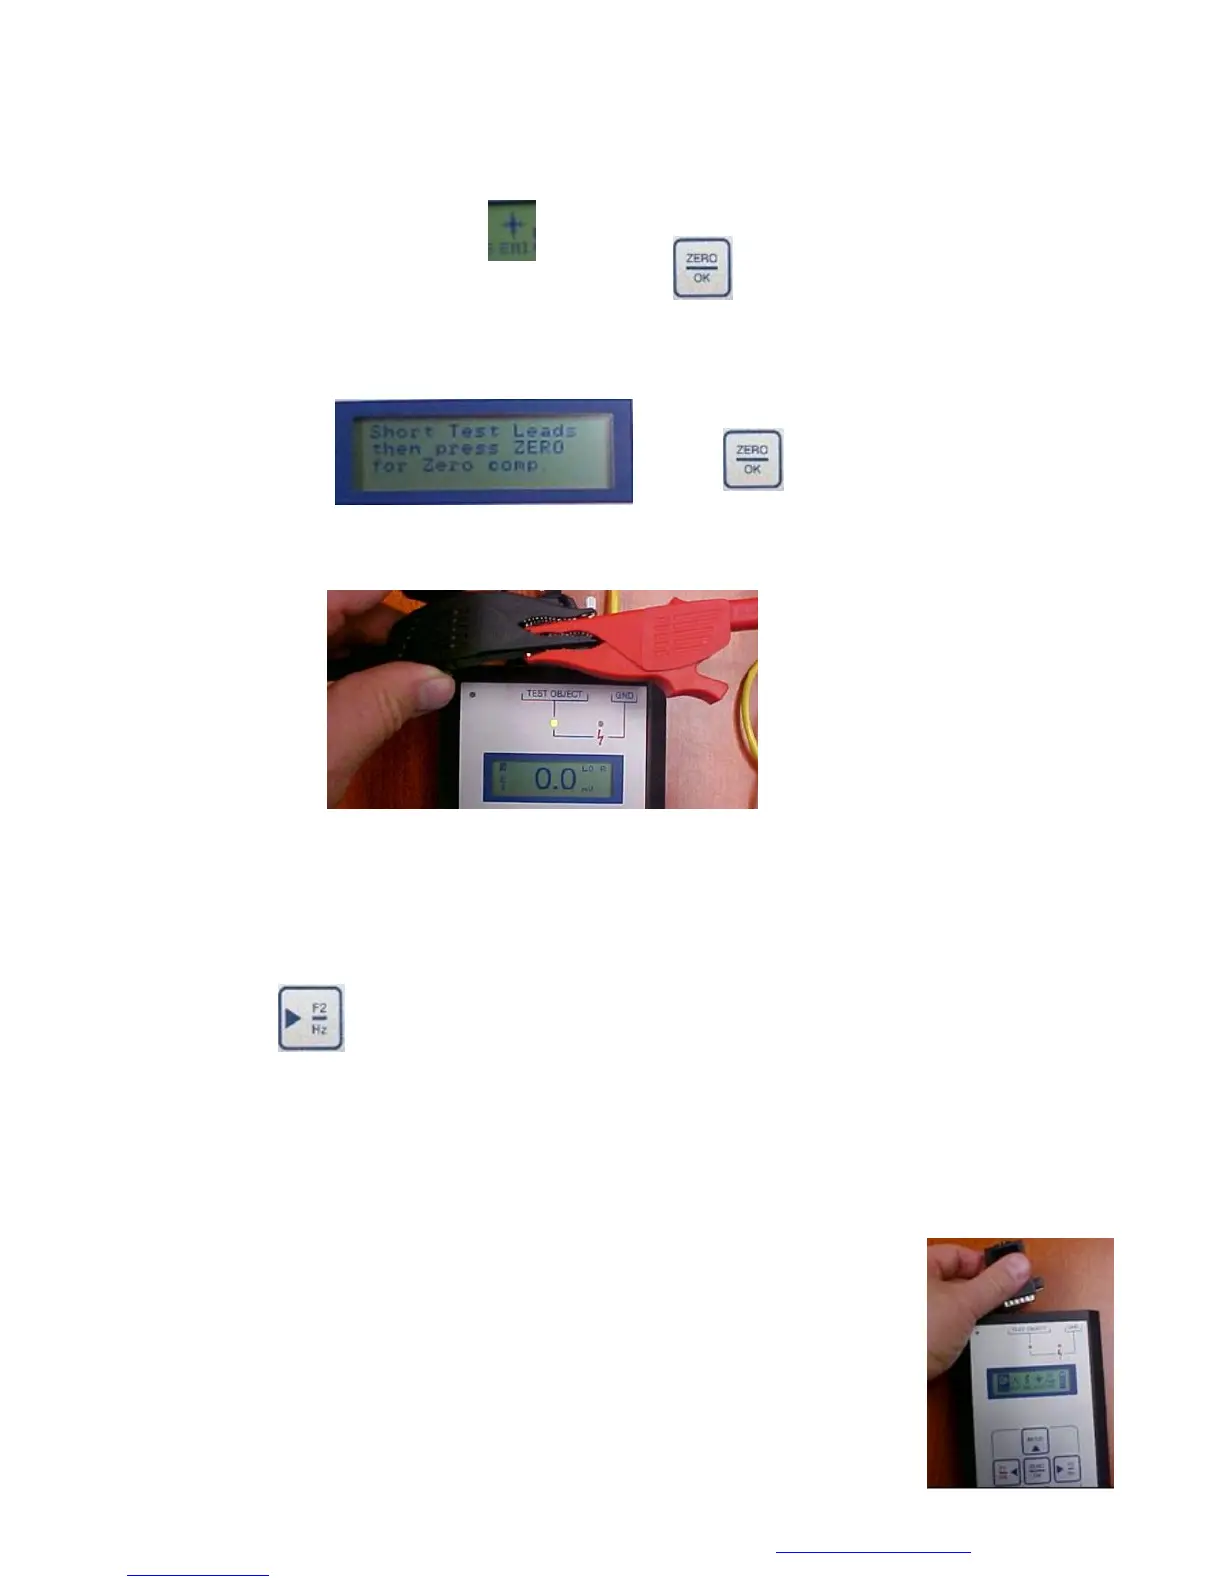
1. Using the ◄► keys, select EMI from the main menu.
2. Press the ZERO/OK Key to select the EMI test.
3. The ALL-TEST PRO® 31 display screen instructs the operator to short the test leads together
(These are the red & black lead), and press the ZERO/OK key. This calibrates the ALL-TEST
PRO® 31 to ‘0’
4. The testing light will illuminate and 0.0 mV will be displayed on the screen. This is display
screen 9.
5. Connect the winding test leads to the winding or machine that is being tested. If any EMI is
present, the values that are displayed are the low and high values of the EMI, (peak & valleys)
being detected.
6. Press F2/Hz key to toggle between the low & high EMI value.
Resetting the Unit
On occasion, the ALL-TEST PRO® 31 may fail to respond to keyboard, or lock up due to excessive
EMI present or other reasons. Sometimes the unit may lock up during normal operation. If this occurs
on units with a serial number 2028 and lower, a reset key is included in your kit.
Units with serial number 2028 & below - Reset using the included
accessory reset key:
1. Remove the test leads and plug the reset key into the test lead 15pin DB
connector.
2. The ALL-TEST PRO® 31 will be reset to the main menu.