7
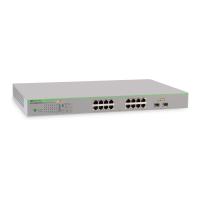
Figure 1. AT-GS950/8, AT-GS950/16, and AT-GS950/24 Front Panels .............................................................................18
Figure 2. Back Panel ...........................................................................................................................................................19
Figure 3. Gigabit Ethernet to the Desktop Topology............................................................................................................27
Figure 4. Gigabit Ethernet Backbone Topology...................................................................................................................28
Figure 5. Attaching the Rubber Feet ...................................................................................................................................36
Figure 6. Attaching the Rack-Mount Brackets to the Switch................................................................................................37
Figure 7. Attaching the Rack-Mount Brackets to the Switch (Continued)............................................................................38
Figure 8. Mounting the Switch in an Equipment Rack .........................................................................................................38
Figure 9. Attaching the Brackets to Install the Switch on a Wall..........................................................................................39
Figure 10. Marking the Screw Hole Locations.....................................................................................................................40
Figure 11. Securing the Switch to the Wall..........................................................................................................................41
Figure 12. Removing the Dust Plug from an SFP Slot ........................................................................................................42
Figure 13. Inserting the SFP................................................................................................................................................43
Figure 14. Positioning the SFP Handle in the Upright Position ...........................................................................................43
Figure 15. Plugging in the AC Power Cord..........................................................................................................................46
Figure 16. RJ-45 Connector and Port Pin Layout................................................................................................................52
Figures

 Loading...

