187Alvium USB Cameras User Guide V3.6.4
Installing the camera
Mounting the camera
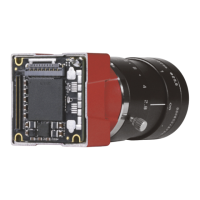
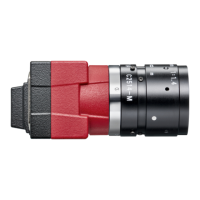
Mounting bare board cameras
CAUTION
Injury by falling cameras or lenses
A falling camera or lens can cause injury.
• Ensure proper mounting of cameras and lenses, especially for dynamic
applications.
• Mount cameras as described in the instructions.
• Always make sure the mounting threads are intact.
• Fasten screws with maximum torque, using the entire thread engagement.
For less thread engagement, see Adapting maximum torque values on page
189.
• We recommend you to apply thread locking.
• Use a lens support for heavy lenses.
Heat dissipation and electromagnetic compatibility for bare board cameras
For heat dissipation, see the Optimum Heat Dissipation for Housed Alvium
Cameras application note.
For electromagnetic compatibility, see the Electromagnetic Compatibility for Open
Housing Alvium Cameras application note.
See www.alliedvision.com/en/support/technical-documentation/
alvium-usb-documentation.
NOTICE
Damage to the camera by improper mounting
• Allow mechanical contact only at the mounting area.
• Avoid any mechanical stress to the sensor and the electronics area.
• Avoid short circuits of the electronics components.
• Give 2 mm minimum clearance above board components.
• Tighten screws at 0.1 Nm maximum torque.
 Loading...