188Alvium USB Cameras User Guide V3.6.4
Installing the camera
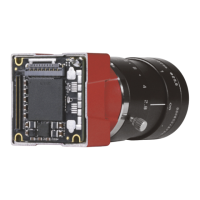
Schematic drawings in Figure 67 show Alvium USB bare board cameras. Only the
mounting area (gray) can be used for mounting. The sensor and electronics area
(red) must not be touched nor put at mechanical stress.
a = Mounting hole | b = Mounting hole and chassis ground
Mount the bare board with four M2 screws at 0.1 Nm maximum torque.
Mounting areas for Alvium USB 90° models are the same as for standard models.
Mounting housed cameras
Bottom or top mounting
The maximum torque value applies only if the entire thread engagement is
used. For other values, see Adapting maximum torque values on page 189.
1. Mount the camera to the base using suitable M3 screws at 0.51 Nm maximum
torque for a thread engagement (C) of 2.2 mm between screws and mounting
threads, see Figure 68. For technical drawings, see Dimensions and mass on
page 145.
2. Continue with Mounting the lens on page 190.
Figure 67: Mounting area of Alvium USB bare board cameras
connector side (left); sensor side (right)
Figure 68: Top and bottom and mounting threads (c)
Top
Detail c:
DϯљϮϮљϰϬ
сDϯсϬϯсϮϮсϰϬ
ϮϬŵŵ
c
c
 Loading...