189Alvium USB Cameras User Guide V3.6.4
Installing the camera
Front mounting
The maximum torque value applies only if the entire thread engagement is
used. For other values, see Adapting maximum torque values on page 189.
1. Mount the camera to the base using suitable M2 screws at 0.17 Nm maximum
torque for a thread engagement (C) of 1.7 mm between screws and mounting
threads, see Figure 69. For technical drawings, see Dimensions and mass on
page 145.
We recommend you to additionally use bottom and top mounting threads for a
more solid connection.
2. Continue with Mounting the lens on page 190.
Adapting maximum torque values
The total bolt length composes of the mounting holes length and the height of
your mounting base.
For using less than the stated length of thread engagement, calculate maximum
torque as follows:
Example for a length of thread engagement of 1.4 mm instead of 1.7 mm:
1.4 mm / 1.7 mm × 0.17 Nm = 0.14 Nm
To ensure that the bolts do not become loose over time, we recommend you to
use means for securing bolts, such as screw locking varnish.
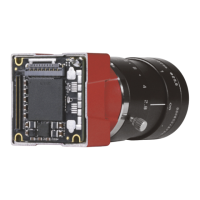
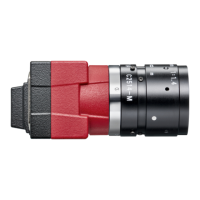
Figure 69: Camera front with mounting threads (d)
Current length of thread engagement
× Torque in table = Current torque
Length of thread engagement in table
Thread
group
Thread position
Thread
type
Total protrusion
Length of thread
engagement
Maximum torque
d Front mounting M2 2 mm 1.7 mm 0.17 Nm
d Front mounting M2 2 mm 1.4 mm 0.14 Nm
Table 98: Adjusting maximum torque values
Detail d:
DŽƵŶƟŶŐƚŚƌĞĂĚDϮљϭϳљϯϯ
сDϮсϬϯсϭϳсϯϯ
d
d
d
d
Ϯϰŵŵ
Ϯϰŵŵ
 Loading...