Section 7 — Maintenance • 51
Figure 7.4 — Drum Locking Pin
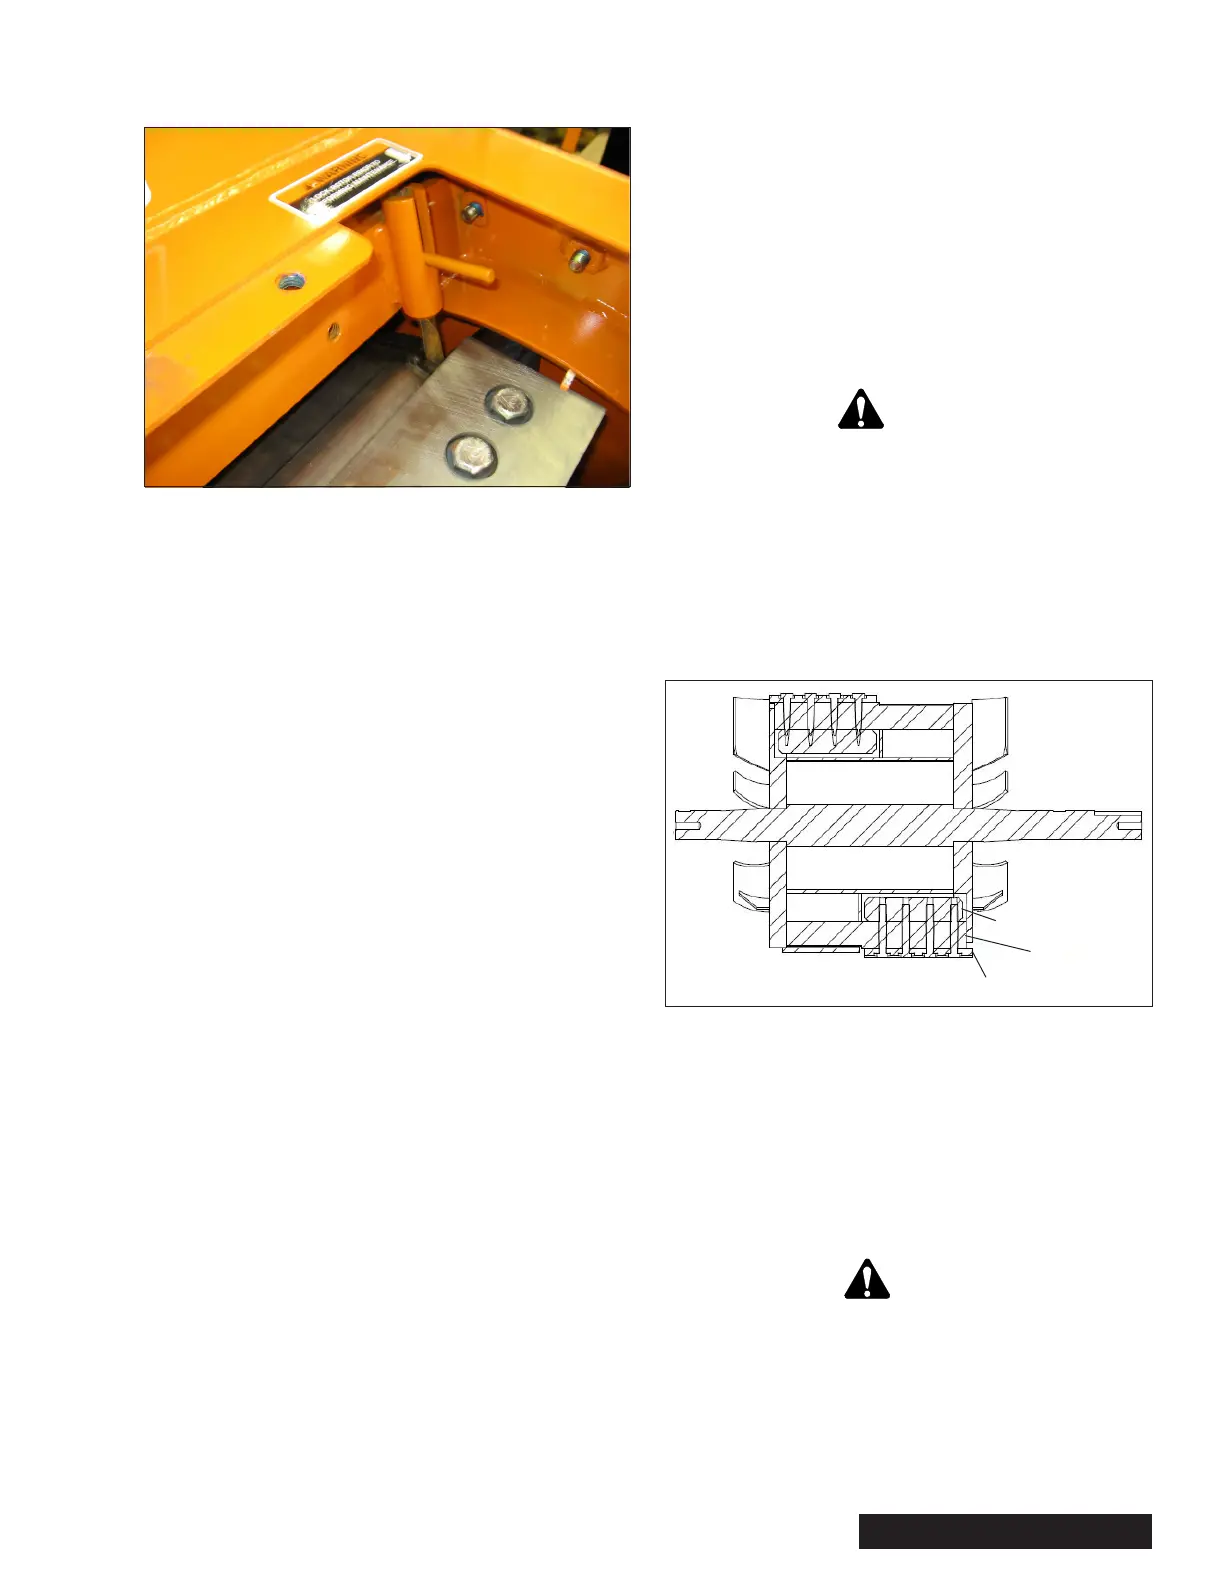
3. Position the drum and install the drum locking pin.
4. Remove anvil access cover (refer to Anvil Removal).
5. Loosen anvil screws (do not remove) and push anvil
back to achieve maximum blade/anvil clearance.
6. Remove blade bolts, Do not use impact tool to remove
or install bolts.
7. Make sure all mating surfaces between the cutter
blades and drum are clean and free of debris and
corrosion.
8. When a blade is removed from the drum, the blade
mounting surfaces must be clean of any debris or
corrosion and inspected for any damage. An uneven
or damaged surface may cause blade separation.
9. Thoroughly clean the blades and inspect both sides
of each blade for cracks. If any cracks are found,
discard the blade.
10. Using a straight edge against the blade mounting
surface, check for any blade distortion by sliding the
straight edge both perpendicular and parallel to the
bolt holes. Any light seen between the blade and the
straightedge indicates a distorted blade. Any distorted
blade must be discarded.
11. Inspect bolts for damage or corrosion. Replace as
necessary. Always replace blade bolts when using
resharpened or new blades.
Operation with worn or dull blades will result in poor chip
quality, stringy material output, possible discharge chute
clogging, additional fuel consumption, unnecessary stress
on structural components, engine overheating and ex-
cessive wear on drive components, i.e., drive belt, drive
pulleys, bearings, drive clutch, and engine.
Equipment damage that results from the use of worn
or damaged blades will not be considered for warranty.
Operators and others are exposed to unnecessary risk
by operating a unit in this negligent condition. Owners
subject themselves to increased operating costs, sig-
nicant downtime and premature equipment wear as a
result of improper blade maintenance.
Warning
Death, serious injury, or property damage can result
from overtorquing the blade bolts. Overtorquing may
stress and break the blades.
12. Inspect threaded blade keeper bars for corrosion or
damaged threads. Replace if any damage or corro-
sion is found.
13. Install new or rotated blades with sharp edge out.
Figure 7.5 — Blade Cross Section
14. Tighten blade cap screws per specications given in
the fastener torque table. Do not use an impact tool.
15. Refer to anvil installation for anvil/blade clearance
procedure.
16. Replace all guards and safety devices.
Danger
Death or serious injury can occur if using cracked or
distorted blades. Inspect blades per required inspec-
tion intervals and discard cracked or distorted blades.
Death or serious injury can occur if blade separa-
tion occurs. Any debris left on the mounting surface
Removable
Threaded Block
Blade
Blade
Mounting Plate