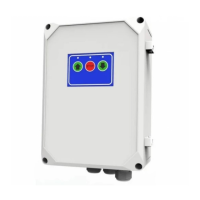
CUID400N | CUID400N | CONTROL UNIT CUID400N 53
TESTING AND COMMISSIONING
AT-4N / AT-4A) to avoid unauthorised access to the premises. If the number of the lost remote
control is unknown or a separate remote control cannot be deleted (remote control AT-4), delete
all remote controls numbers and re-record all remote controls.
When the module is connected to the power supply, the rst command from the remote control
opens the door.
7.1 REMOTE CONTROL AT4
Y
Do not use the AT-4 remote control to select the ‘semi-automatic’ mode in the operation
mode settings (section ‘6.Adjustment’, setting ‘ ’). The door does not close by the
AT-4 remote control.
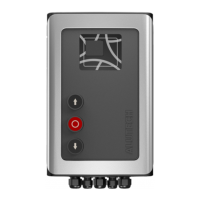
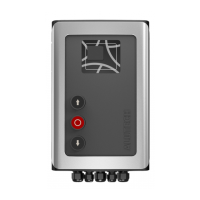
To record the remote control press button “Learn” (g. 2) on the control unit module, indicator
‘LR’ will illuminate. Then, while the indicator ‘LR’ is illuminated, press the remote-control button
selected to control the drive. The indicator ‘LR’ will fade. Then press the same remote control
button again. The indicator ‘LR’ will blink several times and fade, which means the remote
control is recorded in the control unit memory. Maximum number of recorded remote controls
is20. The distance of the remote-control operation in free open space is not less than 50metres.
To delete remote controls press and hold the button ‘Learn’. The indicator ‘LR’ will illuminate
while the button is pressed. In 8seconds, the indicator ‘LR’ will fade, which means that all remote
controls have been deleted from the control unit memory. Release the button ‘Learn’.
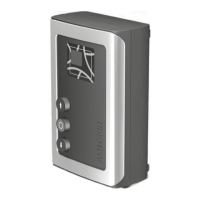
7.2 REMOTE CONTROLS AT4N / AT4A
The remote controls are recorded and deleted using the display and control unit module buttons
in the setting ‘ ’ (section ‘6.Adjustment’).
8. TESTING AND COMMISSIONING
Y
Qualied and trained specialists should make the rst run of the equipment to ensure its
correct operation.
After the completion of assembly and electrical connections, it is necessary to check that all the
operations have been performed in a correct manner and the equipment is ready for operation:
• following the instructions, provided in the manual, release the drive, move the door
into an intermediate position and re-engage the drive, or use the emergency manual
drive control.
• insert the plug of the power cord in the socket, previously installed next to the unit.
• check the indication on the control unit according to tables1 and 4. The display will
show indication ‘
’ in the intermediate position. If there is no indication or it does
not comply with what is required, read the indications in table5 and possible problems
in table8, disconnect the control unit from the mains supply (unplug the power cord
from the socket), carefully check all connections.
• using control buttons and , located on the unit housing, check that the door
moves in the required directions, the display shows indication ‘
’, when the door
is opening, and ‘
’, when it is closing. It is recommended to use the manual mode
in the settings (section ‘6.Adjustment’, setting ‘
’) during such checks. If the drive
output shaft rotation direction does not match with what is required, disconnect the
unit from the mains supply (unplug the power cord of the control unit from the socket)
and switch the connection wires on inputs ‘W’ and ‘V’ of the socket X2 (g. 2).