29
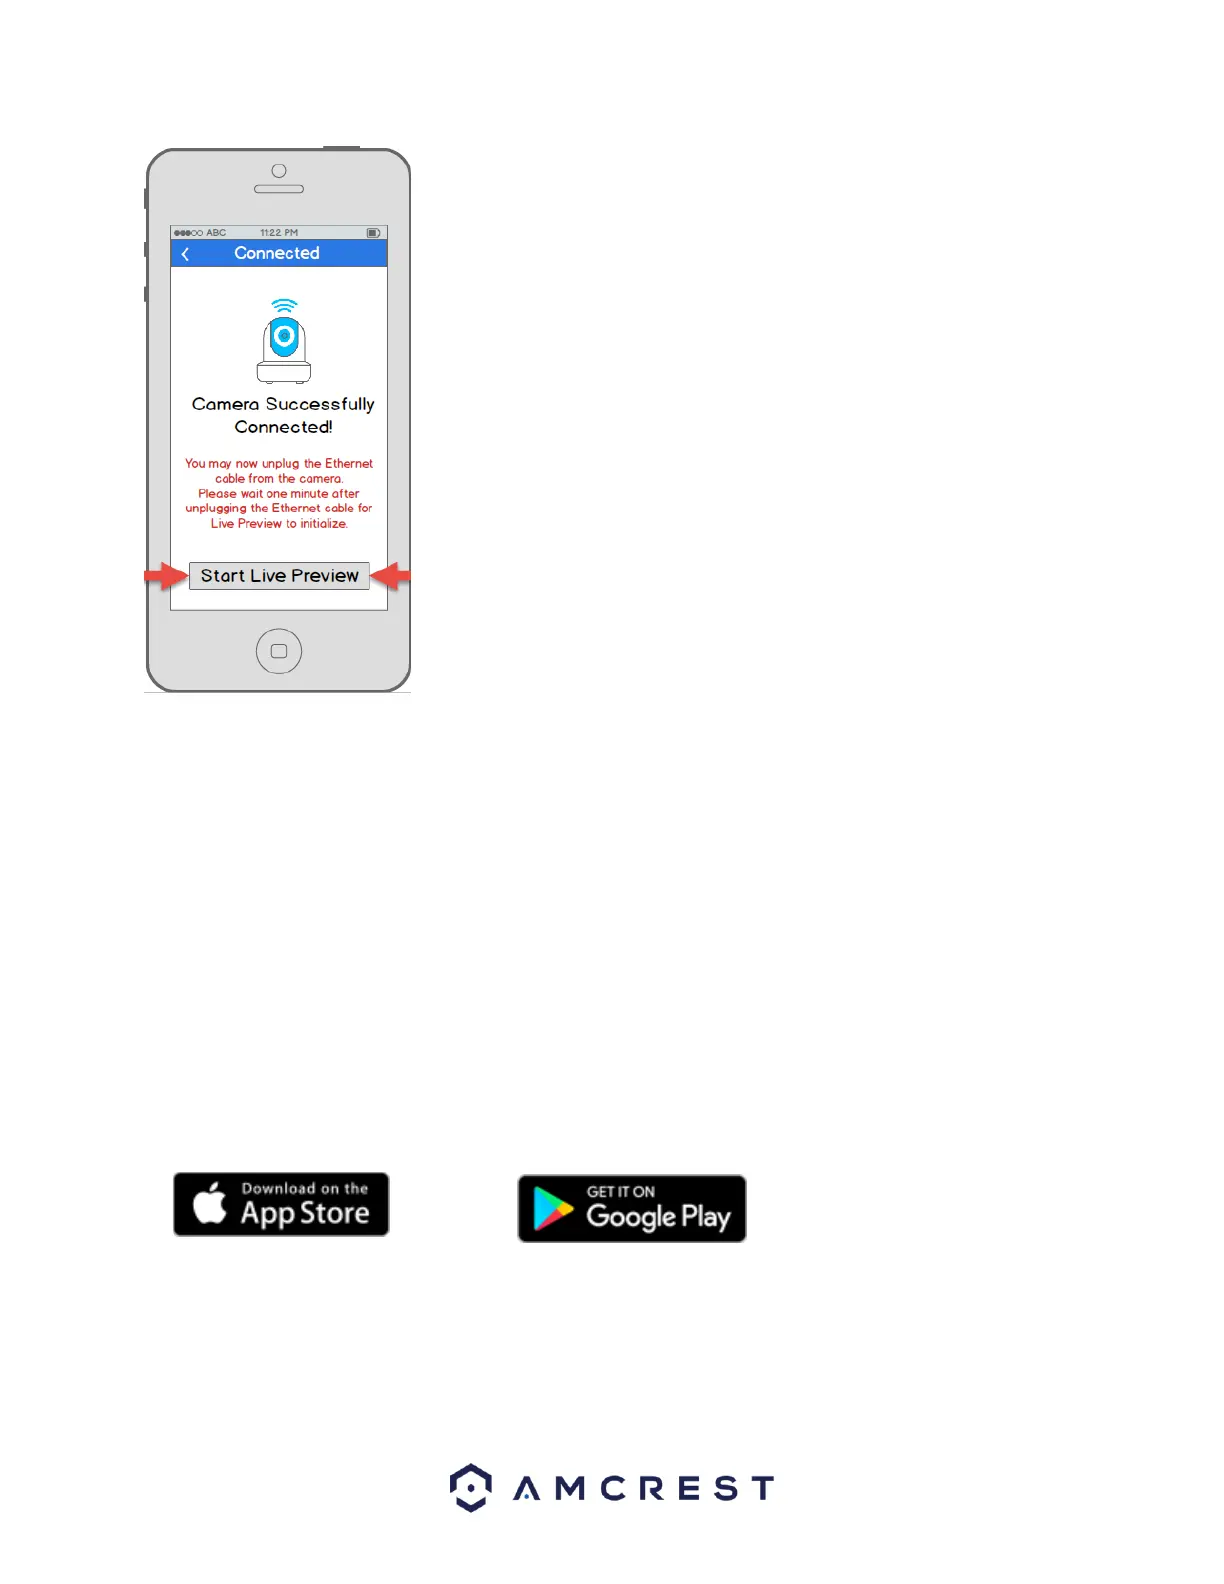
14. Your camera is now ready to go! Unplug the camera from Ethernet and
power, then relocate the camera to anywhere within range of the WiFi network
that you connected the camera to. Plug in the camera, then wait 1-2 minutes
before tapping the Start Live Preview button.
4.3.3 P2P Setup
The P2P Setup method is the method that should always be used to add a camera to more devices (smartphones,
tablets, using the Amcrest View app) after the initial WiFi Configuration setup method has been followed and
completed on the first device using the app.
Alternatively, this method can also be used as a first, initial, setup method if preferred. However, please note that,
if this is used as a first method, a hardwired (Ethernet) connection must be used and your camera will not be
added to your WiFi network by the end of the app setup alone (like in the WiFi Configuration setup method).
Instead, in this case, the camera must be added to WiFi separately, for instance, through desktop access (see
section 4.4 Desktop access setup below).
1. This setup method should only be used if the camera is already connected to the Internet via WiFi or Ethernet
cable. Use this setup method when you need to add the camera to additional mobile devices. Download the
Amcrest View Pro app from the App Store or Play Store, then open the app.