14
15120-101 Rev. D
WARNING: RISK OF ELECTRIC SHOCK. ALWAYS
DISCONNECT THE POWER CORD FROM THE WALL
AND THE INSTRUMENT BEFORE PERFORMING ANY
OF THE FOLLOWING CARE AND MAINTENANCE
PROCEDURES.
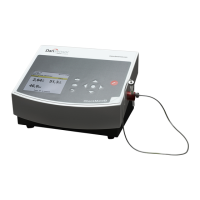
External Cleaning
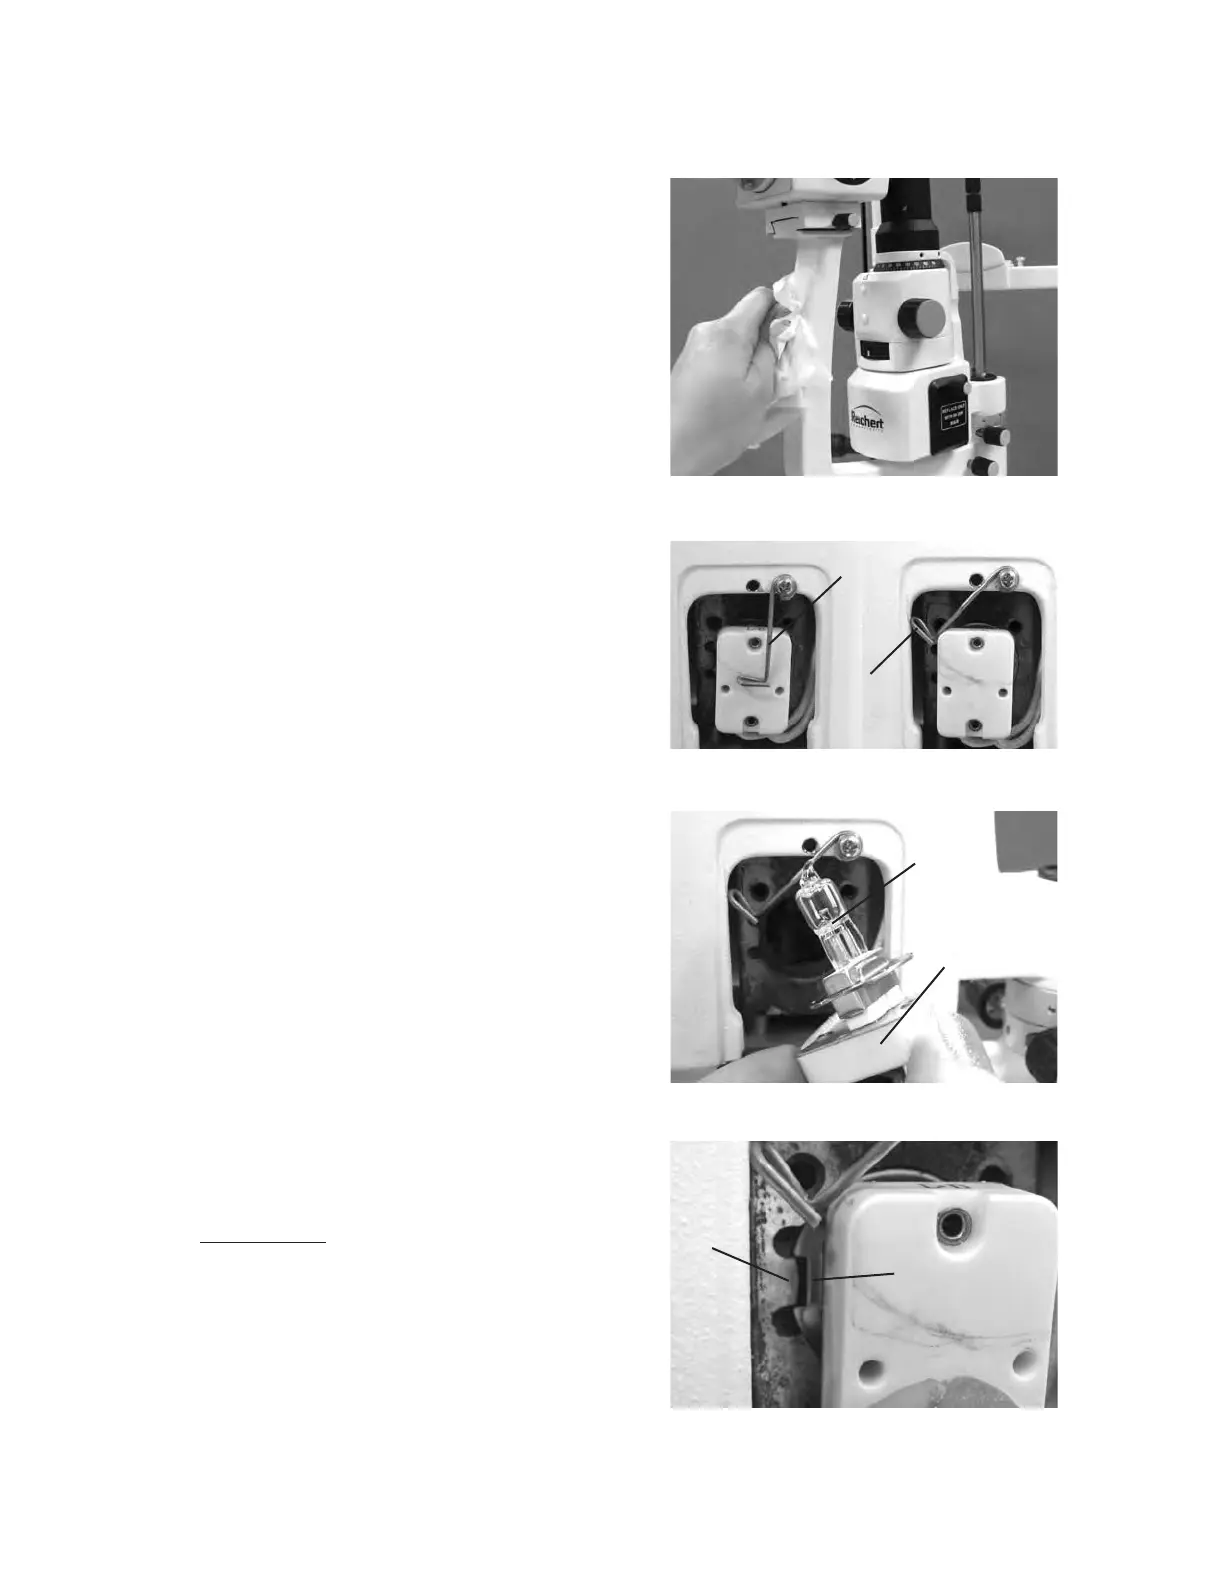
Clean the external surfaces of this instrument using a
clean, soft cloth moistened with a mild detergent solution
(1 cc of liquid dish soap to one liter of clean, filtered
water (filtered below 5 microns)). Refer to Figure MM-1.
Forehead / Chinrest Preparation
For hygienic reasons, wipe the forehead rest with an
alcohol wipe and change the chin rest papers after
each patient.
Cleaning the Glide Plate
If the Glide Plate is dirty it may cause a rough feeling
when maneuvering the base of the slit lamp. Clean
the Glide Plate with a soft cloth lightly dampened with
a mild soap and water solution.
Changing The Halogen Bulb
WARNING: NEVER REMOVE A BULB THAT HAS
RECENTLY BEEN IN USE AS IT WILL BE VERY HOT.
WAIT UNTIL IT HAS COOLED AND USE GLOVES OR
A THICK CLOTH WHEN HANDLING ANY HALOGEN
BULB.
WARNING: NEVER TOUCH A HALOGEN BULB WITH
BARE HANDS AS FINGERPRINTS WILL SHORTEN
THE BULB LIFE.
Remove input power to the instrument.1.
Open the bulb door. 2.
Swing the Retaining Spring away from the Bulb. 3.
Refer to Figure MM-2.
Pull the Bulb Holder and Bulb from the unit. 4.
Refer to Figure MM-3.
Replace the Bulb with the correct Bulb as indicated 5.
in the Specifications section of this manual.
Place the Bulb Holder back into the lamp housing.6.
Note: Position the Bulb Holder so the Cut Out in the
metal collar of the Bulb lines up with the Notch
in the lamp housing. Refer to Figure MM-4.
Move the Retaining Spring back into its original 7.
position. Refer to Figure MM-2.
Close the bulb door. 8.
Figure MM-1 Cleaning Main Unit
Figure MM-2 Securing Wire
Retaining
Spring
Bulb
Holder
Retaining
Spring
Rotated
Figure MM-3 Bulb
Bulb
Bulb
Holder
Figure MM-4 Notches
Cut Out
Notch
Cleaning & Maintenance
 Loading...