AMIGA WOO
ASSEMBLY
LEVEL REPAIR
3.5
BEZEL AND CASE INSTALLATION
3.5.1 Place the front bezel in its place within
the bot-
tom
case,
being careful
to
line up the round
holes in
the
tabs with
the
matching extensions.
See
Fig.
3-9.
3.5.2 The
TOP HOUSING
snaps
into the
bottom hous-
ing. Inward pressure on the top
housing,
at the
rear
cor-
ners of the computer, may be necessary to
replace
the
cover without using
excessive force.
See
Fig.
3-10.
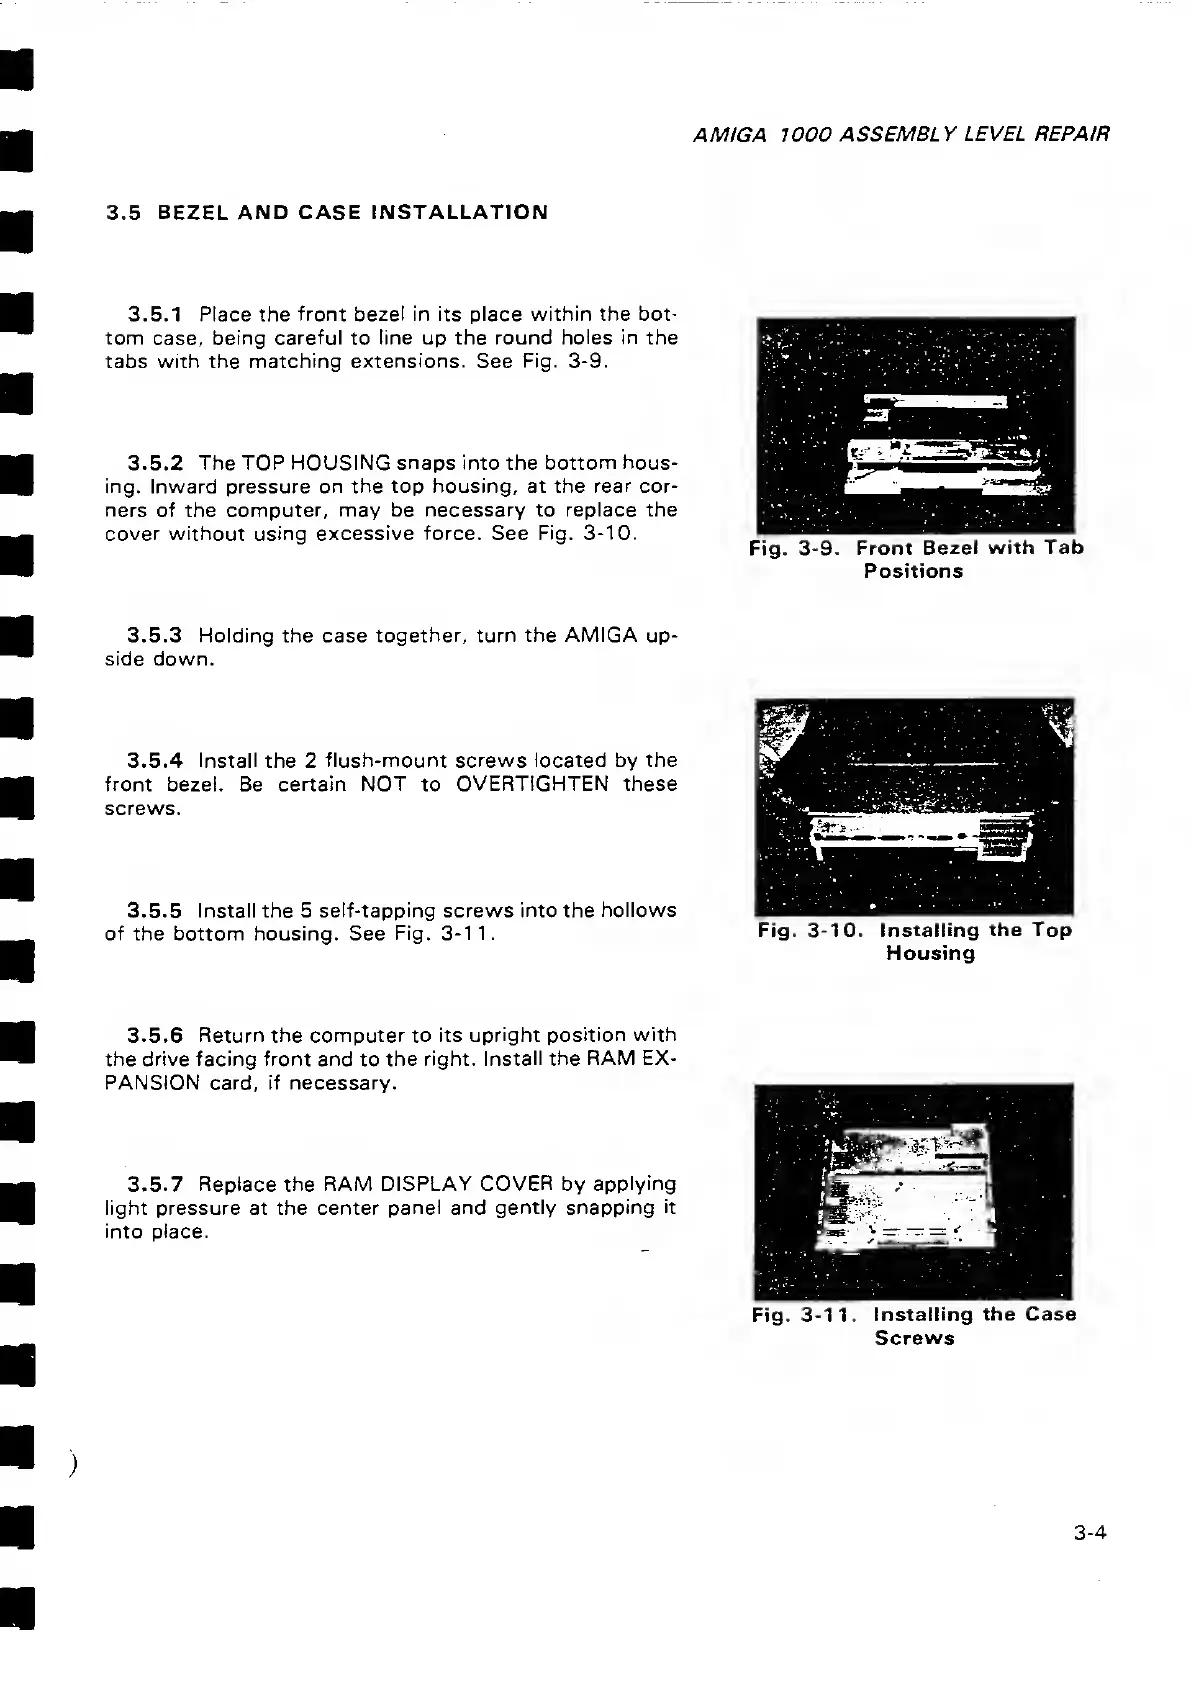
Fig.
3-9.
Front
Bezel with Tab
Positions
3.5.3
Holding
the case
together, turn the AMIGA
up-
side
down.
3.5.4
Install the
2
flush-mount screws located by the
front
bezel. Be
certain NOT
to
OVERTIGHTEN these
screws.
3.5.5 Install the 5
self-tapping screws into the hollows
of the
bottom housing.
See
Fig.
3-1
1.
Fig.
3-10. Installing
the Top
Housing
3.5.6 Return the computer to its
upright position with
the drive facing front and
to
the
right. Install the
RAM EX-
PANSION card, if necessary.
3.5.7 Replace the
RAM DISPLAY COVER by
applying
light pressure at the center panel and gently snapping
it
into place.
Fig.
3-11. Installing
the
Case
Screws
3-4
 Loading...