51
Electric Actuator
OMMGGE00217 Rev 4 – MAY 2019
5 Remove any electrical continuity circuits connected to the terminal board.
6 Ensure that the actuator cover O ring is correctly fitted and undamaged.
7 Refit the actuator cover and secure with the socket head cap screws.
CAUTION
Adjustment of the Position Limit Switches affects the calibration of the
optional Positioner. If fitted, it must be re-calibrated before the
actuator is brought into service (refer to Section 4.7, page 38).
8 If the optional Positioner is installed, perform a calibration procedure.
Refer to Section 4.7, page 38.
9 Energise the actuator power supply and control circuits and check for
correct operation.
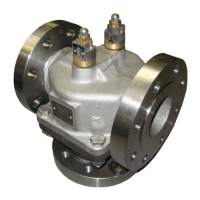
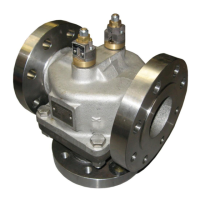
4.9.7 Limit Switch Adjustment – Rotor Visible
The limit switches and mechanical end stops are set by the manufacturer and
should not need adjustment unless the cams or switches are replaced or
disturbed. During manufacture, the limit switches are set up relative to the
valve fully open and closed position, a further one complete turn of the manual
operating handle.
This procedure assumes that observation of the valve rotor is possible (not
installed in pipework) and sets the limit switches relative to the rotor positions.
Adjust the limit switches as follows (refer to Fig 17, page 49)
WARNING
Lethal voltages are exposed when the actuator cover is removed,
presenting an electric shock hazard to personnel. Electrical power
supplies must be isolated from the actuator before the cover is
removed.
1 Switch off and isolate the actuator electrical power supply.
2 Loosen the socket head cap screws and carefully lift off the cover.
Note
The cams are adjusted until the limit switches operate (indicated by an
audible click). In conditions of high noise level, an electric continuity
circuit should be connected across the relevant switch to give a visible
indication of switch operation. (refer to the wiring diagrams Fig 7, page
23)
3 Open limit switch and end stop adjustment:
3.1 Manually wind the actuator fully counter-clockwise until the rotor
just covers the valve port. Refer to Fig 1, page 12.
3.2 If the actuator has a Positioner fitted, turn the hand wheel a
further ¾ of a turn.
 Loading...