
P
Peter SilvaSep 12, 2025
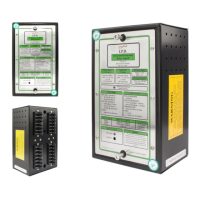
What does error #3 mean on Ampcontrol HPB?
- HhollypierceSep 12, 2025
Error Indication #3 (level 0, position 1) on your Ampcontrol relay indicates a combination of faults causing errors #1 and #2. Refer to the solutions for Errors #1 and #2.