22
D-0126050 rev 1 - 270+ Operating Manual
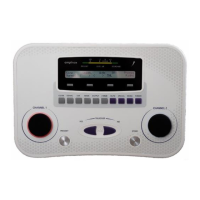
4.6.8. MASK (ACTIVATE MASKING)
Select the MASK button to activate or deactivate masking.
Select NONE (F1) to switch masking off.
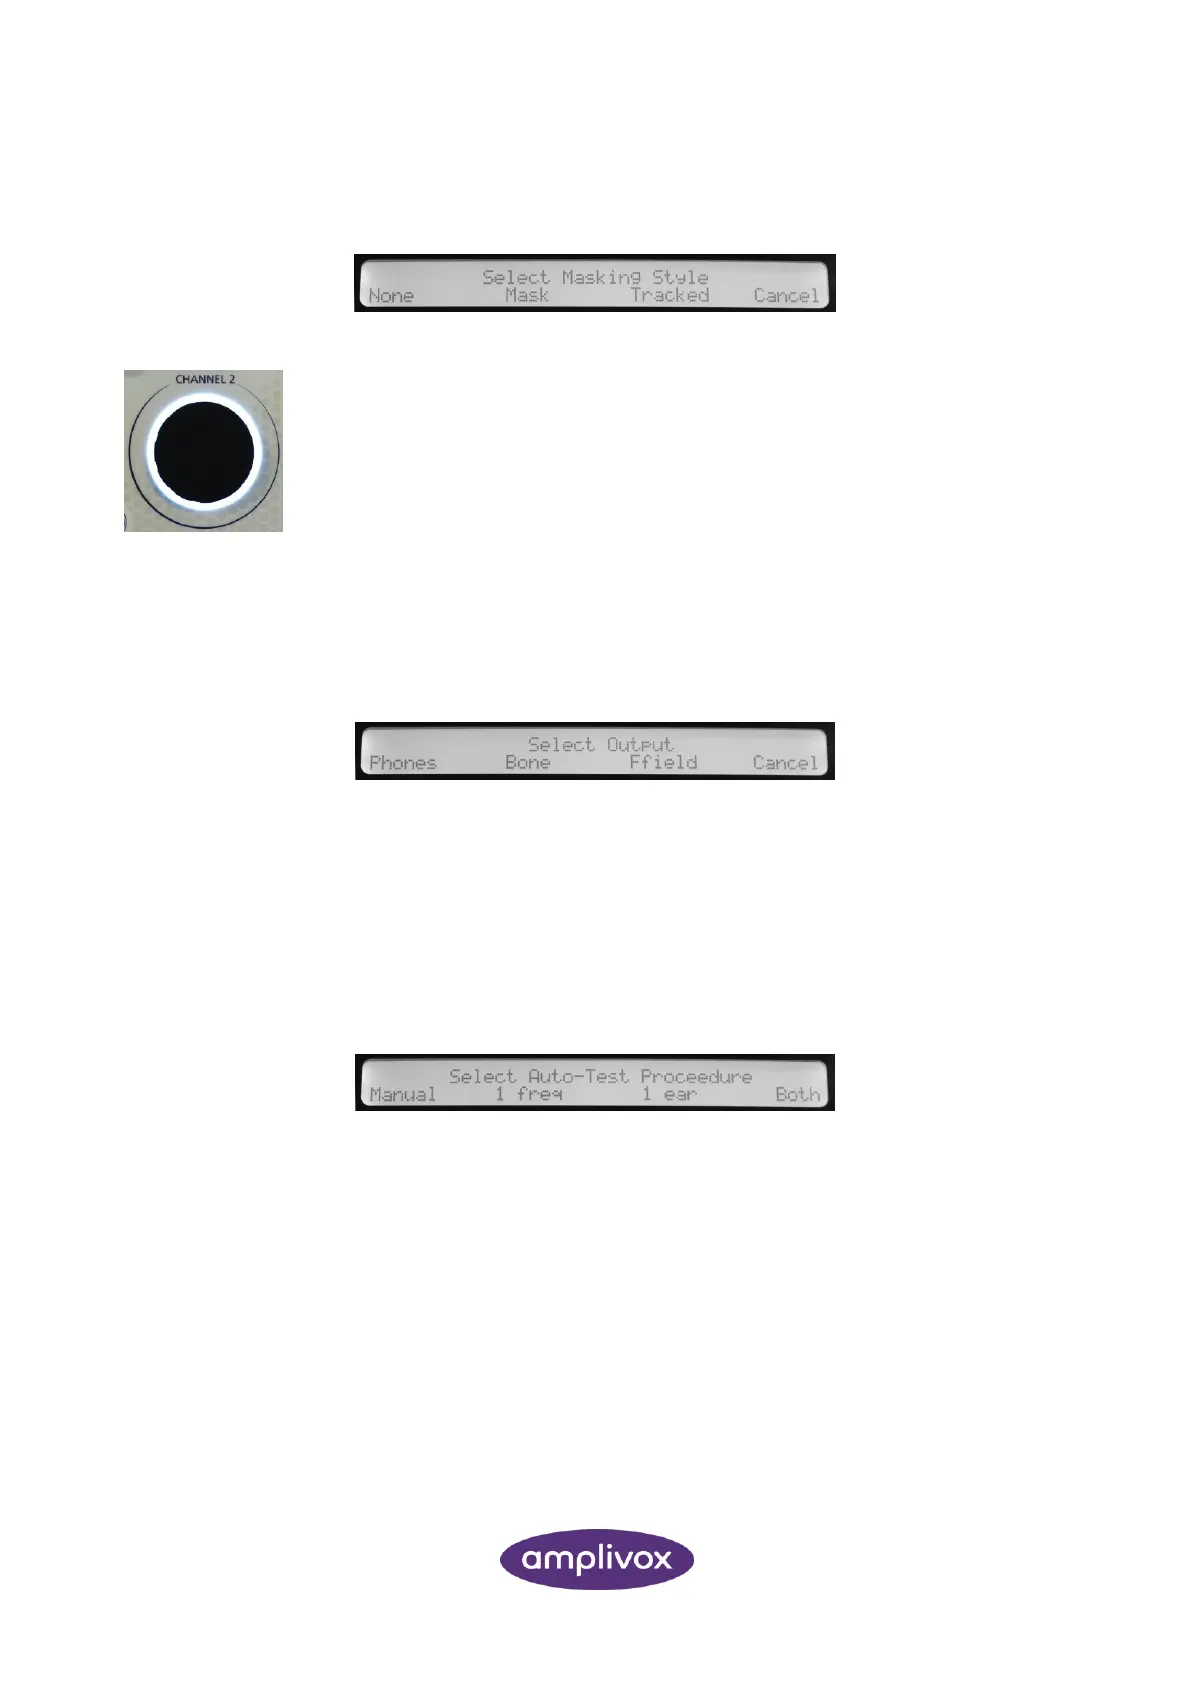
As soon as the masking channel is switched on, the light ring around the Channel 2
rotary control illuminates white.
Use MASK (F2) to switch masking noise on and control the level manually. Select
TRACKED (F3) to increase and decrease the masking level in relationship to the test
signal.
Select CANCEL (F4) or the MASK button again to leave the masking menu without changes.
4.6.9. OUTPUT (AC, BC AND FREEFIELD)
Select the OUTPUT button, to select the transducer the test signal will be presented to.
Select F1 to present the signal to the AC (air conduction) PHONES, using F2 will present the tones to the
BONE vibrator (BC, bone conduction). Selecting F3 will utilise the connected loudspeakers to present the
signal via FREEFIELD. Select CANCEL (F4) or the OUTPUT button again to leave the menu without changes.
4.6.10. AUTO (AUTOMATIC TESTING)
The AUTO function defines whether the tone audiometry test is conducted manually or automatically.
Select AUTO and Continue (F3)
Select MANUAL (F1) to perform manual audiometry (default setting).
Automatic testing can be conducted on both ears or on the current selected ear. To test only one frequency
(currently selected frequency) on the currently selected ear automatically, select 1 FREQ (F2). To run a full
audiogram on the current selected ear, select 1 EAR (F3). To run a full audiogram on both ears (the start ear
is the currently selected ear), select BOTH (F4). Select the AUTO button again to leave the menu without
changes.
4.6.11. >100dB (EXTENDED RANGE)
When an extended range, above 100 dB is required, select the >100dB button to present tone levels up to
20dB higher.