No internal connections need to be made, therefore no attempt should be made to
gain access to the inside of the equipment.
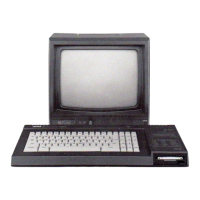
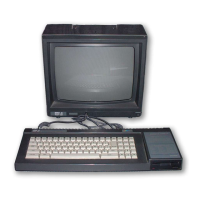
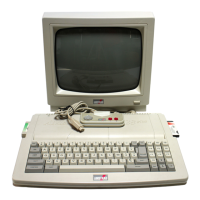
The computer should be positioned in front of the Monitor on a suitable table close to the Mains
Supply Socket. As shown in figure 1, connect the lead with the larger (6 pin DIN) Plug from the
monitor to the socket marked MONITOR on the back of the computer. Connect the lead with the
smaller (DC power) Plug from the monitor to the socket marked 5V DC on the back of the computer.
Ensure that the monitor POWER button is set to the OFF position (Out). Connect the Mains Plug
from the monitor into the Mains Supply (240v AC) Socket.
Now switch on the monitor, and then switch on the computer using the slide switch marked POWER
on the right hand end.
The red ON lamp at the top centre of the computer keyboard unit should be illuminated, and the
monitor will display the following picture:
Amstrad 64K Microcomputer <v1>
©1984 Amstrad Consumer Electronics plc
and Locomotive Software Ltd.
BASIC 1.0
Ready
Cursor
To avoid unnecessary eye-strain, adjust the control marked BRIGHTNESS until the display is
adequately bright for comfortable viewing, without glare or blurring of the writing.
You should also adjust the CONTRAST control to the minimum setting consistent with comfortable
viewing.
The vertical hold control on the GT64 is marked V-HOLD, and should be adjusted so that the picture
is correctly positioned in the middle of the screen, without jitter or ‘roll’.