Settings Pages
35
Modero S Series Touch Panels - Configuration & Programming Manual
NOTE: A sample UI module is provided in the module package. It is not intended to cover every possible application, but can be
expanded as needed by a dealer to meet the requirements of a particular installation.
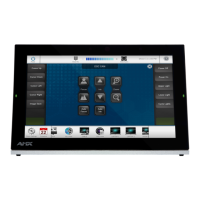
Changing the SIP Proxy Address
To change the SIP proxy address:
1. From the SIP page, select the Port Number field to open the SIP Proxy Address keyboard (FIG. 56).
2. Enter the new proxy address and click OK.
3. Click Save to save your changes to the SIP page and return to the Configuration page.
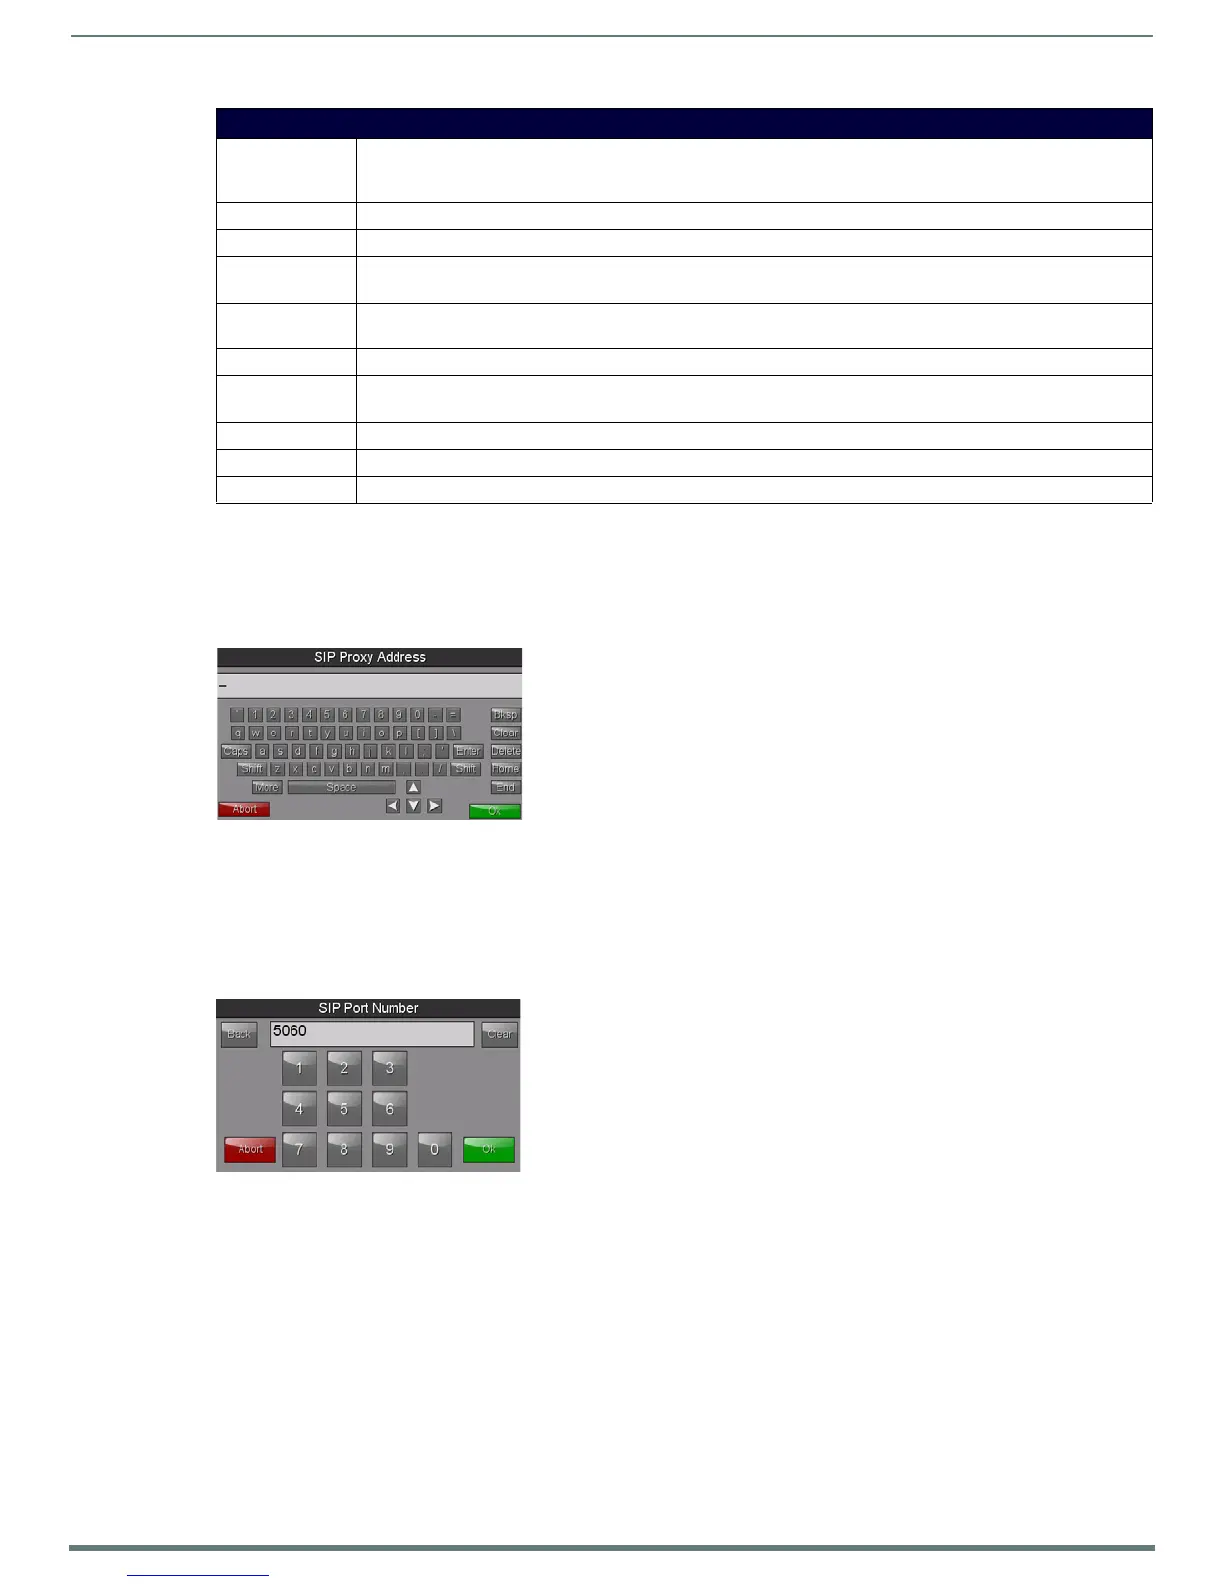
Changing the SIP Port Number
To change the port number used by the proxy server:
1. From the SIP page, select the Port Number field to open the SIP Port Number keypad (FIG. 57).
2. Enter the new port number and click OK.
3. The SIP page will now display the new SIP port number in the Port Number field.
4. Click Save to save your changes to the SIP page and return to the Configuration page.
Changing the SIP STUN Address
To change the STUN address:
1. From the SIP page, select the STUN Server field to open the SIP STUN Address keyboard (FIG. 58).
SIP Page (Cont.)
SIP: This option enables the SIP Stack on startup. If you disable this option, the panel will not attempt to read the rest of
the configuration and will not register with a proxy server. However, point-to-point SIP will still be enabled allowing
for existing intercom functionality.
Status: This option displays whether you are connected to the proxy server.
Proxy Address: This option enables you to enter the IP address or DNS name of the proxy server used as the SIP gateway.
Port Number: The option displays the port you use to connect to the proxy server. The standard SIP port is 5060, but some
providers use different ports.
STUN Server: This option enables you to enter the IP address or DNS name of the Simple Traversal of UDP through NATs (STUN)
server. This field is optional.
Local Domain: This is the realm used for authentication. This field is optional.
Username: This option enables you to enter the user name used for authentication to the proxy server. Normally, the user name
is the same as the phone number assigned to the extension you are using. This field is optional.
Password: This option enables you to enter the password for the user at the proxy server. This field is optional.
Cancel: Press the Cancel button to return to the Configuration page without saving any changes made on the SIP page.
Save: Touch the Save button to save the changes and return to the Configuration page.
FIG. 56 SIP Proxy Address keyboard
FIG. 57 SIP Port Number keypad

 Loading...