DON’T
FORGET
IMPORTANT ADVICE FOR INITIAL SETUP
PLEASE FOLLOW THE INSTRUCTIONS CAREFULLY FOR CORRECT SETUP
Please DO NOT return this product to the store. For assistance please
contact our helpline on 0345 009 1789 or email helpline@babyhelpline.co.uk
Mon – Fri 10am – 4pm, excluding bank holidays.
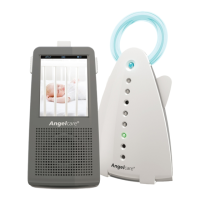
Batteries
Insert the enclosed rechargeable batteries into the Parent
Unit. If inserted incorrectly the Parent Unit will not charge
when placed in the charging cradle. The battery icon will flash
briefly on the Parent Unit screen to indicate charging.
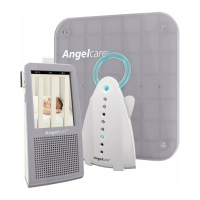
Cord Safety
Ensure the Nursery Unit is at least 1 metre away from your
baby’s cot. The Sensor Pad cord must always be kept out of
reach of baby and secured using the cord cover kit provided.